Take your bedroom décor to the next level with quilting stencils and the Janome Horizon Memory Craft 8900QCP Special Edition! This is a great project if you are building your quilting skills and want to try a great guiding tool.
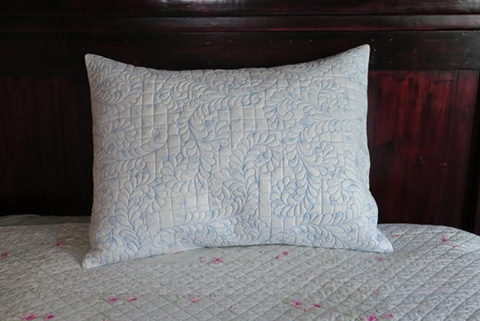 Utilize the easy and smooth free motion quilting features of the Memory Craft to quilt up these eye catching whole cloth pillow shams. Finished size of the shams will fit a standard 20” x 26” pillow. Select a fun quilting stencil to add a decorative motif and quilt as desired.
Skill Level: Intermediate
Sewing Time: 6 hours
Janome Supplies Required:
HMC8900QCP SE
1/4” Seam foot O
QBS foot for free motion quilting
AcuFeed foot AD
Blue Tip Needle
Pre-wound bobbin
Empty Bobbin
Fabrics/Notions Required (for 2 completed shams):
2 yds. solid or tone-on-tone cotton fabric (A) sub cut into:
(2) 22” x 28” (top fabric)
2 yds. Muslin (B) sub cut into:
(2) 26” x 32” (will be interior of pillow shams-won’t show)
1 yd. coordinating cotton fabric (C) sub cut into:
(4)18” x 20” (envelope closures of shams)
(2) 26” x 32” batting (4 if doubling up)
Coordinating all-purpose sewing thread
Coordinating machine quilting thread
Spray starch
Quilting stencils of your choice
Pounce pad with chalk
Student Supplies Required:
Marking pen/tailors chalk
Rotary cutter/ruler/mat
Safety Pins/spray baste
Prepare the envelope pieces
 1. Take each back envelope piece (fabric C) and fold one of the 20” sides under (WST) 1/2”.
 2. Press (and starch if desired), then fold 1/2” under again to conceal the raw edge. Press and pin in place. Topstitch 1/8” from the folded edge.
3. Complete steps 1 & 2 for all 4 pieces if making 2 pillow shams. Set aside until quilting is completed.
Marking and quilting the sham top
1. Make a quilt sandwich layering one piece of 26” x 32” muslin (fabric B), one piece of 26” x 32” batting, and the 22” x 28” fabric A.
Optional: For added drama, layer 2 pieces of batting in the quilt sandwich. This will make the quilting really pop!
2. Use safety pins to secure the layers, or use spray baste if desired.
 3. Prepare the pounce pad with chalk, following manufacturer’s instructions. Be sure to use a color of chalk that will stand out against fabric A.
 4. Place the stencil on top of fabric A and hold securely in place with one hand. Use the pounce pad to firmly swipe over the stencil with chalk.
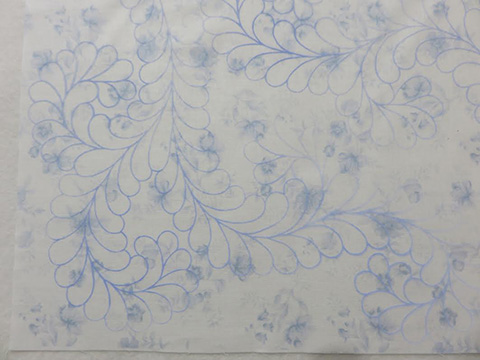 5. You can gently lift the corners of the stencil (being cautious not to shift it) to see if you need to make multiple passes with the pounce pad. Once you have adequate amount of marking, lift the stencil and reposition to the next location you want to mark. Repeat until you are satisfied with the amount of quilting.
Tip: while quilting, you will need to handle the sham. Be careful to not rub the chalk markings. The chalk will wipe away if handled excessively.
 6. Attach QBS foot for free motion. Lower the feed dogs. Adjust the presser foot pressure to “5” and set the machine to “D4” “D4S”.
7. Wind bobbin with quilting thread that coordinates with Fabric A. Thread machine with matching thread.
Tip: For more obvious quilting, you can choose a more contrasting color thread. If using double batting, the quilting will pop even with a subtle colored thread.
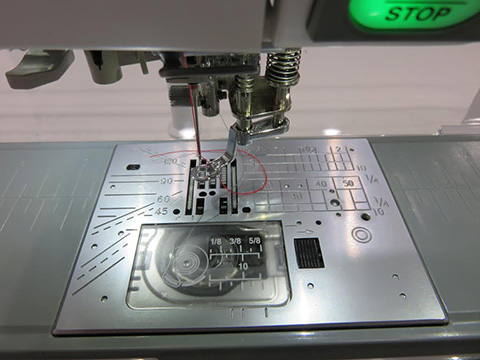
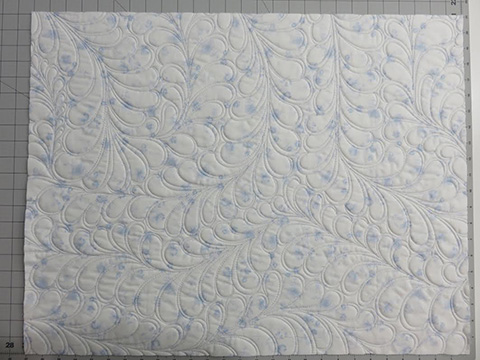
8. Using the chalk markings as a guide, trace the chalk lines while free motion quilting. When you begin quilting, bring the bottom thread up to the top of the fabric and make a couple stitches in place to secure the first stitch.
 9. Optional: Once you complete your quilting, use a different stencil to fill in background areas that weren’t quilted.
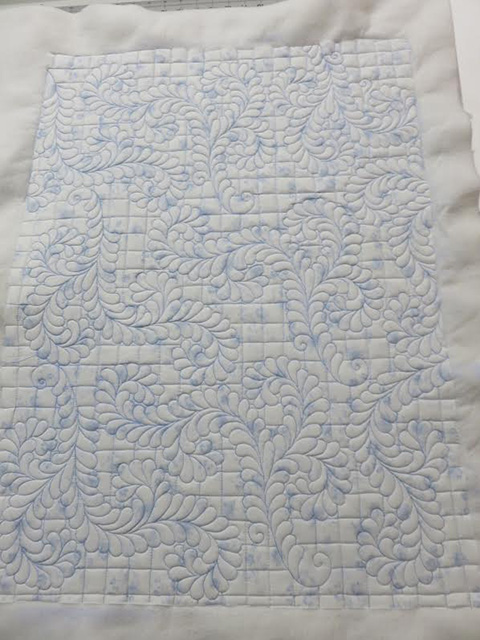 10. Continue quilting to your satisfaction.
11. Brush away any leftover chalk markings.
12. Repeat steps 1-11 for the second pillow sham.
Option A
13. You can also opt to not mark with chalk or use stencils and quilt as you desire.
 14. Skip the above steps 3-5 if not using the stencils.
Making the Sham
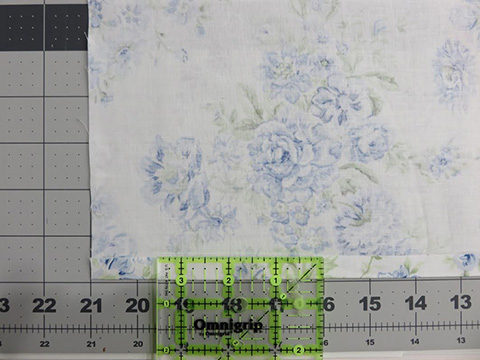
 1. Take the quilted pillow sham top to your cutting mat and square up to 20” x 26”, trimming away excess muslin and batting.
2. Place the 20” x 26” with Fabric A right side up.
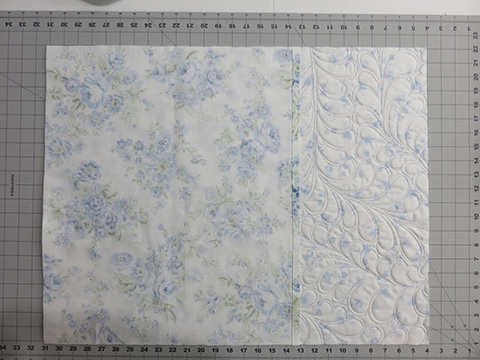 3. Place one hemmed envelope piece right side down, matching the 20” raw edge of fabric C with the 20” raw edge of the quilted top. Pin in place.
 4. Place the other hemmed envelope piece right side down on the opposite 20” raw edge of the quilted top. The hemmed edges of the fabric C pieces will overlap. Pin in place.
 5. Sew around the perimeter of the pillow sham with a 1/4” seam allowance.
Tip: It’s a good idea to backstitch over the portions where the hemmed edge ends, since this area will be stressed when inserting the pillow.
 6. Trim the corners, being careful not to cut the stitches.
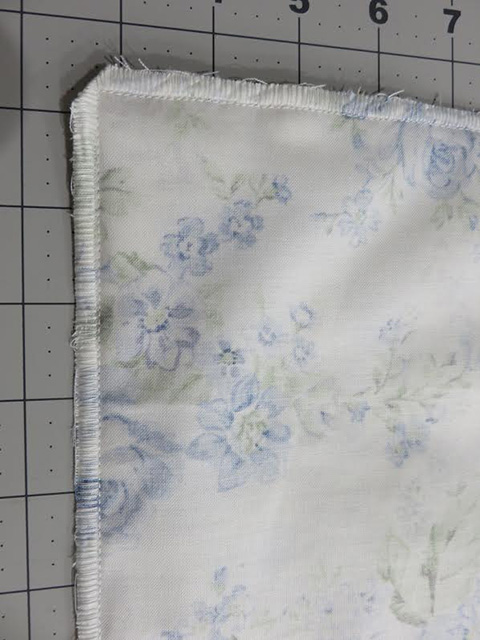 7. Use a zig zag stitch or serge the raw edges all the way around the sham.
8. Turn the pillow sham right side out. Press seams.
 9. Insert 20” x 26” standard bed pillow.
 eBook Amazing Ways to Use Circles & Rays
1 × $19.95
eBook Amazing Ways to Use Circles & Rays
1 × $19.95  eBook Adaptable Quilting Designs
1 × $18.95
eBook Adaptable Quilting Designs
1 × $18.95