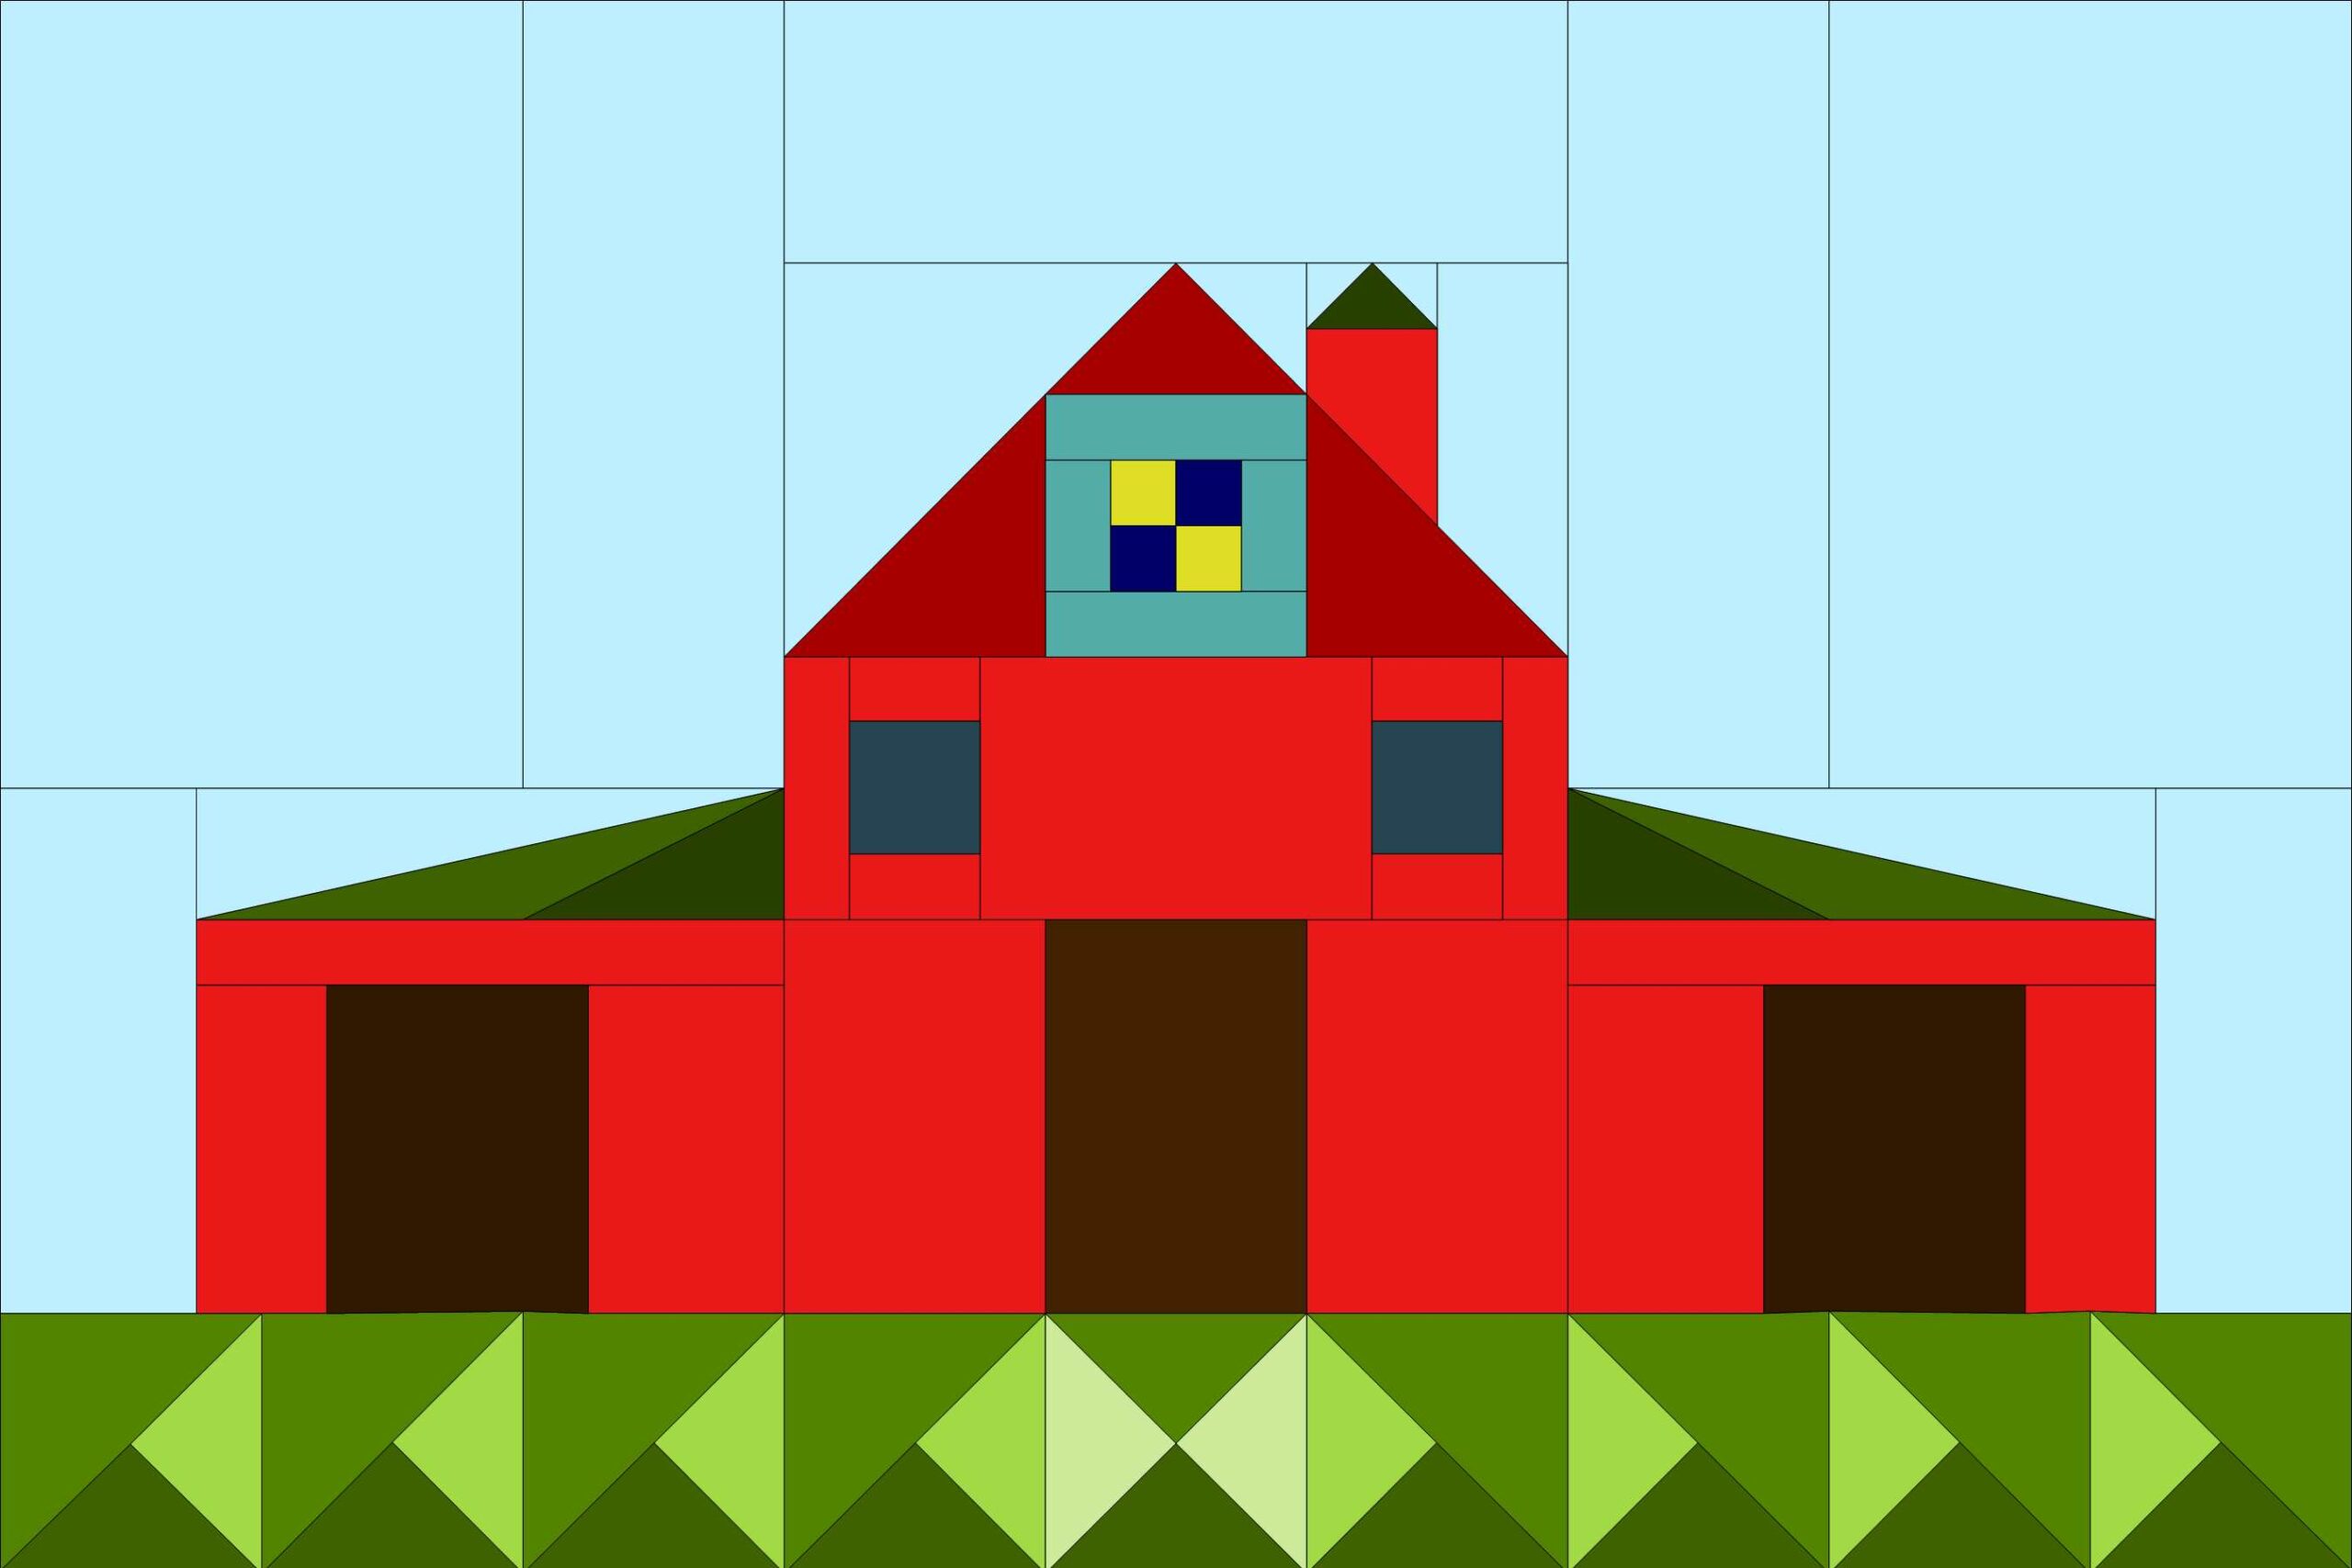
On the Farm – Barn Wallhanging
36″ x 24″
Fabric Requirements:
Light Aqua — 3/4 yards
Green — 5/8 yards
Forest — 1/4 yards
Light Olive — 1/4 yards
Lime — 1/4 yards
Dark Gray — 1/4 yards
Light Tomato — 1/4 yards
Dark Tomato — 1/4 yards
Dark Turquoise — 1/8 yards
Dark Yellow — 1/8 yards
Light Navy — 1/8 yards
Download the paper piecing patterns here.
Cutting Instructions:
*Sizes for foundation paper piecing are suggested sizes, use your preference.
From the light aqua fabric, cut:
A — (2) 12 1/2″ x 12 1/2″
B — (1) 4 1/2″ x 12 1/2″
I — (2) 3 1/2″ x 8 1/2″
T1 & U1 — (2) 4″ x 12 1/2″*
W2 & W3 — (2) 3″ x 3″*
W5 — (1) 4″ x 4″*
W6 — (1) 3 1/2″ x 8″*
V5 — (1) 8″ x 8″*
From the green fabric, cut:
D — (4) 4 7/8″ square, cut on the diagonal once, use 8 patches
F — (1) 5 1/4″ square, cut on the diagonal twice, use 1 patch
T2 & U2 — (2) 3″ x 14 1/2″*
From the forest green fabric, cut:
E — (2) 5 1/4″ square, cut on the diagonal twice, use 8 patches
T3 & U3 — (2) 3 1/2″ x 6 1/4″*
W1 — (1) 4 1/4″ x 4 1/4″*
From the light olive green fabric, cut:
G — (2) 5 1/4″ square, cut on the diagonal twice, use 8 patches
From the lime green fabric, cut:
H — (1) 5 1/4″ square, cut on the diagonal twice, use 2 patches
From the dark gray fabric, cut:
K — (1) 4 1/2″ x 6 1/2″
N — (1) 4 1/2″ x 5 1/2″
Q — (2) 2 1/2″ x 2 1/2″
From the light tomato red fabric, cut:
J — (2) 4 1/2″ x 6 1/2″
L — (2) 2 1/2″ x 5 1/2″
M — (2) 3 1/2″ x 5 1/2″
O — (2) 1 1/2″ x 9 1/2″
P — (1) 4 1/2″ x 4 1/2″
R — (4) 1 1/2″ x 4 1/2″
S — (4) 1 1/2″ x 2 1/2″
W4 — (1) 3 1/2″ x 5”*
From the dark tomato red fabric, cut:
V2 & V3 — (2) 6″ x 6″*
V4 — (1) 6 1/4″*
From the dark turquoise fabric, cut:
V1 — (2) 1 1/2″ x 2 1/2″
V1 — (2) 1 1/2″ x 4 1/2″
From the dark yellow fabric cut:
V1 — (2) 1 1/2″ x 1 1/2″
From the light navy fabric, cut:
V1 — (2) 1 1/2″ x 1 1/2″
Block Assembly:
Refer to letter key for help with assembly.

T Foundation Paper Pieced (FPP) Unit
Attach T1 to foundation paper pattern, wrong sides together. Layer T2 over T1, right sides together and sew on marked foundation paper pattern line. Trim and press. Repeat for T3. Trim a quarter inch seam allowance for T FPP unit.

U FPP Unit
Follow same directions as T FPP Unit, using U pieces.
V1 Unit
Sew a Four Patch using dark yellow and light navy 1 1/2″ squares. Sew a 1 1/2″ x 2 1/2″ dark turquoise rectangle to the sides of the Four Patch, press to the rectangles. Sew a 1 1/2″ x 4 1/2″ rectangle to the top and bottom of the Four Patch, press to the rectangles.

V FPP Unit
Lay V1 unit squared and centered onto paper piecing pattern, wrong sides together. Attach V2, V3, V4 and V5 in order, trimming seam allowances and pressing each new piece added. Trim a quarter inch seam allowance for V FPP unit.

W FPP Unit
Follow same directions as T FPP Unit, using W pieces.

Piece together units V and W, and press seam open.

Grass blocks
Sew a G and E piece together, press towards E. Sew a D onto unit, press towards D. Make 8.

Sew and H and E piece together, press towards E. Sew an F and H unit together, press towards F. Sew units together. Make 1.

Sew row of grass blocks together as shown.

Left Barn Side
Sew L, N, and M together as shown. Add O to the top.

Add T FPP Unit on top of O. Add I to the left, and then A to the top as shown.

Right Barn Side
Sew M, N, and L together as shown. Add O to the top.

Add U FPP unit on top of O. Add I to the right, and then A to the top as shown.

Barn Center
Sew a J to either side of K.

Sew an S on the top and bottom of a Q, make 2. Sew an R to the left and right of this unit, make 2.

Use previous units and P to make a row as shown.

Lay out B, V & W unit, barn windows row, and barn door row. Assemble in a column.

Quilt Assembly:
Sew together Left Barn Side, Barn Center, and Right Barn Side. Sew grass row to the bottom.
Quilt and bind as desired.
For more fun Barn blocks, visit the AQS Member area Country Days Barn Series. Not a member? Join Today!