We’re celebrating our 35th anniversary here at American Quilter’s Society, and it has us looking back at the trends that have shaped the quilting world and the trends of the moment fueling the future of quilting. This month, we’re trying Half Rectangle Triangles.
Half Rectangle Triangles are like Half Square Triangles, but as the name implies, the unit or block is made up of two rectangle halves cut into triangles, which when sewn together form a rectangle again. Here are three quilts from QuiltWeek contests that feature Half Rectangle Triangles.

In …AND THE OTHER IS GOLD, Half Rectangle Triangles paired with Half Square Triangles create pinwheel like shapes that feel stretched and contorted in juxtaposition to traditional pinwheel blocks.

In Scrap Salad, Cherie Moore uses scrappy Half Rectangle Triangles in the outer border. This oblong, almost jagged looking assemblage of triangles reinforces the improvisational blocks in the quilt.

CORNER WINDOWS by Jerriann Massey is a very modern take on using Half Rectangle Triangles. The sparse, high contrast color palette push the focus to the triangles. The uniform size of the Half Rectangle Triangles emphasizes their arrangement in the composition, using color and negative space to move the eye around the quilt.
How to Try This Trend
We’ve put together a photo tutorial for making Half Rectangle Triangles (HRT) of various sizes. Let’s get started!
Supplies:
- 2 pieces of contrasting fabric
- Optional: masking tape or sticky note
- Marking tool
- Ruler
Instructions
We’re going to start with a 2″ x 4″ finished HRT, which is a 1:2 ratio. To determine what size to cut the fabric, take the finished width and add 1″ which for this block is 2″+ 1″ = 3″ width. Then take the finished length and add 2″ which for this block is 4″ + 2″ = 6″

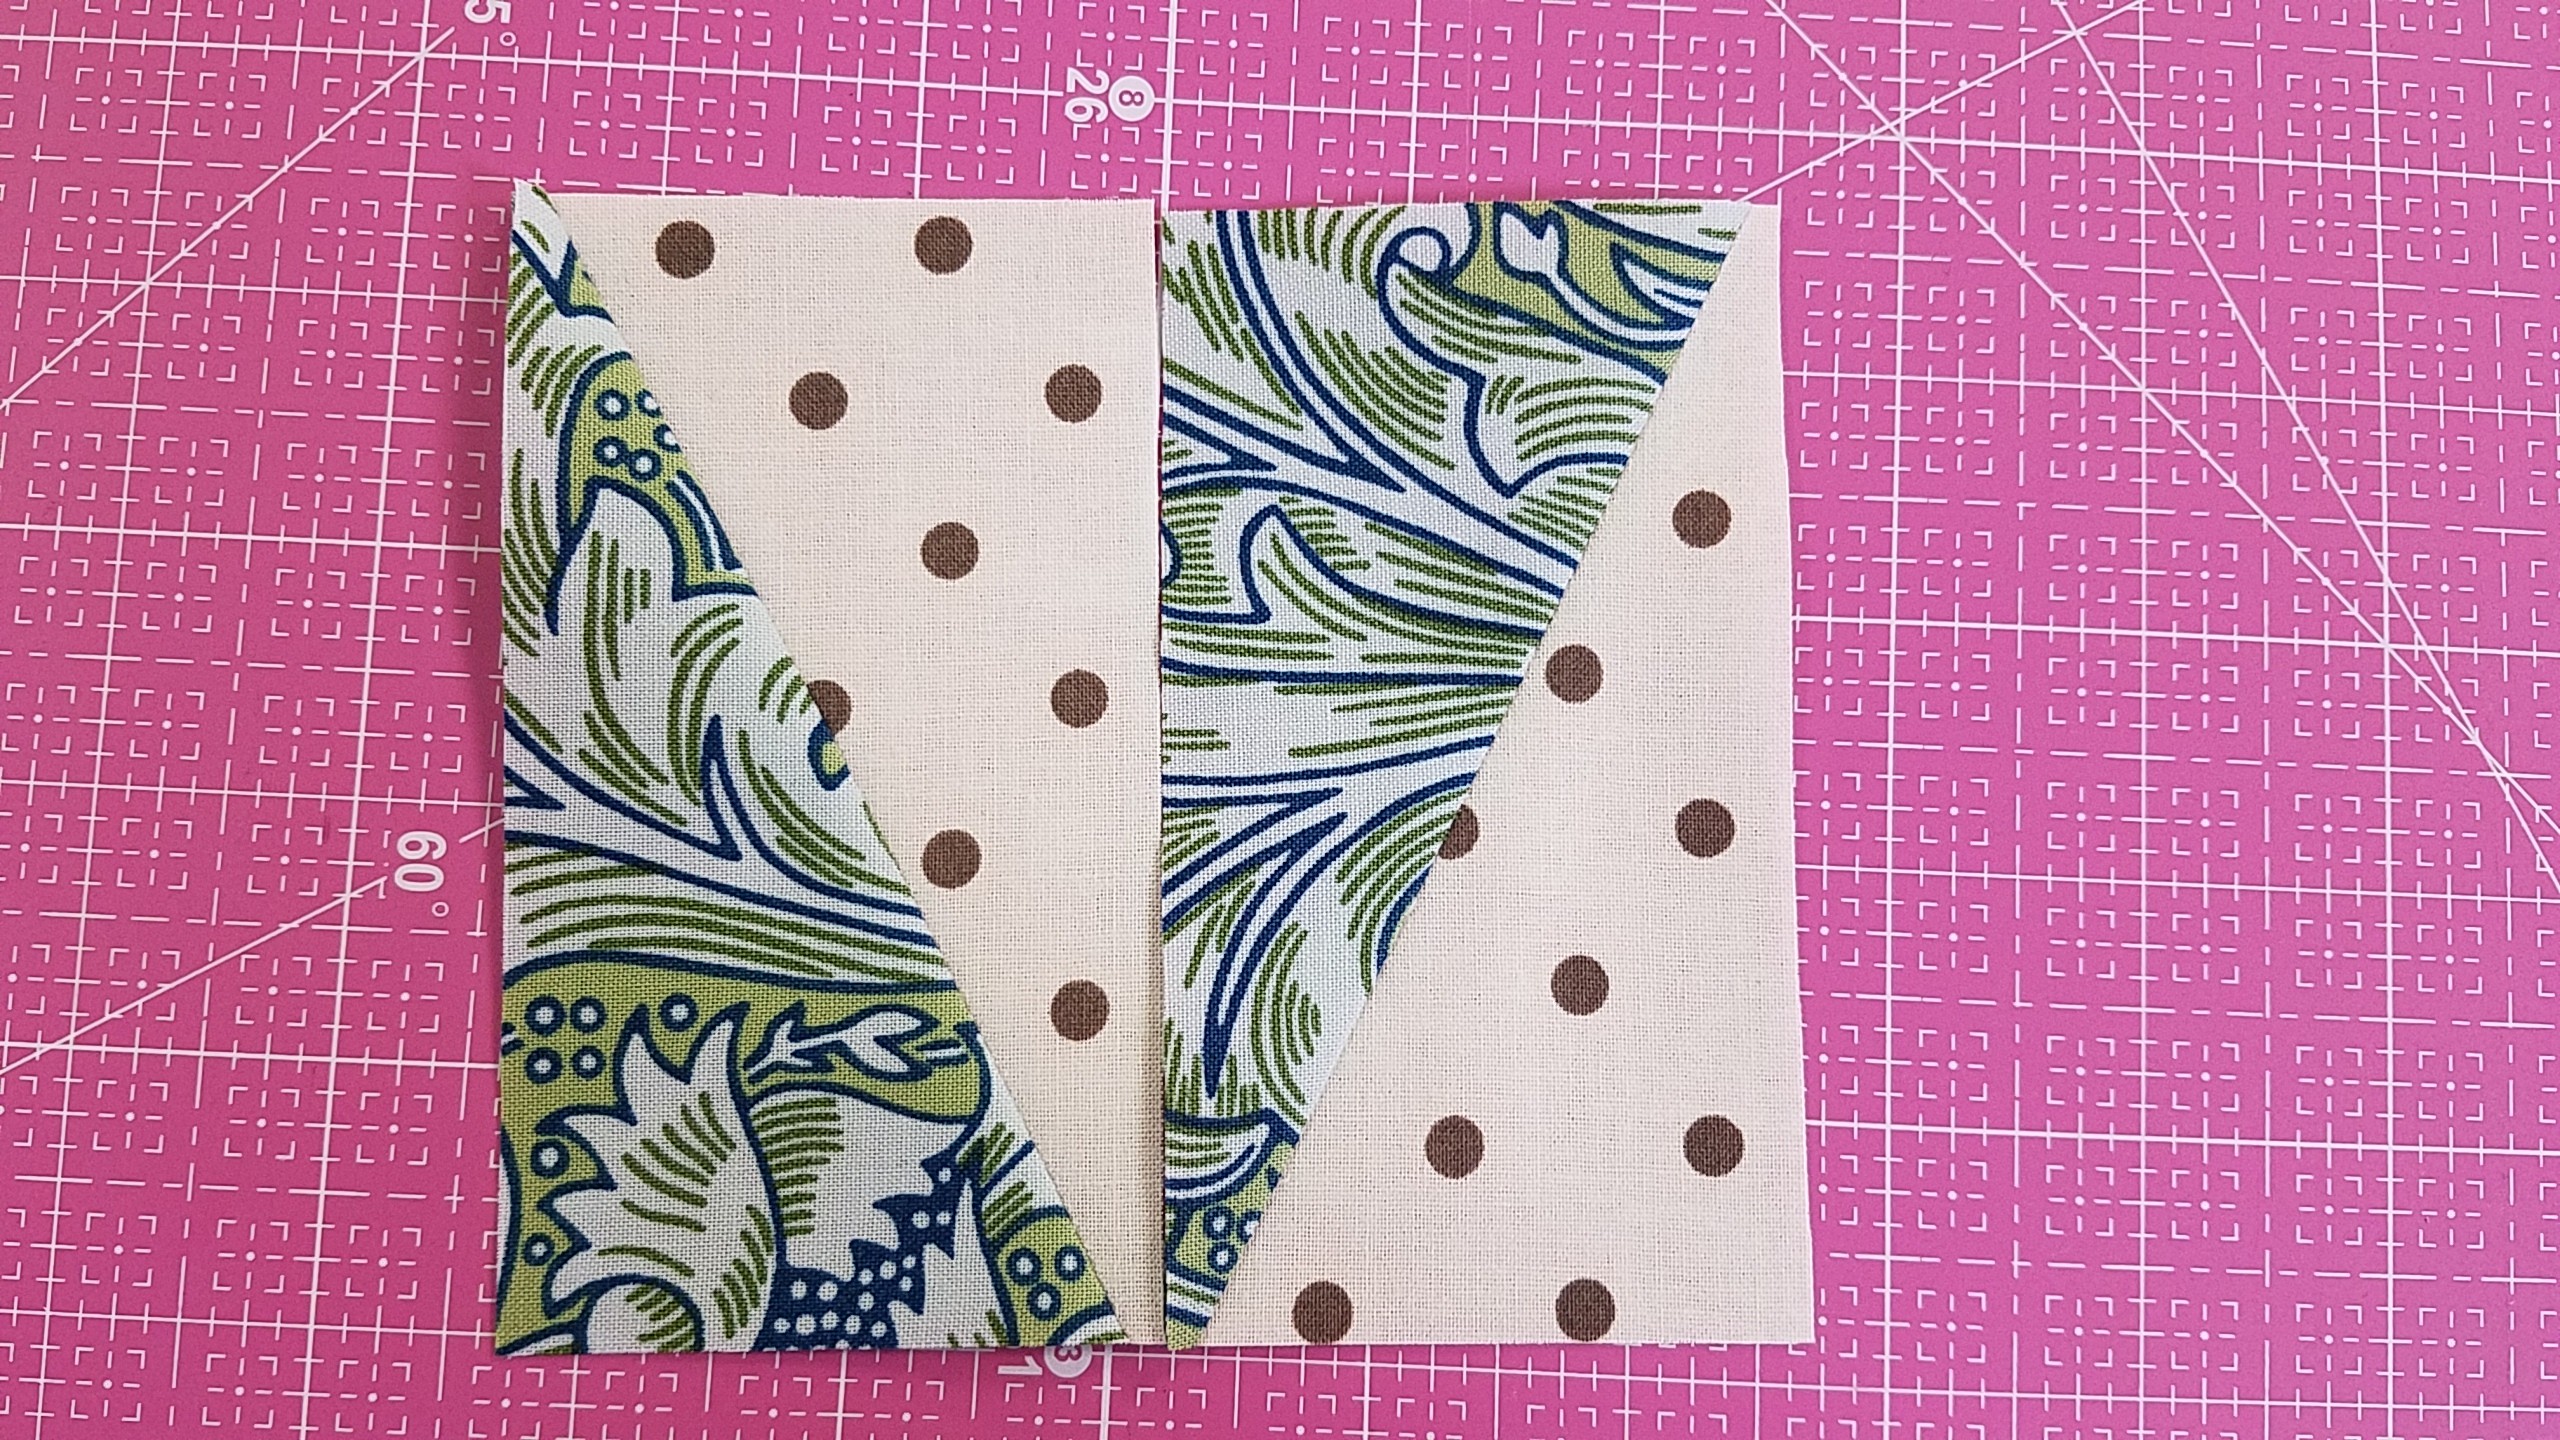
Cut two pieces of light fabric and two pieces dark fabric.

Stack a light rectangle on a dark triangle. Line up a ruler from corner to corner and cut in half diagonally. Repeat on the second stack, but with the angle going the other direction from corner to corner as shown.
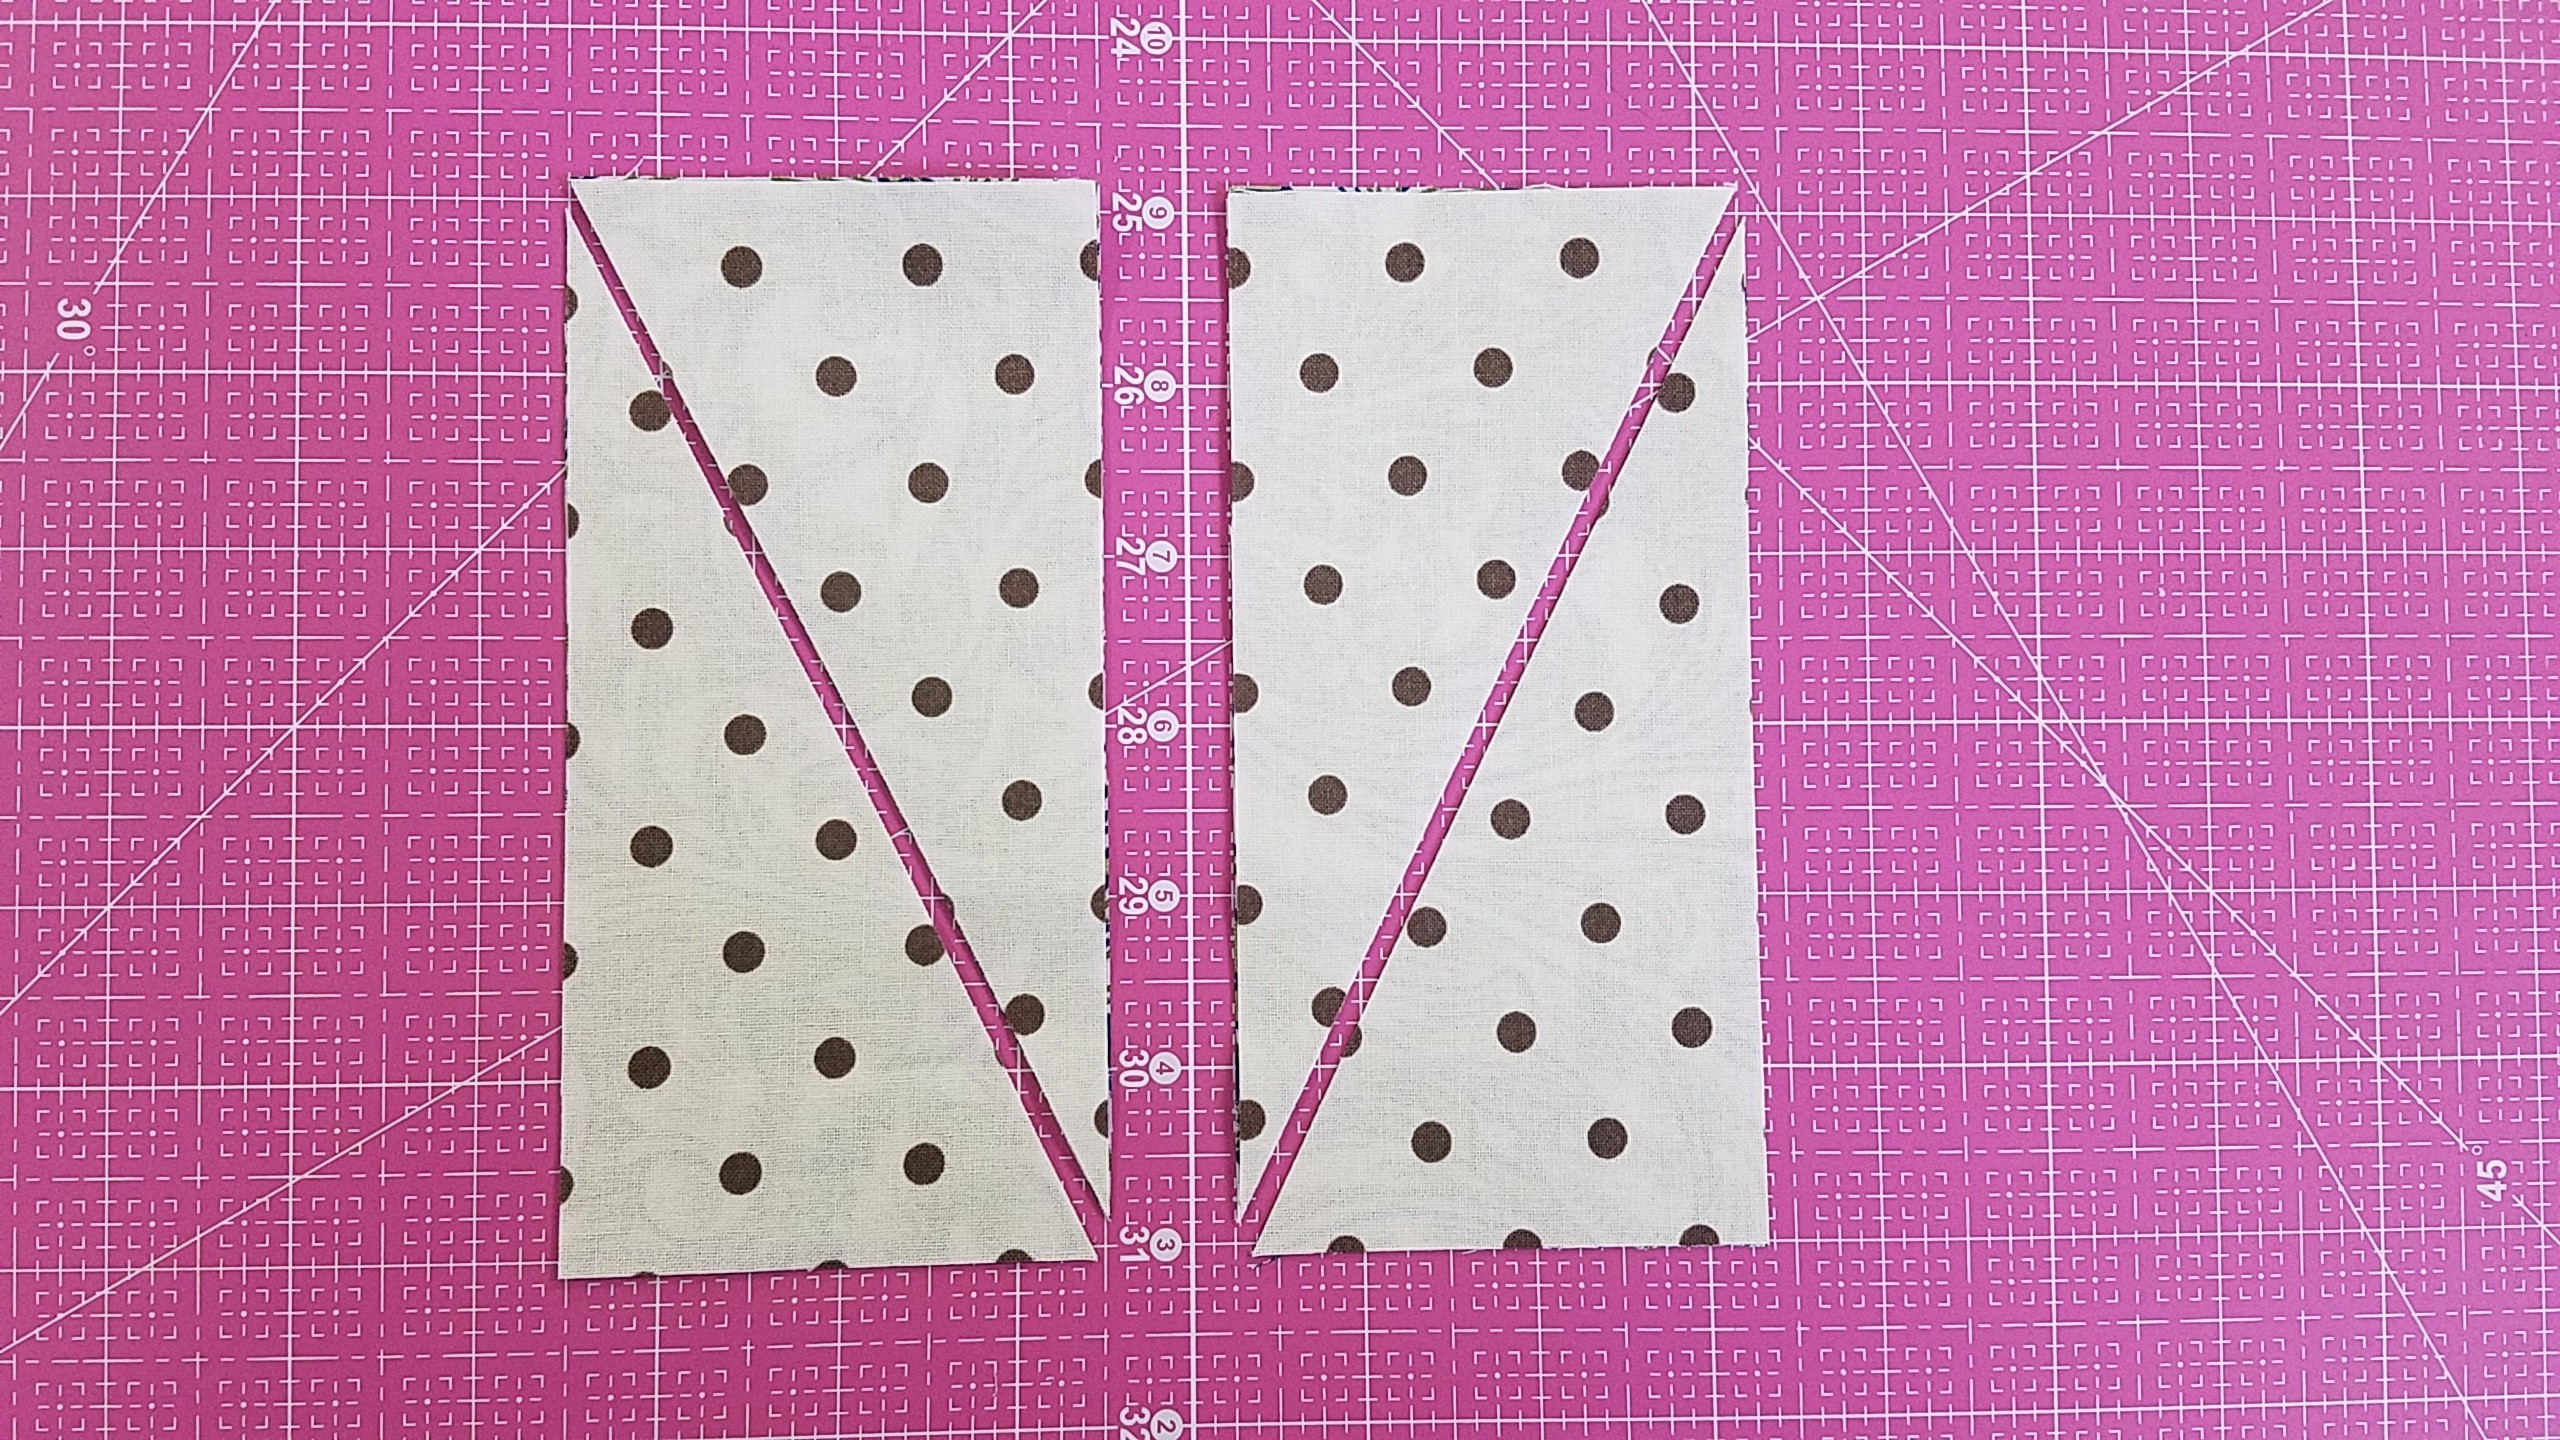
Arrange the cut fabric triangles as they will be sewn together into an HRT. Note how the sets cut it different directions cannot be turned to match the other set. This is due to the asymmetry of the shapes.

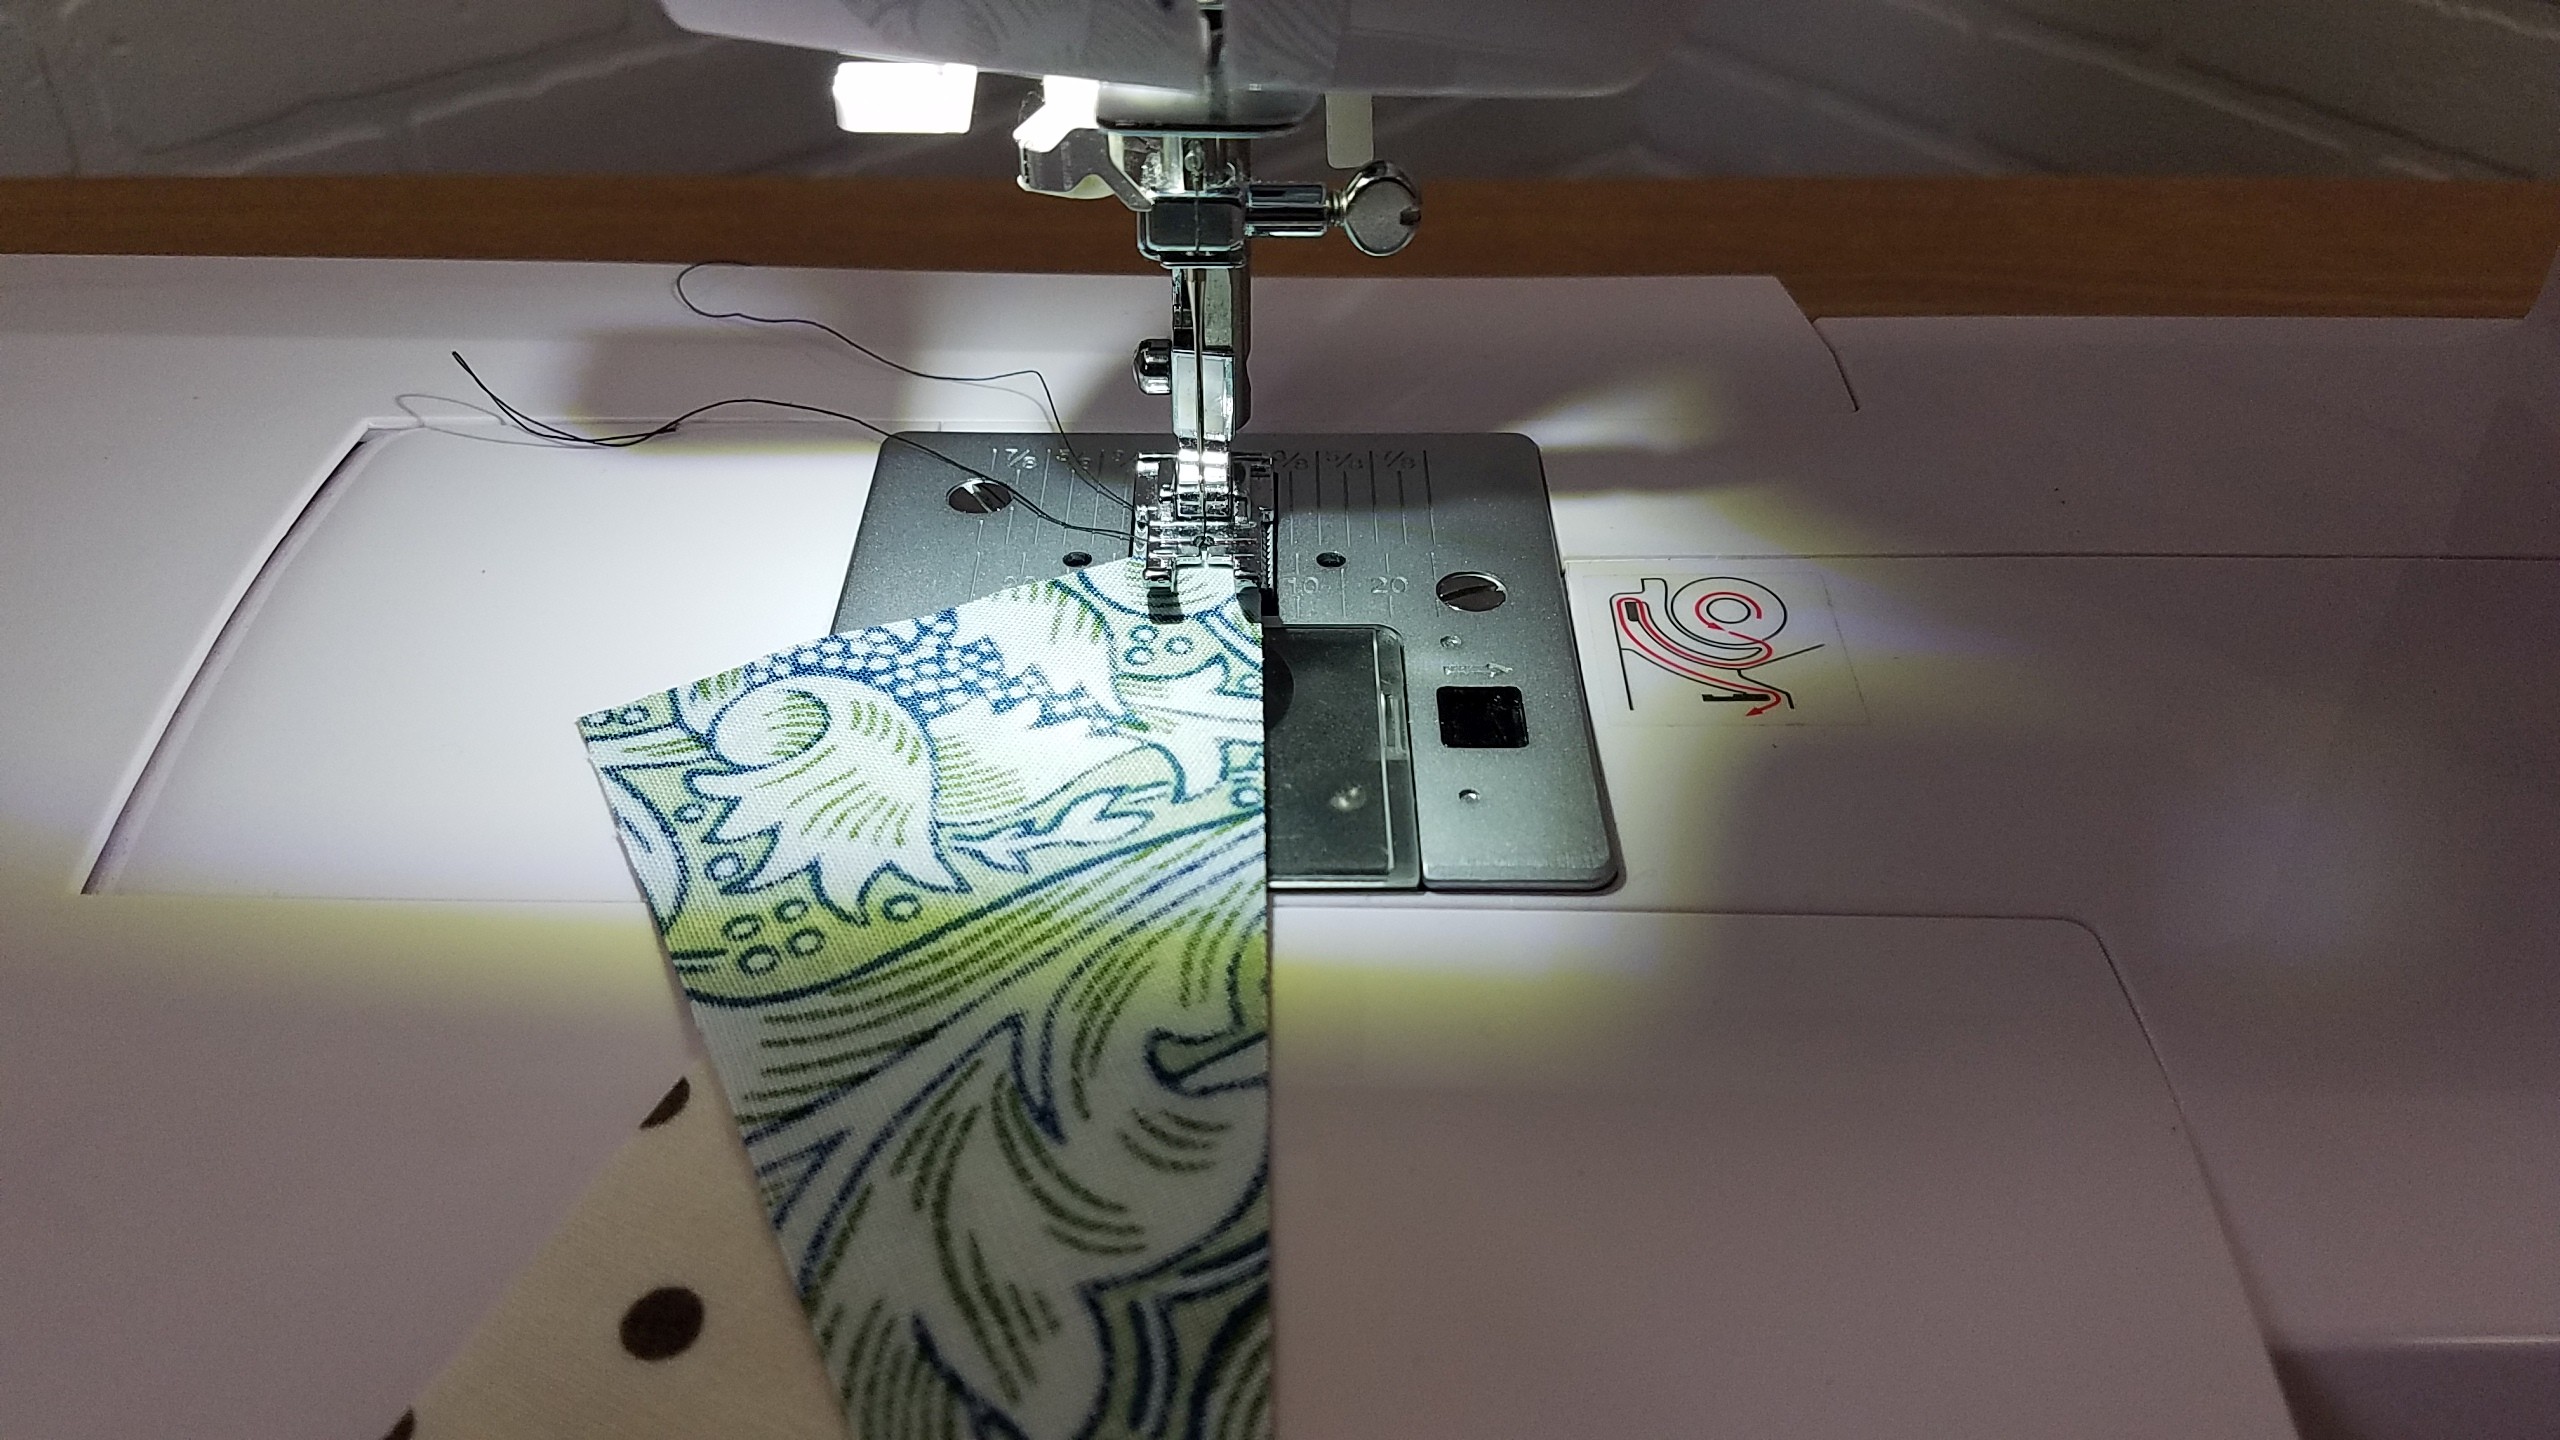
Place a dark triangle on top of a light triangle, right sides together. Overlap the ends to a quarter inch. It’s okay to eyeball the overlap, just make sure the overlap is even and the edges are even to one another.

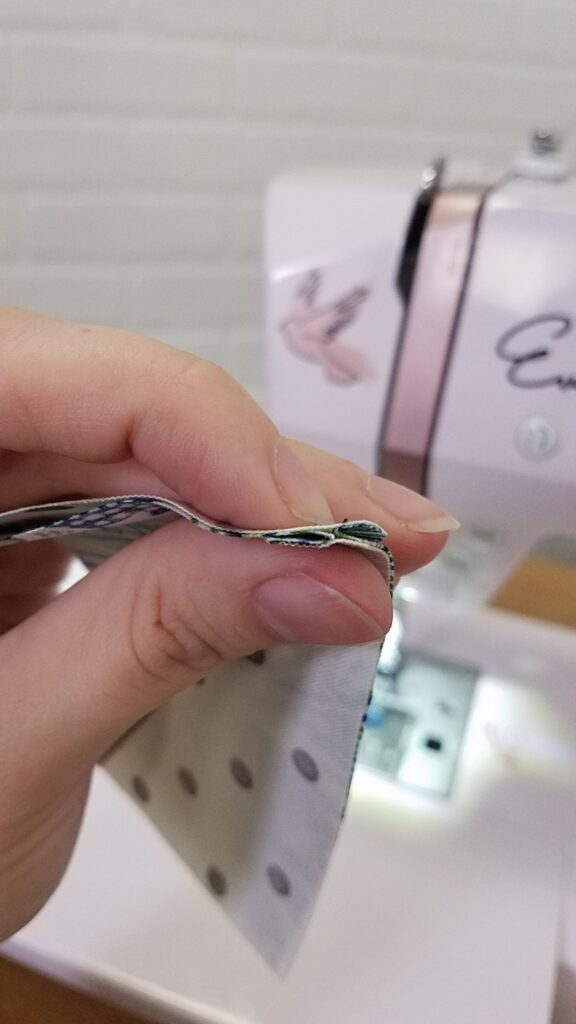
Sew the triangles together using a 1/4″ seam allowance.
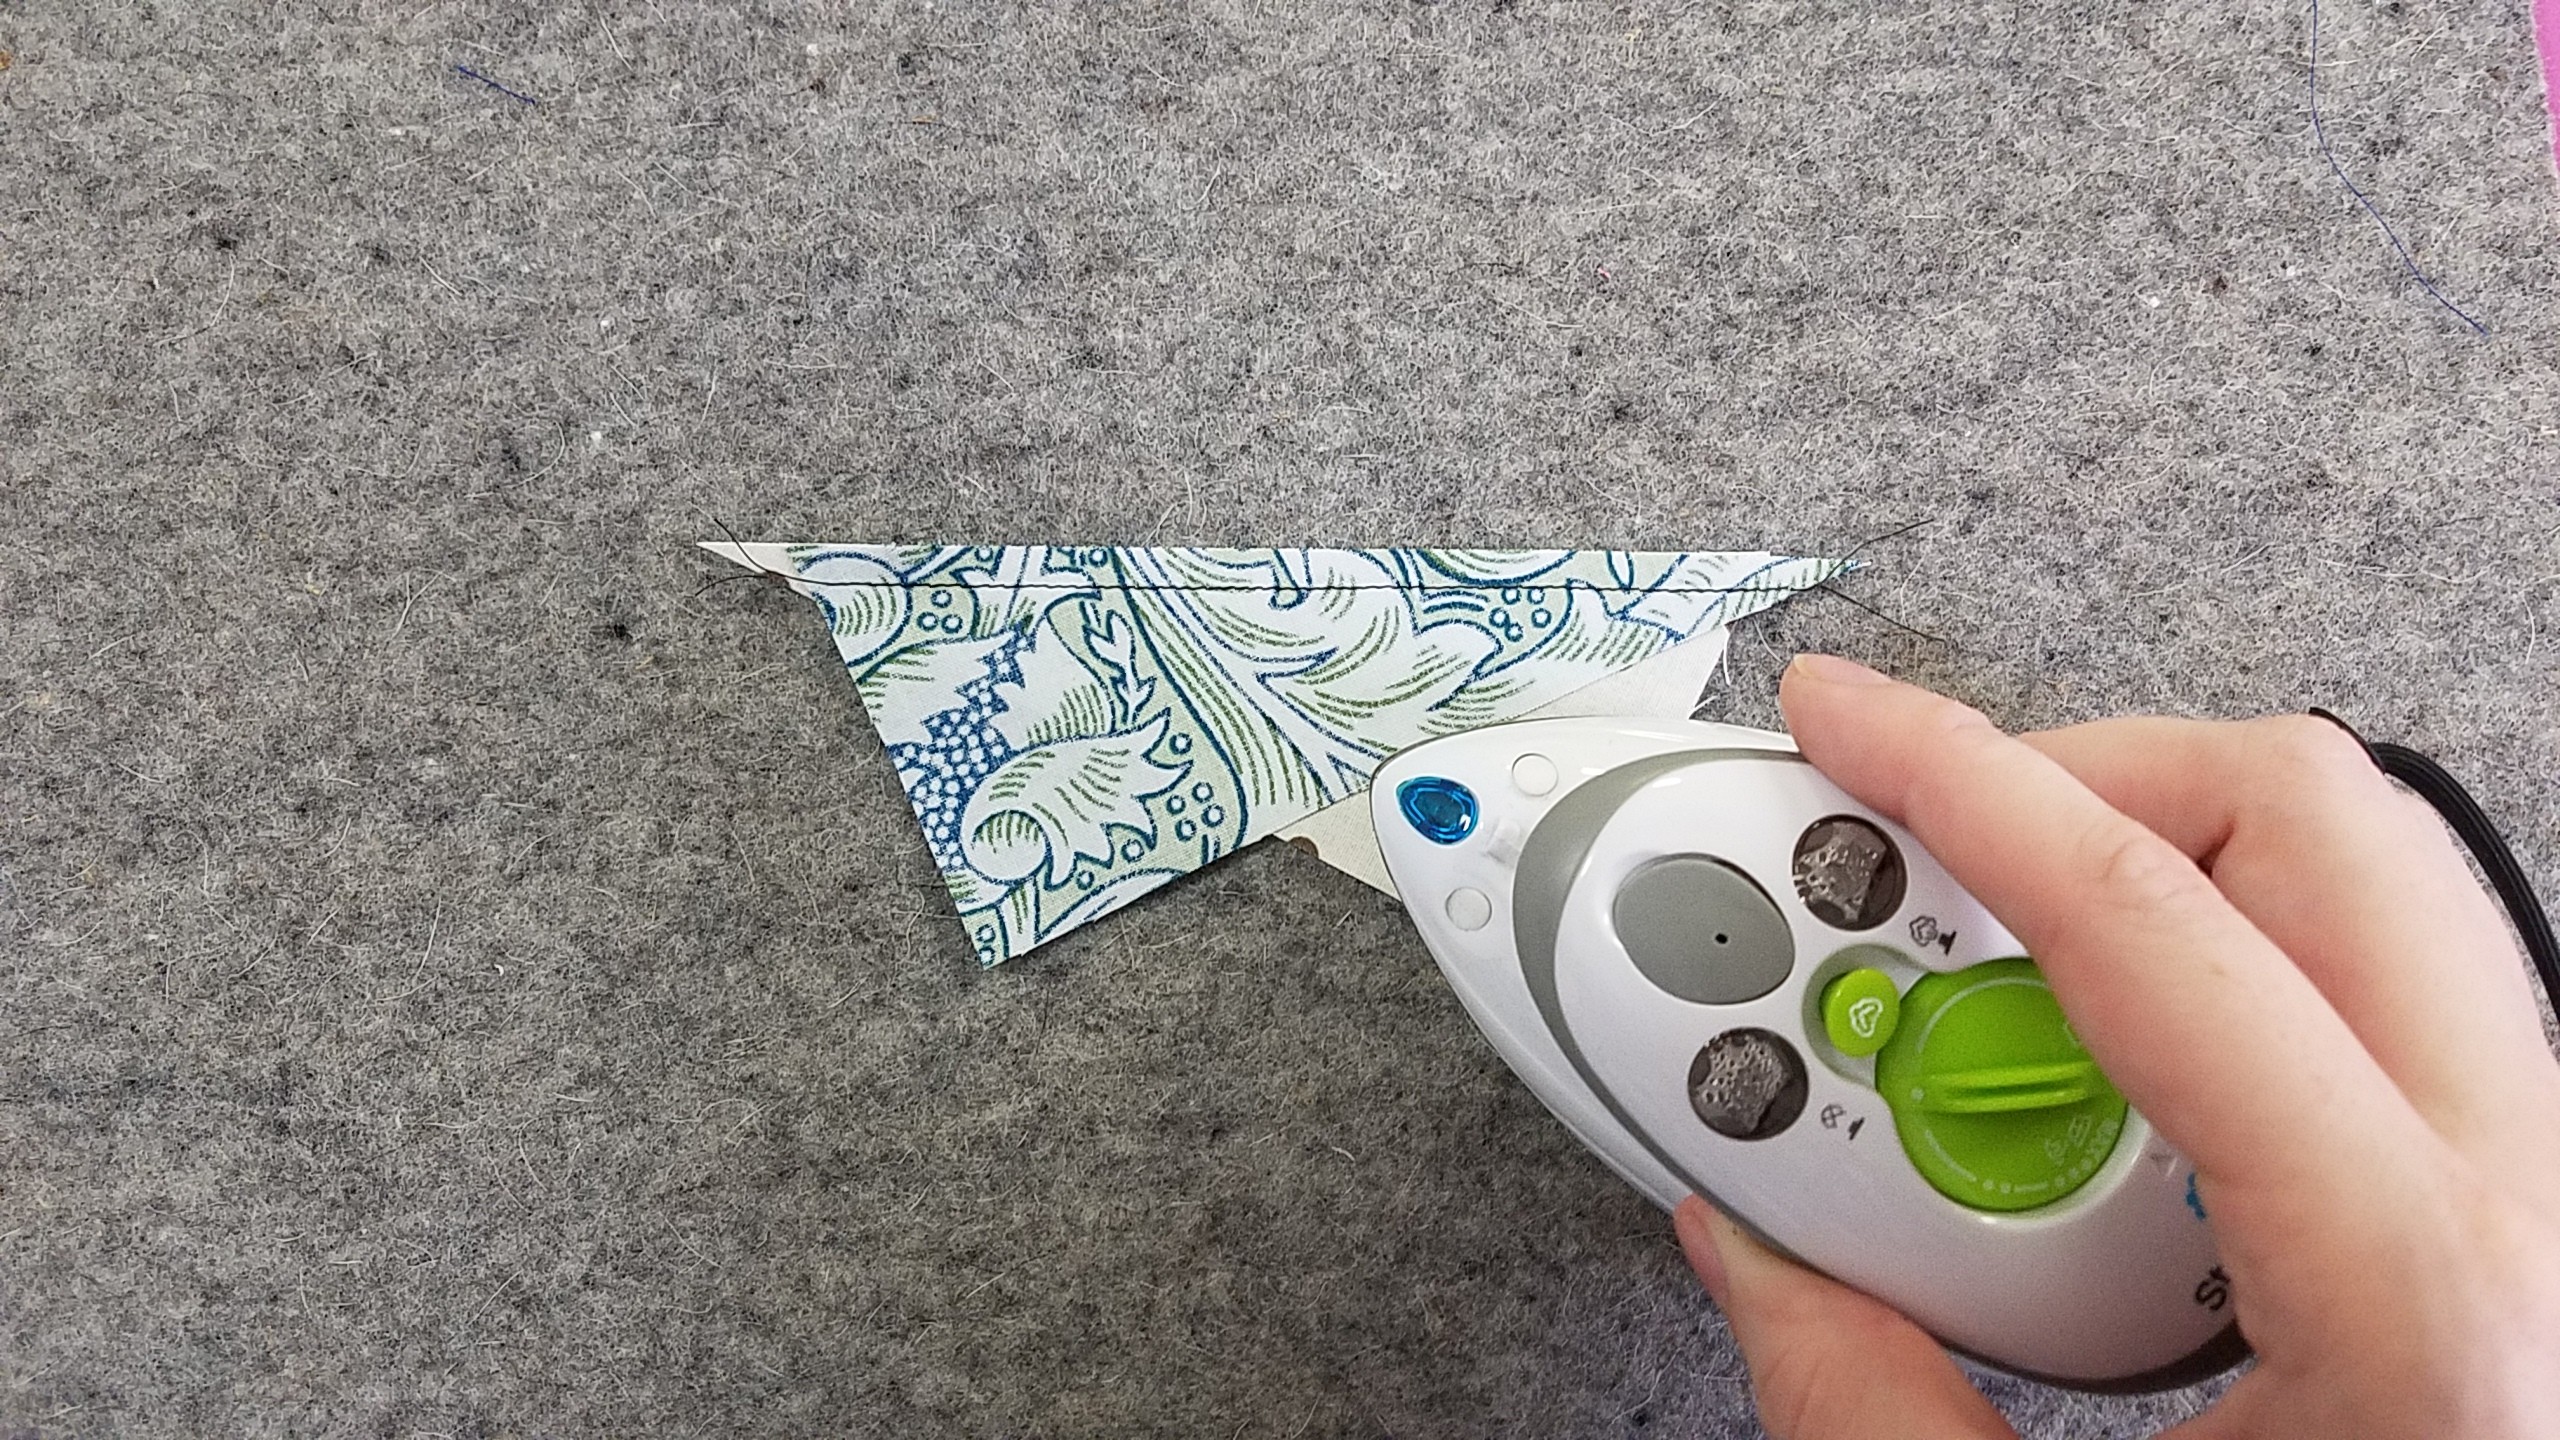
Press the HRT.
Repeat to make the remaining HRT.
Trimming to Size
Because of the shape of HRTs, the seam needs to be offset when trimmed so that two HRT sewn together create a point that won’t disappear into a 1/4″ seam allowance. To do this, we’re going to use a bit of masking tape or stick note paper where it’s adhesive with our ruler.
Cut (4) 1/4″ squares of masking tape and place them at the inside edges of the unfinished size of your unit. We placed our squares to the inside of the 2 1/2″ and 4 1/2″ marks in all four corners.
Next, place the ruler over the HRT unit to be trimmed. Then, line up the masking tape squares to the seam so there is a distance of 1/4″ from the seam to the edge of the ruler as shown below. Make sure both sides of the triangle are lined up and there’s plenty of excess fabric all around.

Trim the long sides first.
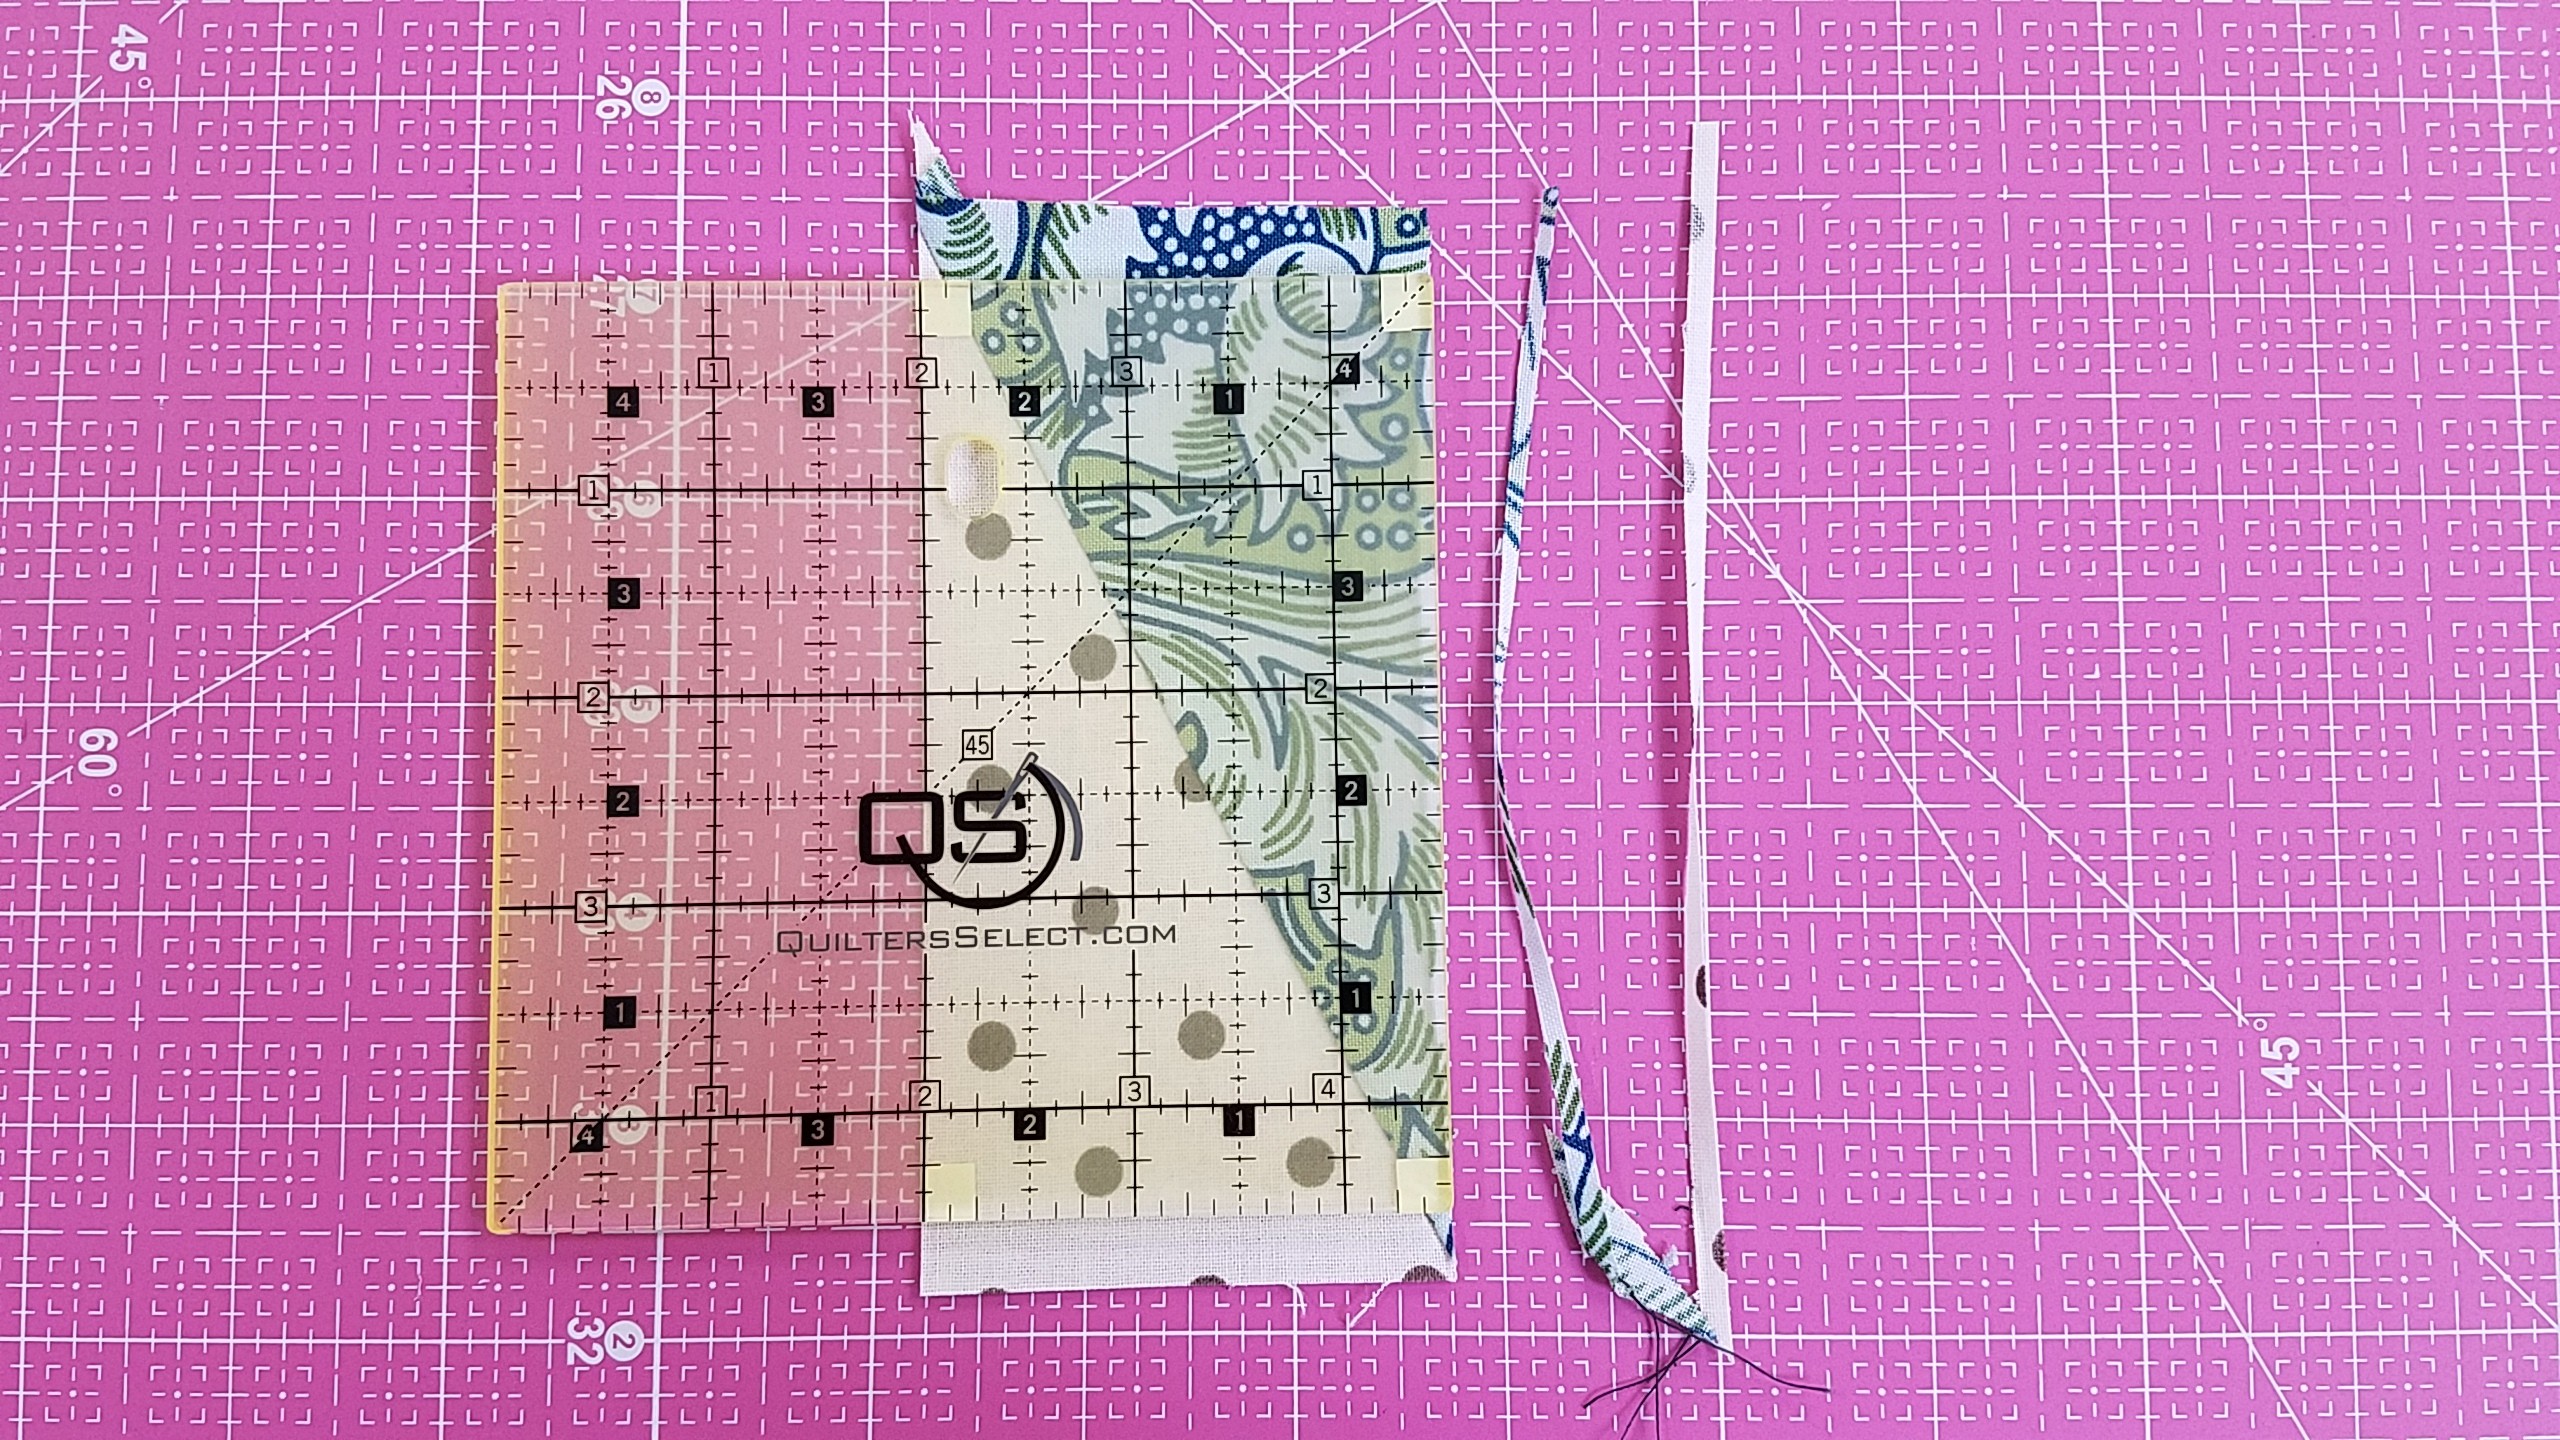
And then trim the short ends.

A trimmed vs an untrimmed HRT.

Repeat with the remaining HRT, and note that the HRT angled the other direction will use the other two marked out squares.
Sewing Together HRT
From there play with the arrangement of your HRT and sew them together any way you like!
You can even press and sew them so the seams lock as shown below.
Different Sizes
For other 1:2 ratio HRTs, use the same equation we used in the tutorial for 2″ x 4″ rectangles.
(Finished Width + 1″) by (Finished Length + 2″)
For HRTs with different ratios, start with the equation above and sew a test unit. This is usually enough excess for smaller HRTs. If the angle becomes too extreme while trimming, try the following:
Start with the ratio of the HRT. For example a ratio of 2:3. We’re going to treat the ratio like the amount to add to the finished size.
(Finished Width + 2″) by (Finished Length + 3″)
So on an HRT with a 2:3 ratio that’s finished size is 10″ x 15″ we end up with
(10″ + 2″) by (15″ + 3″) = 12″ x 18″
So we’d cut a light and dark triangle 12″ x 18″ to make a 10″ x 15″ HRT.
Ready for more inspiration?
Check out our Must-Try Pinterest board full of trendy eye-candy to get inspired.
Have you tried this trend? Show us your creations in our Facebook group, AQS Quilting Project Parade. We can’t wait to see what you make!