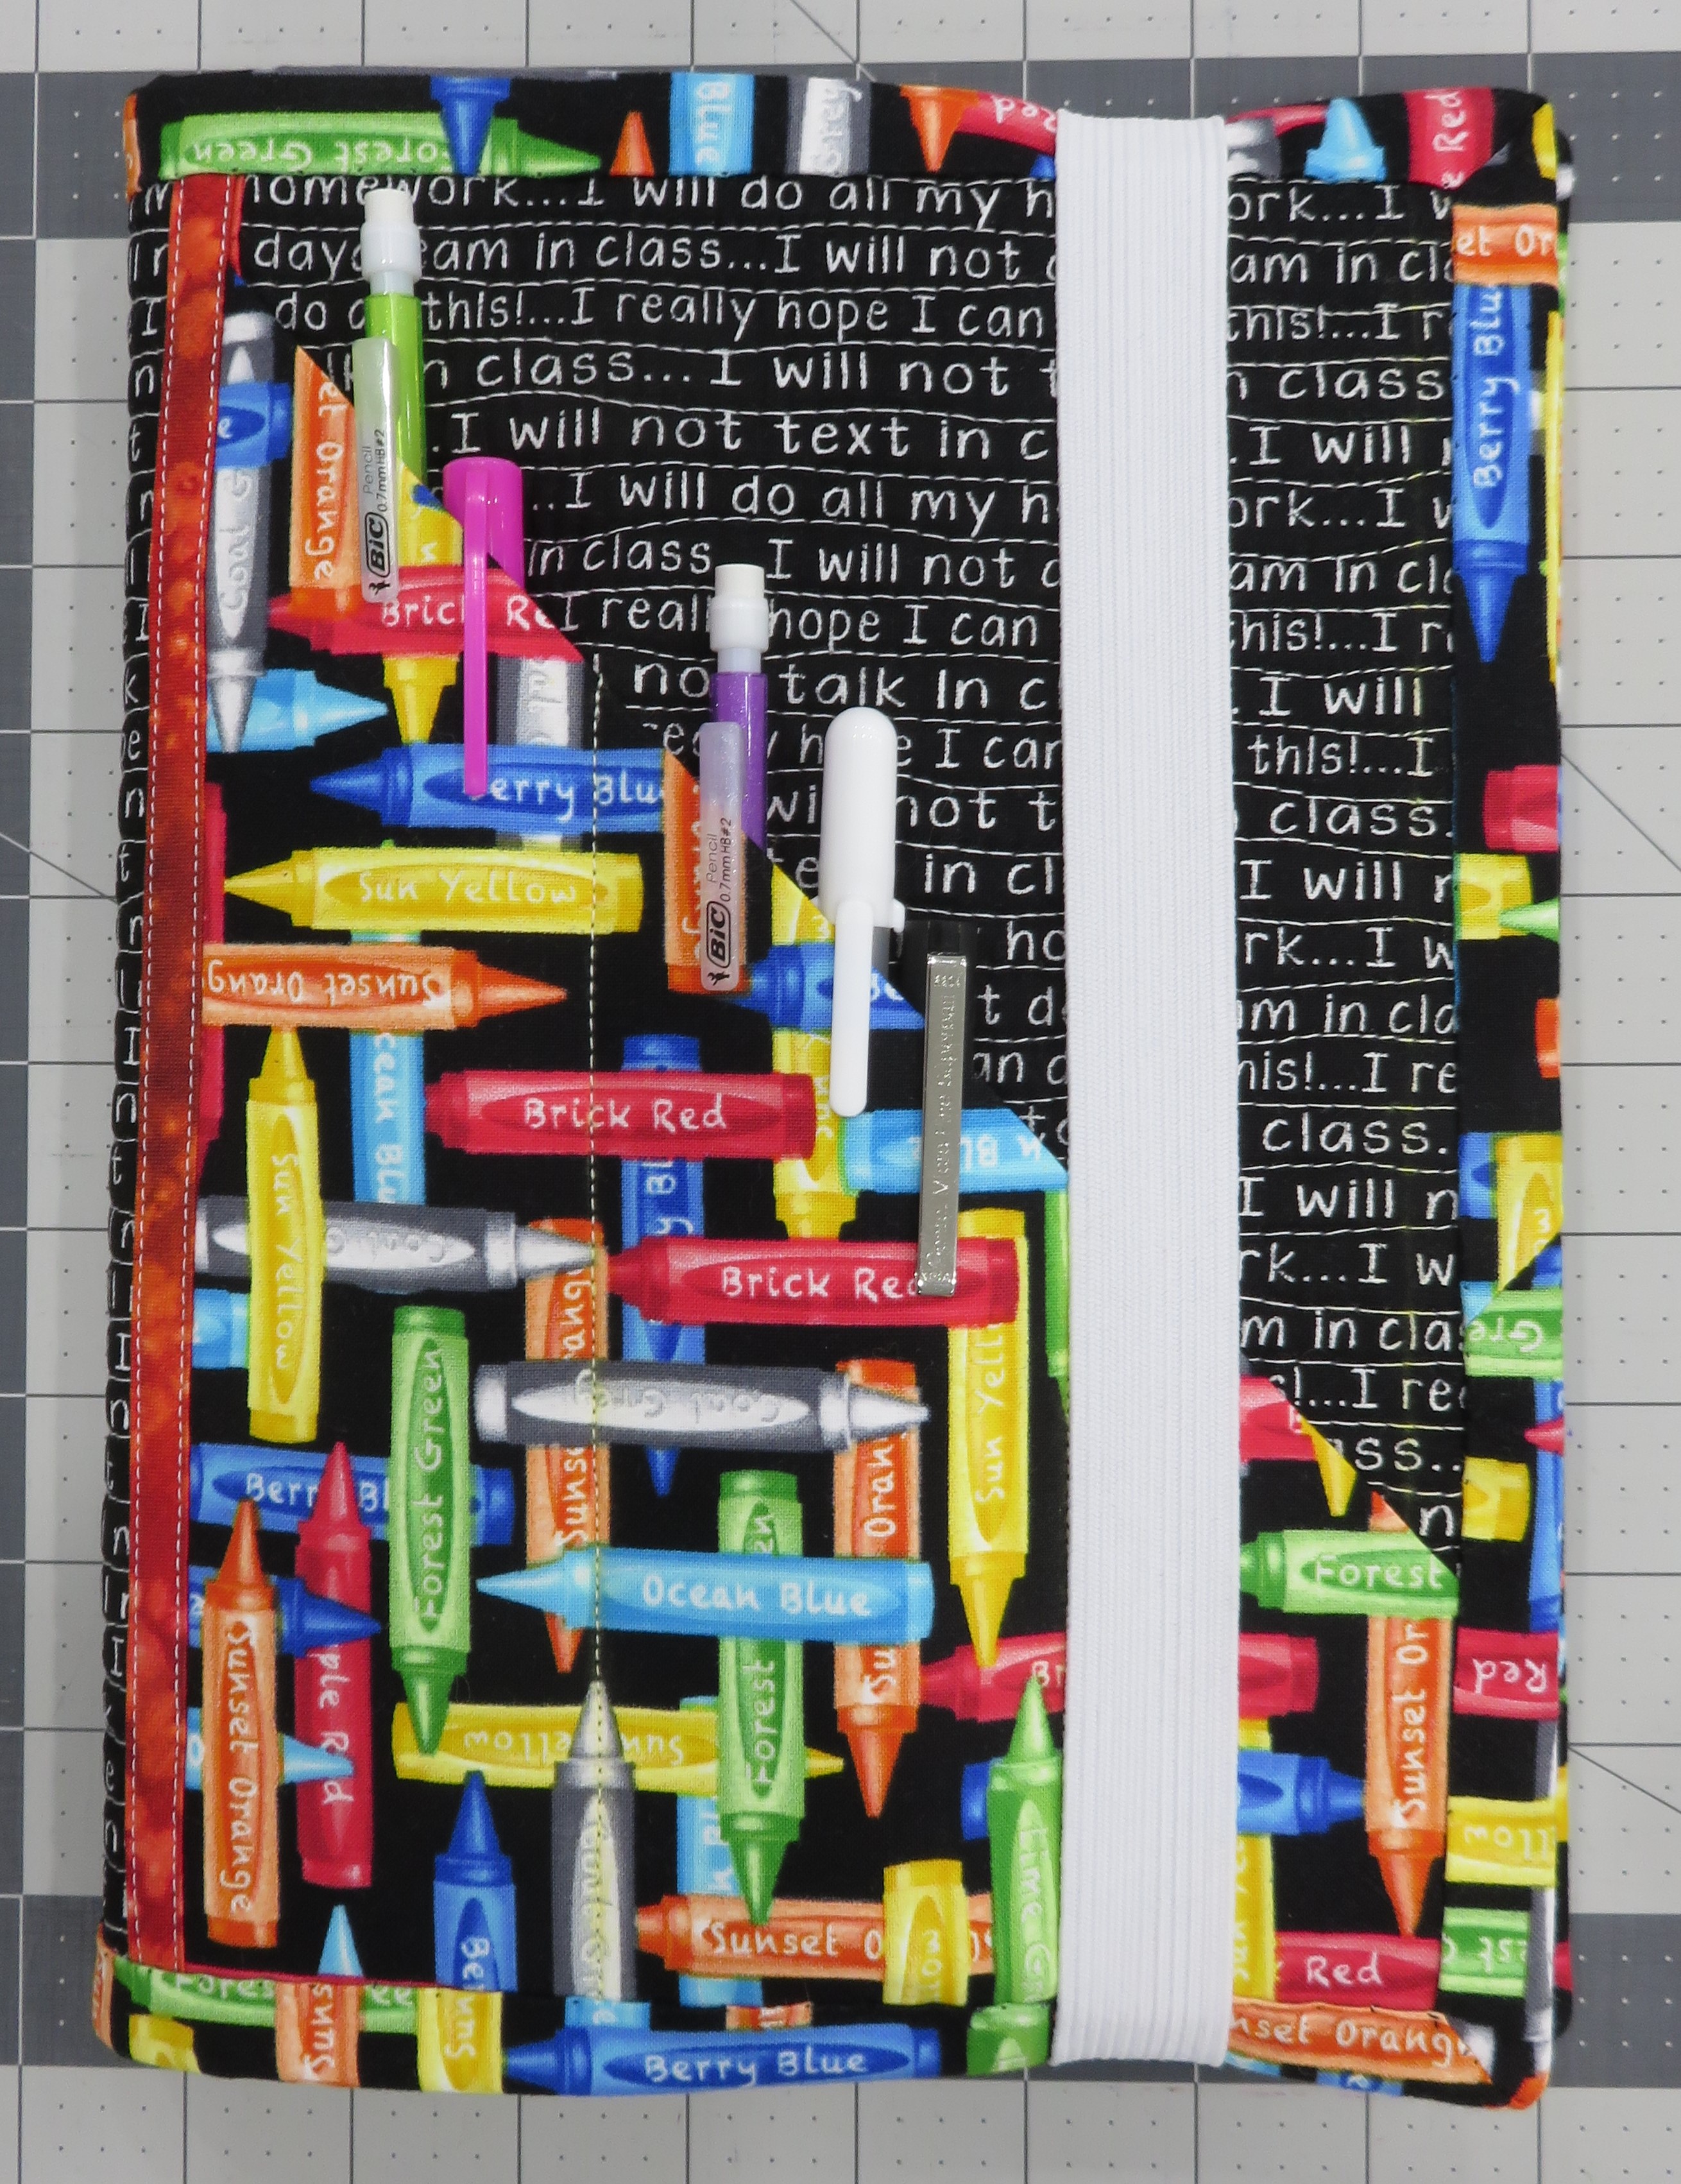
Summer has finally arrived– and with summer often come vacations and road trips with the family. The Janome Horizon Memory Craft 8900QCP Special Edition is the perfect tool for you to create a fun quilt that will make time in the car fly. This project is great for using up novelty prints and scraps that you might have a hard time using, while practicing your perfect piecing with Janome’s quarter inch foot. Take turns with the kids in the car, saying “I spy…______” and picking an object from one of the novelty prints on the quilt. They will search for the object and take turns doing the same for endless fun! This is a wonderful project to make those long road trips seem a bit faster.
Skill Level: Intermediate
Sewing Time: 10 hours, or less if using precuts
Finished Quilt Size: 48” x 54”
Click here to download a PDF of the instructions.
Janome Supplies Required:
HMC8900QCP SE
1/4″ Seam Foot O
QBS Foot for Free Motion Quilting
Blue Tip Needle
Pre-wound Bobbin
Empty Bobbin
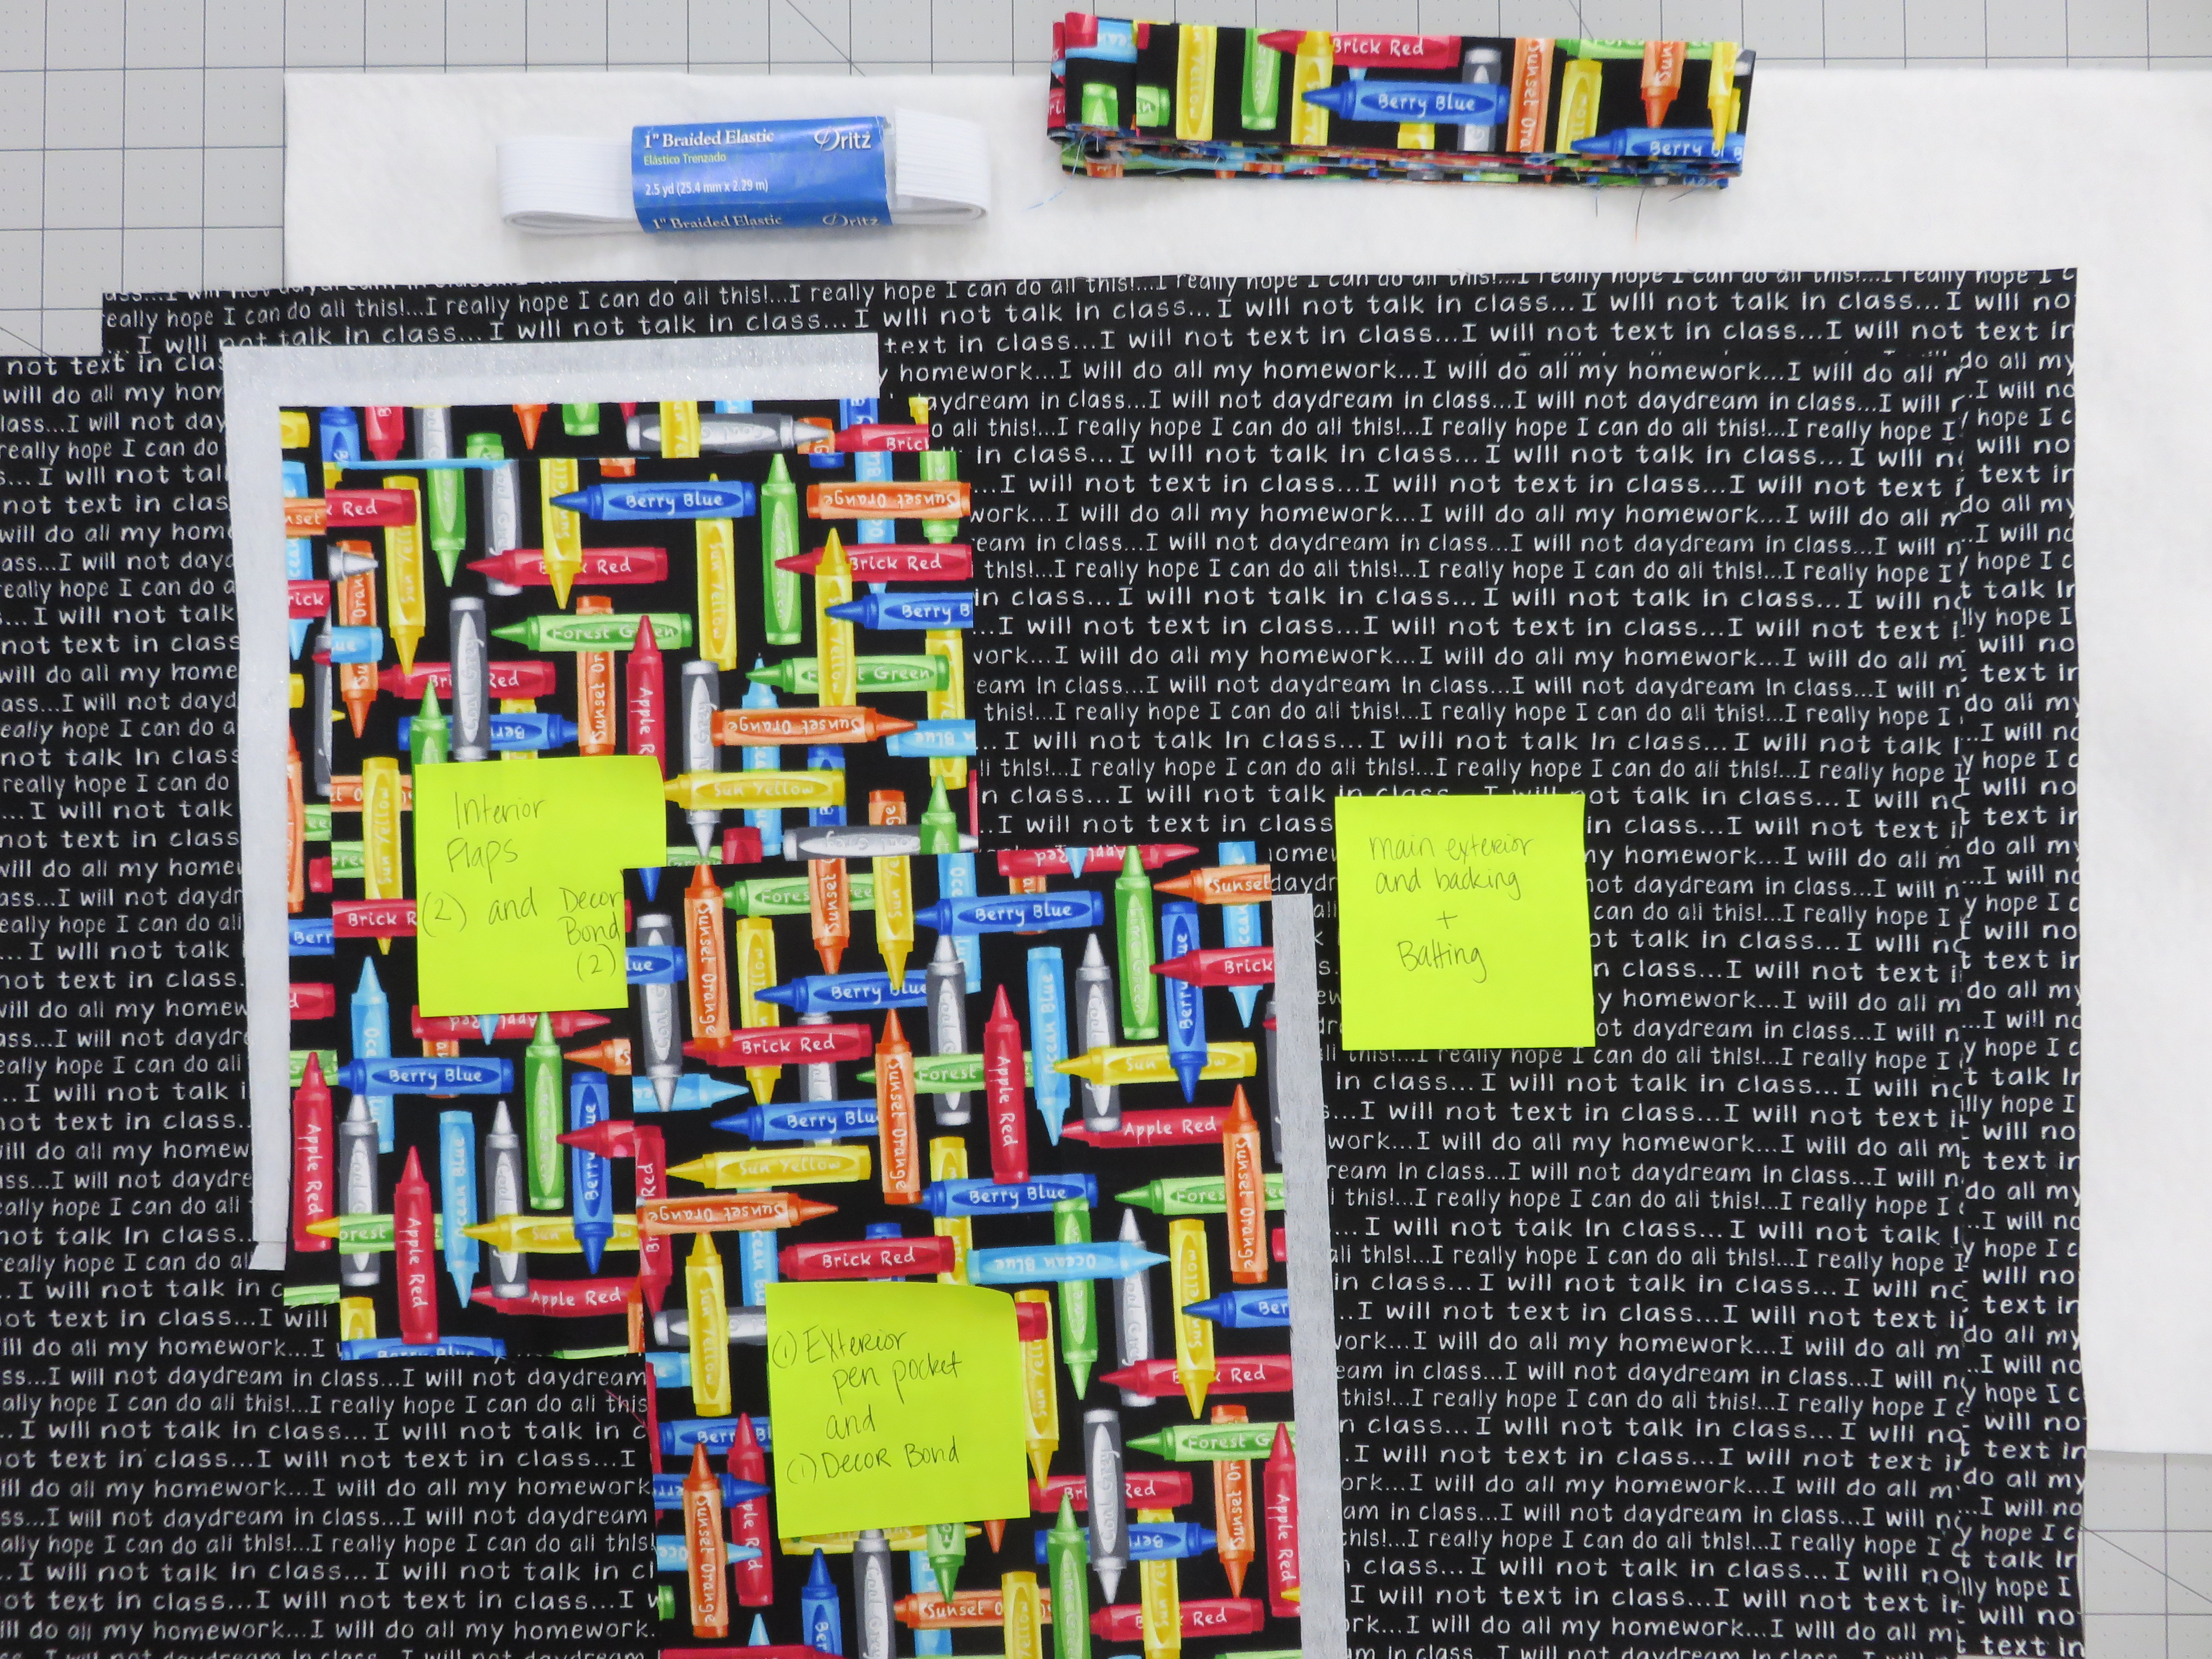
Fabrics/Notions required:
4 yds. quilting cotton sub cut into:
(2) 36.5” x 6.5” (top and bottom borders)
(2) 55” x 6.5” (side borders)
(1) 58” x 64” (back of quilt)
Various novelty prints/scraps/fat quarters with different themes (seasonal fabrics are great too!) sub cut into:
(42) 6.5” x 6.5” squares (blocks for center of quilt)
½ yard quilting cotton sub cut into:
(6) 2.5” x WOF (binding strips)
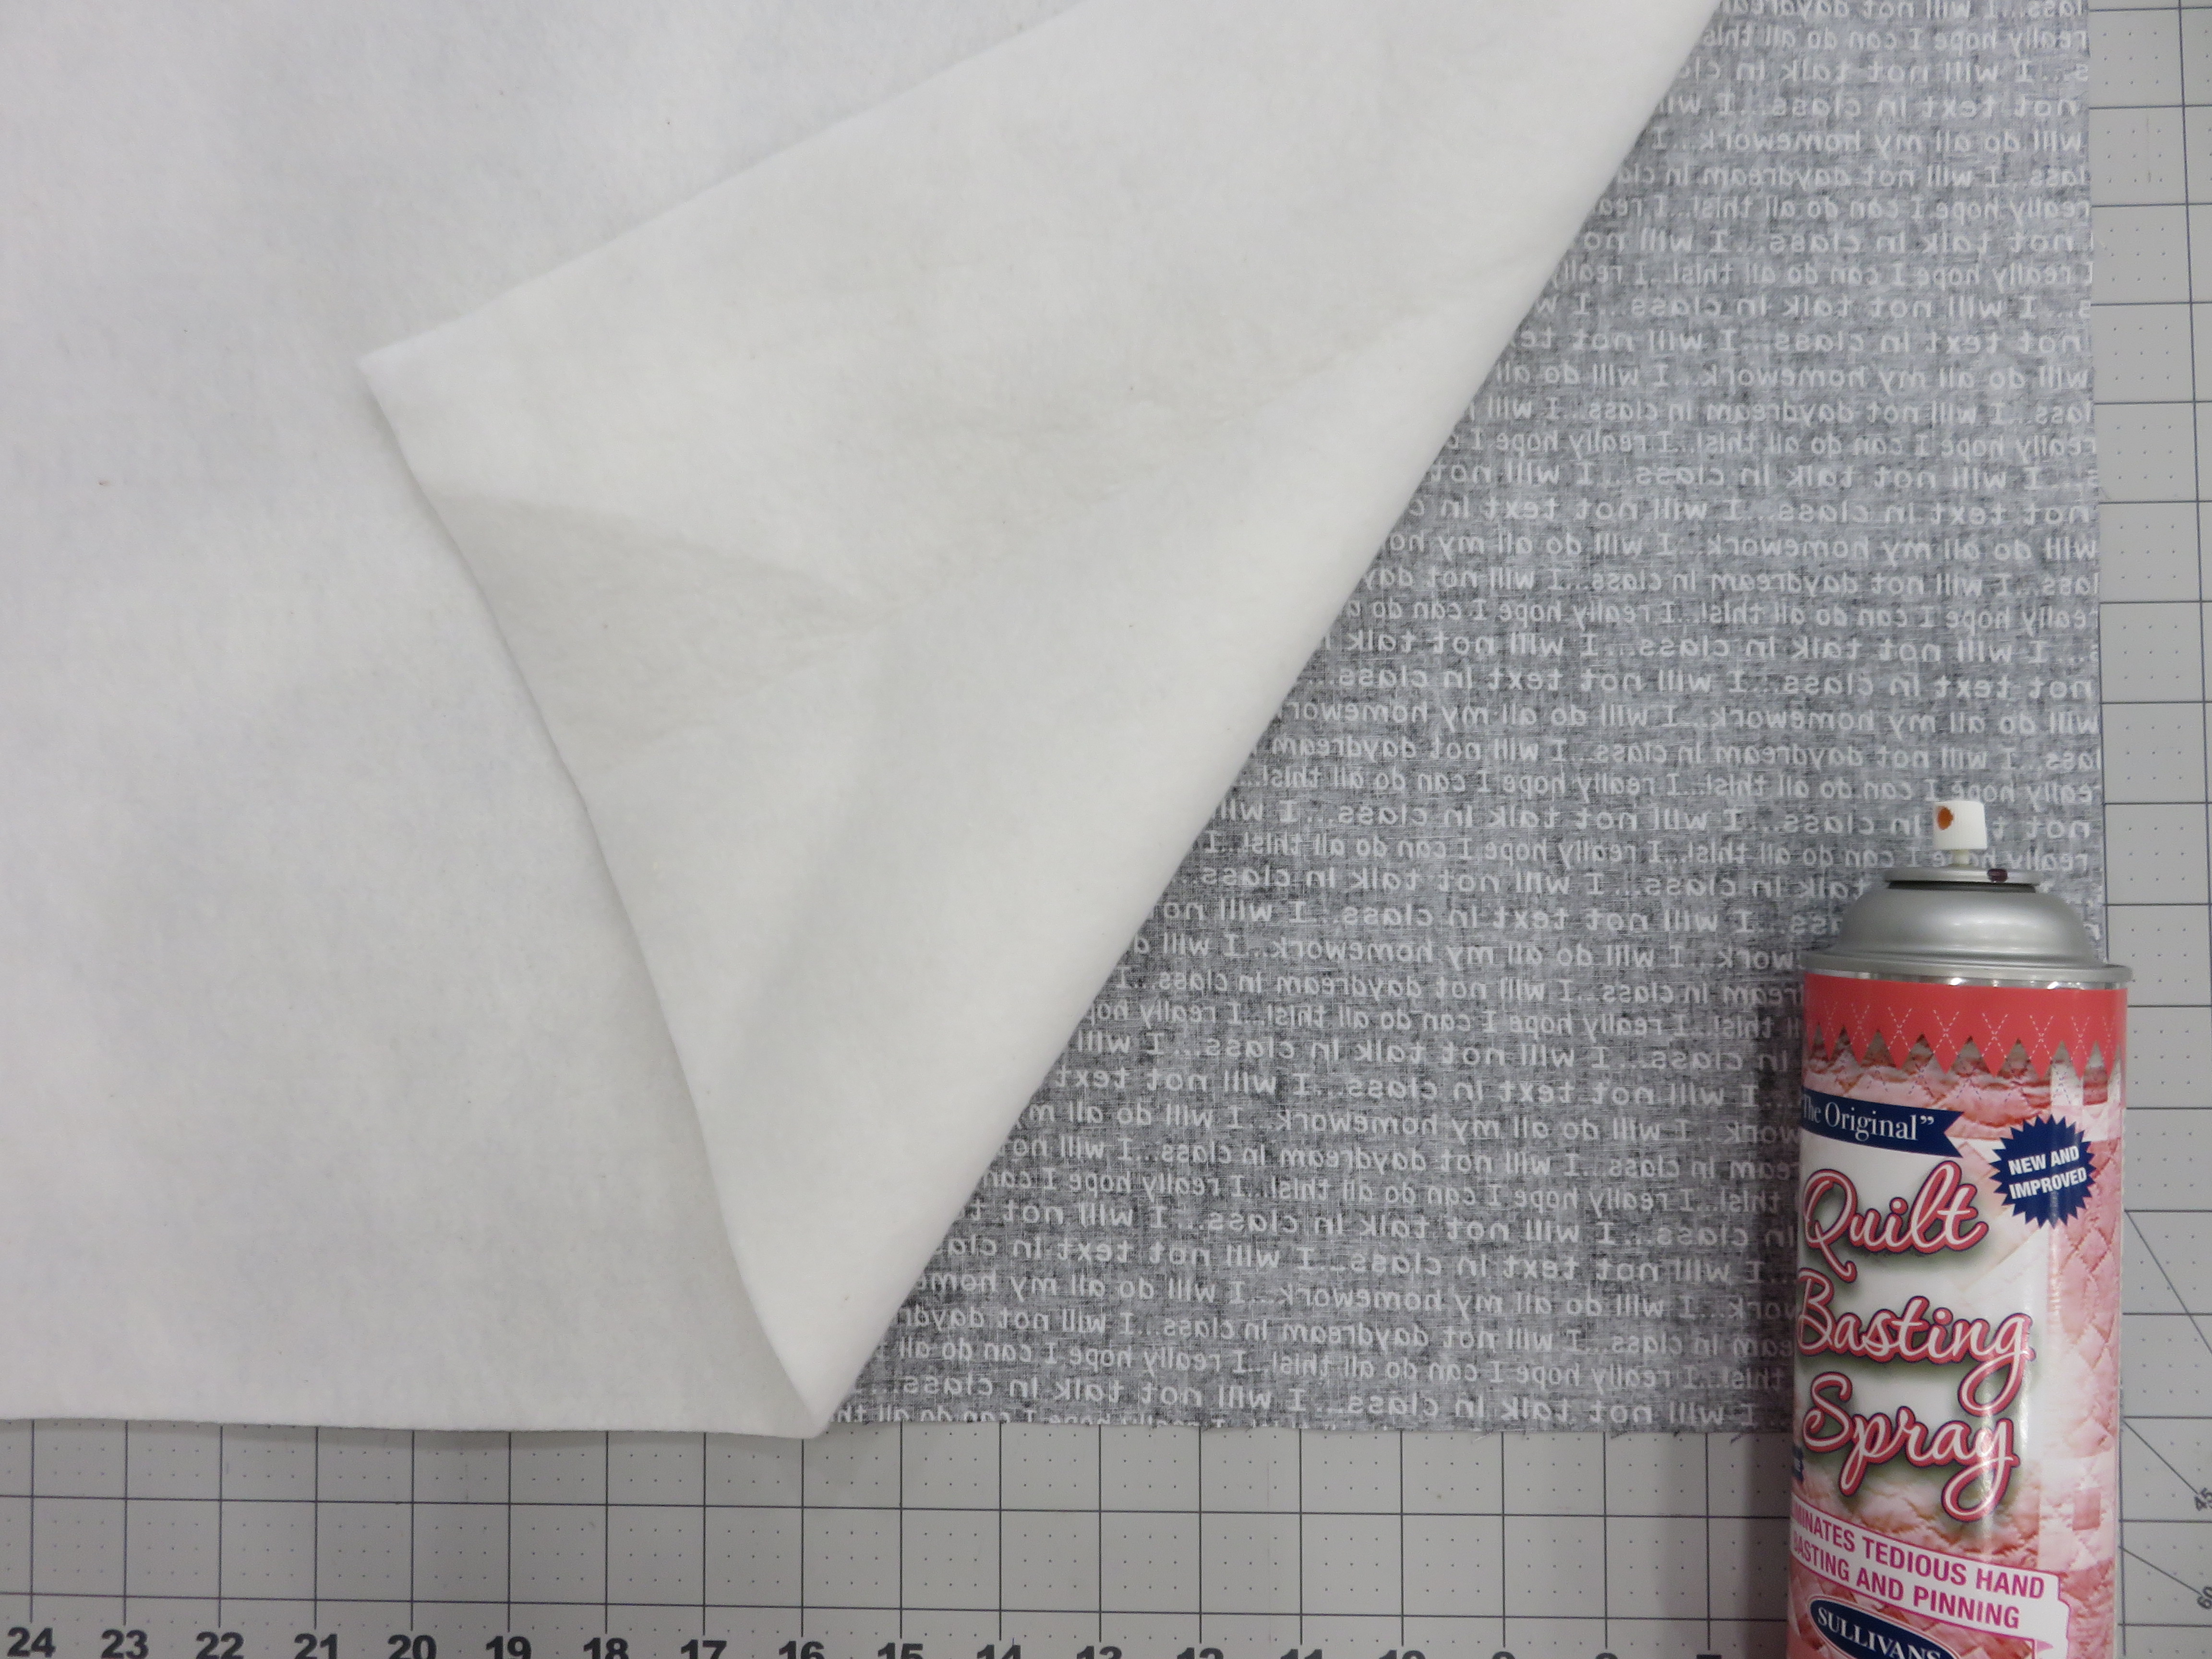
2 yds. of at least 60” wide batting
Coordinating all-purpose sewing thread for piecing
Coordinating machine quilting thread
Student Supplies Required:
Marking pen/tailors chalk
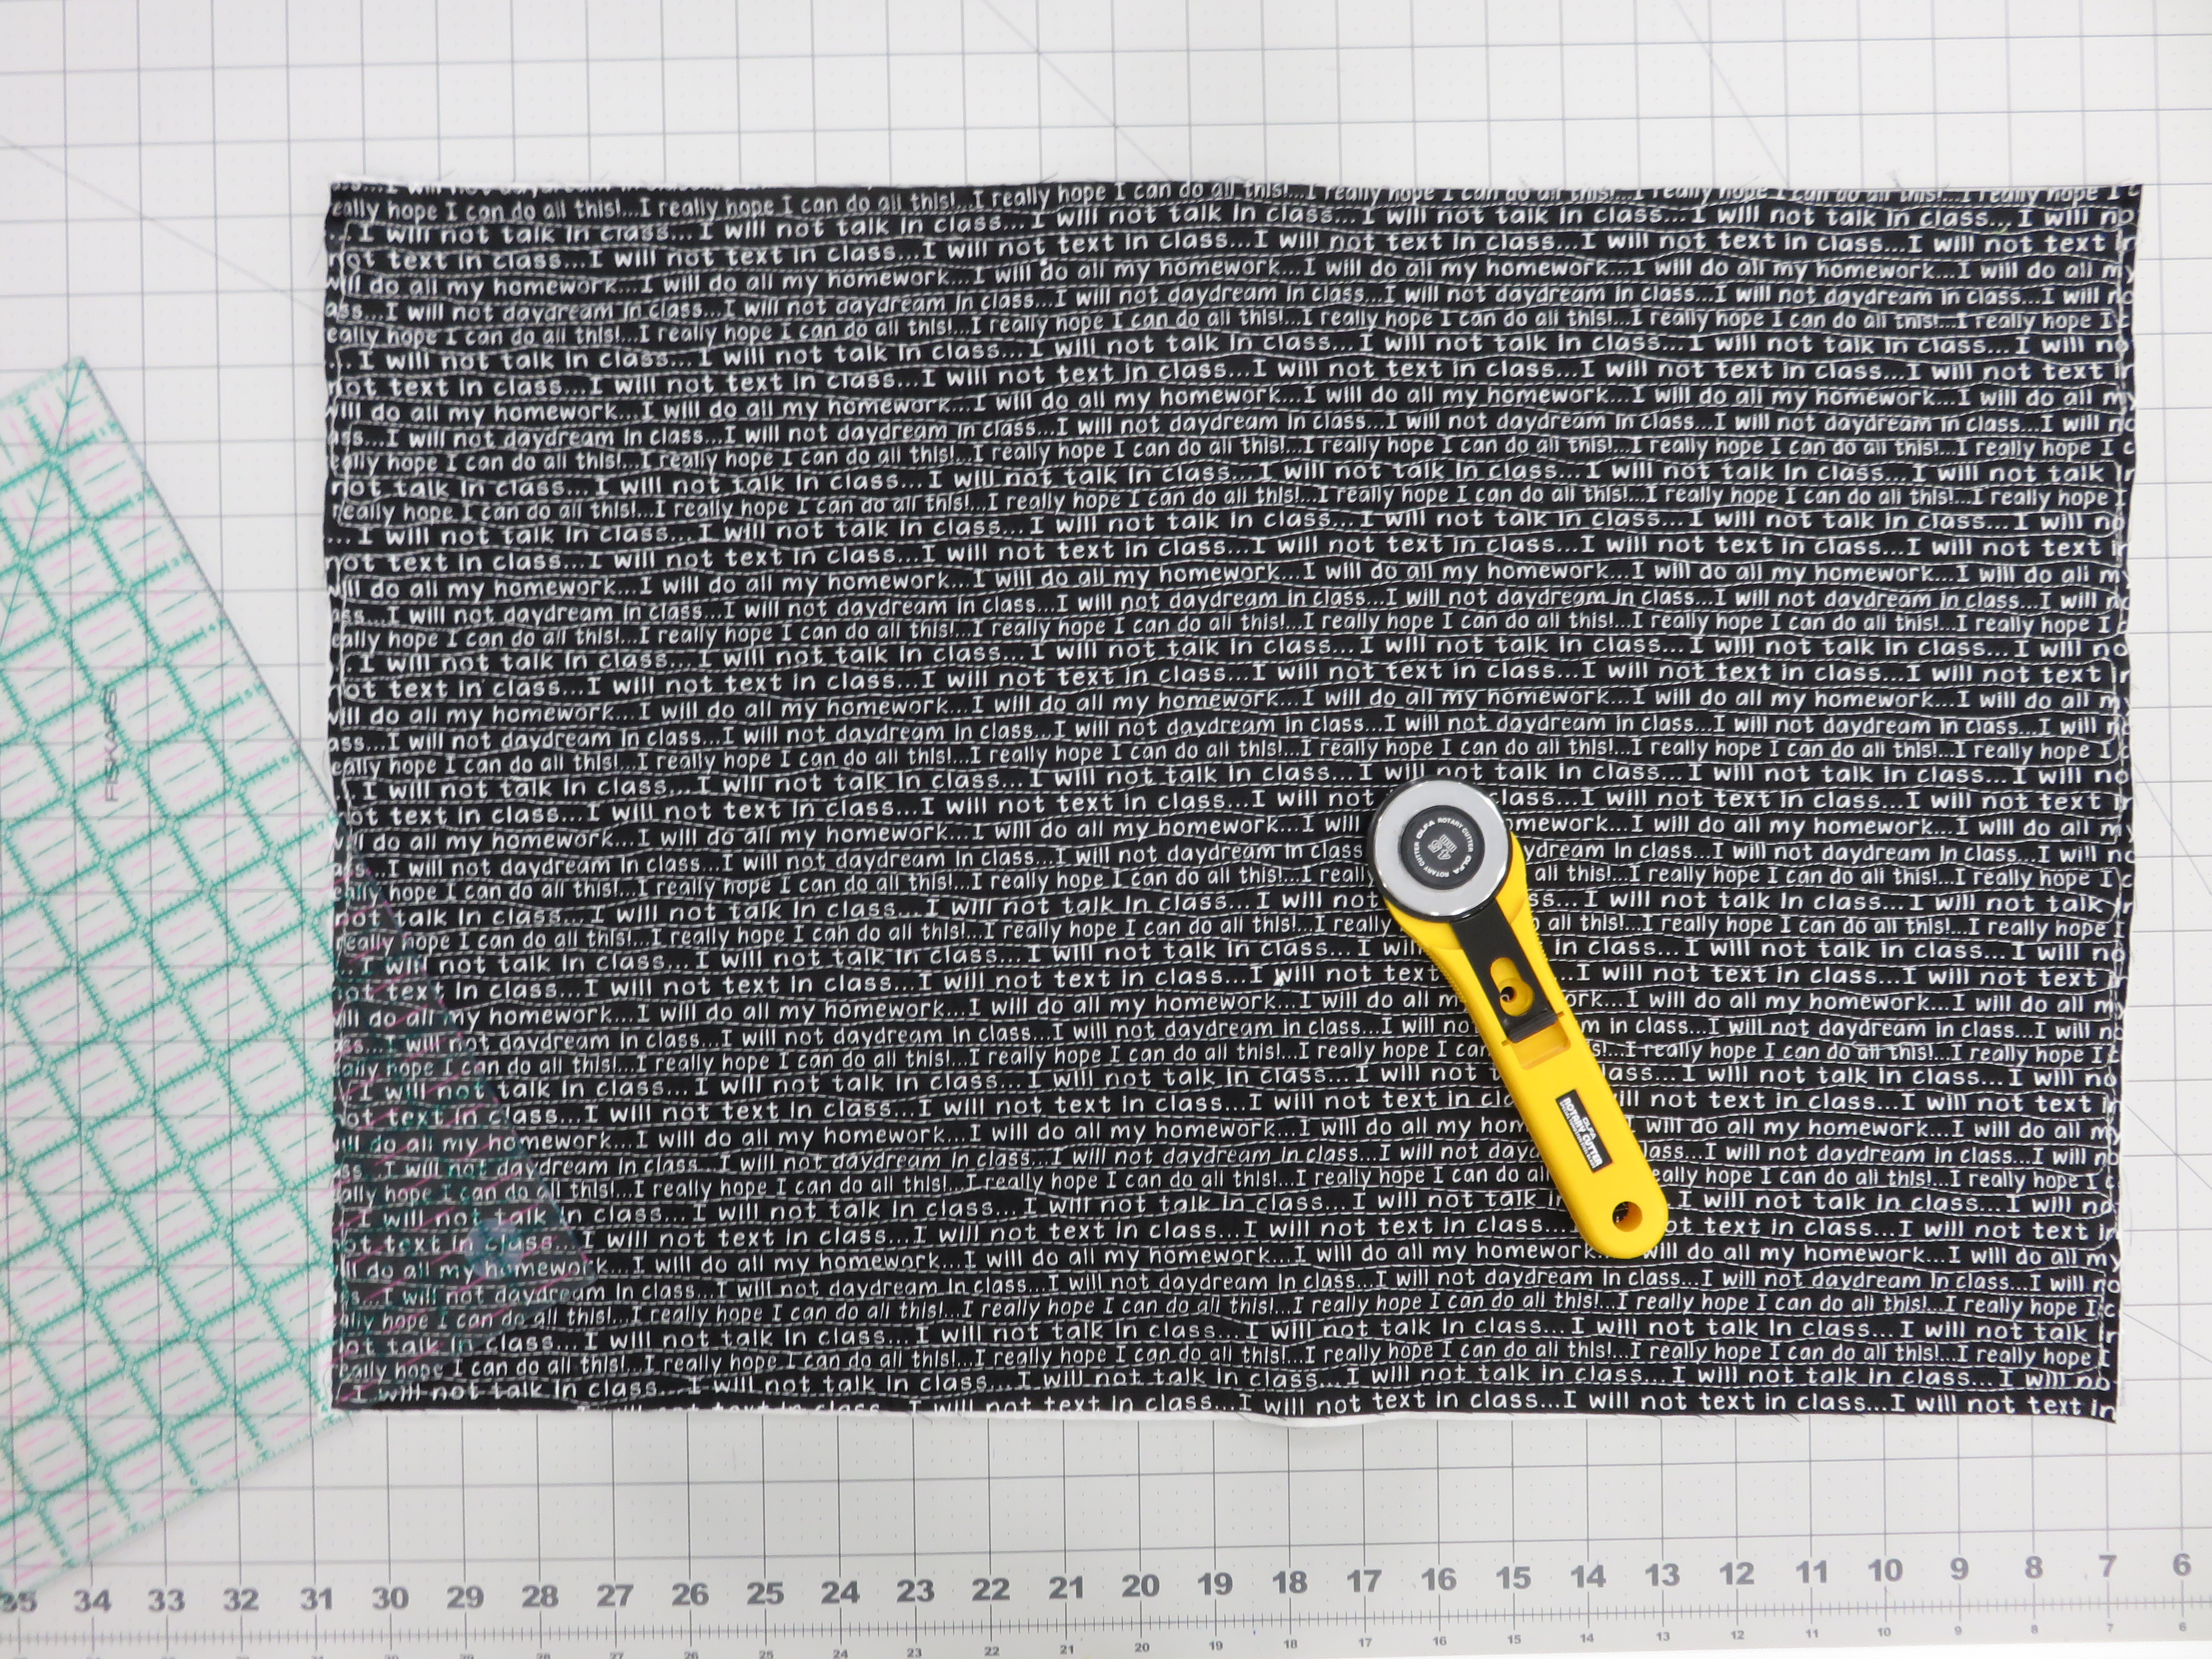
Rotary cutter/ruler/mat
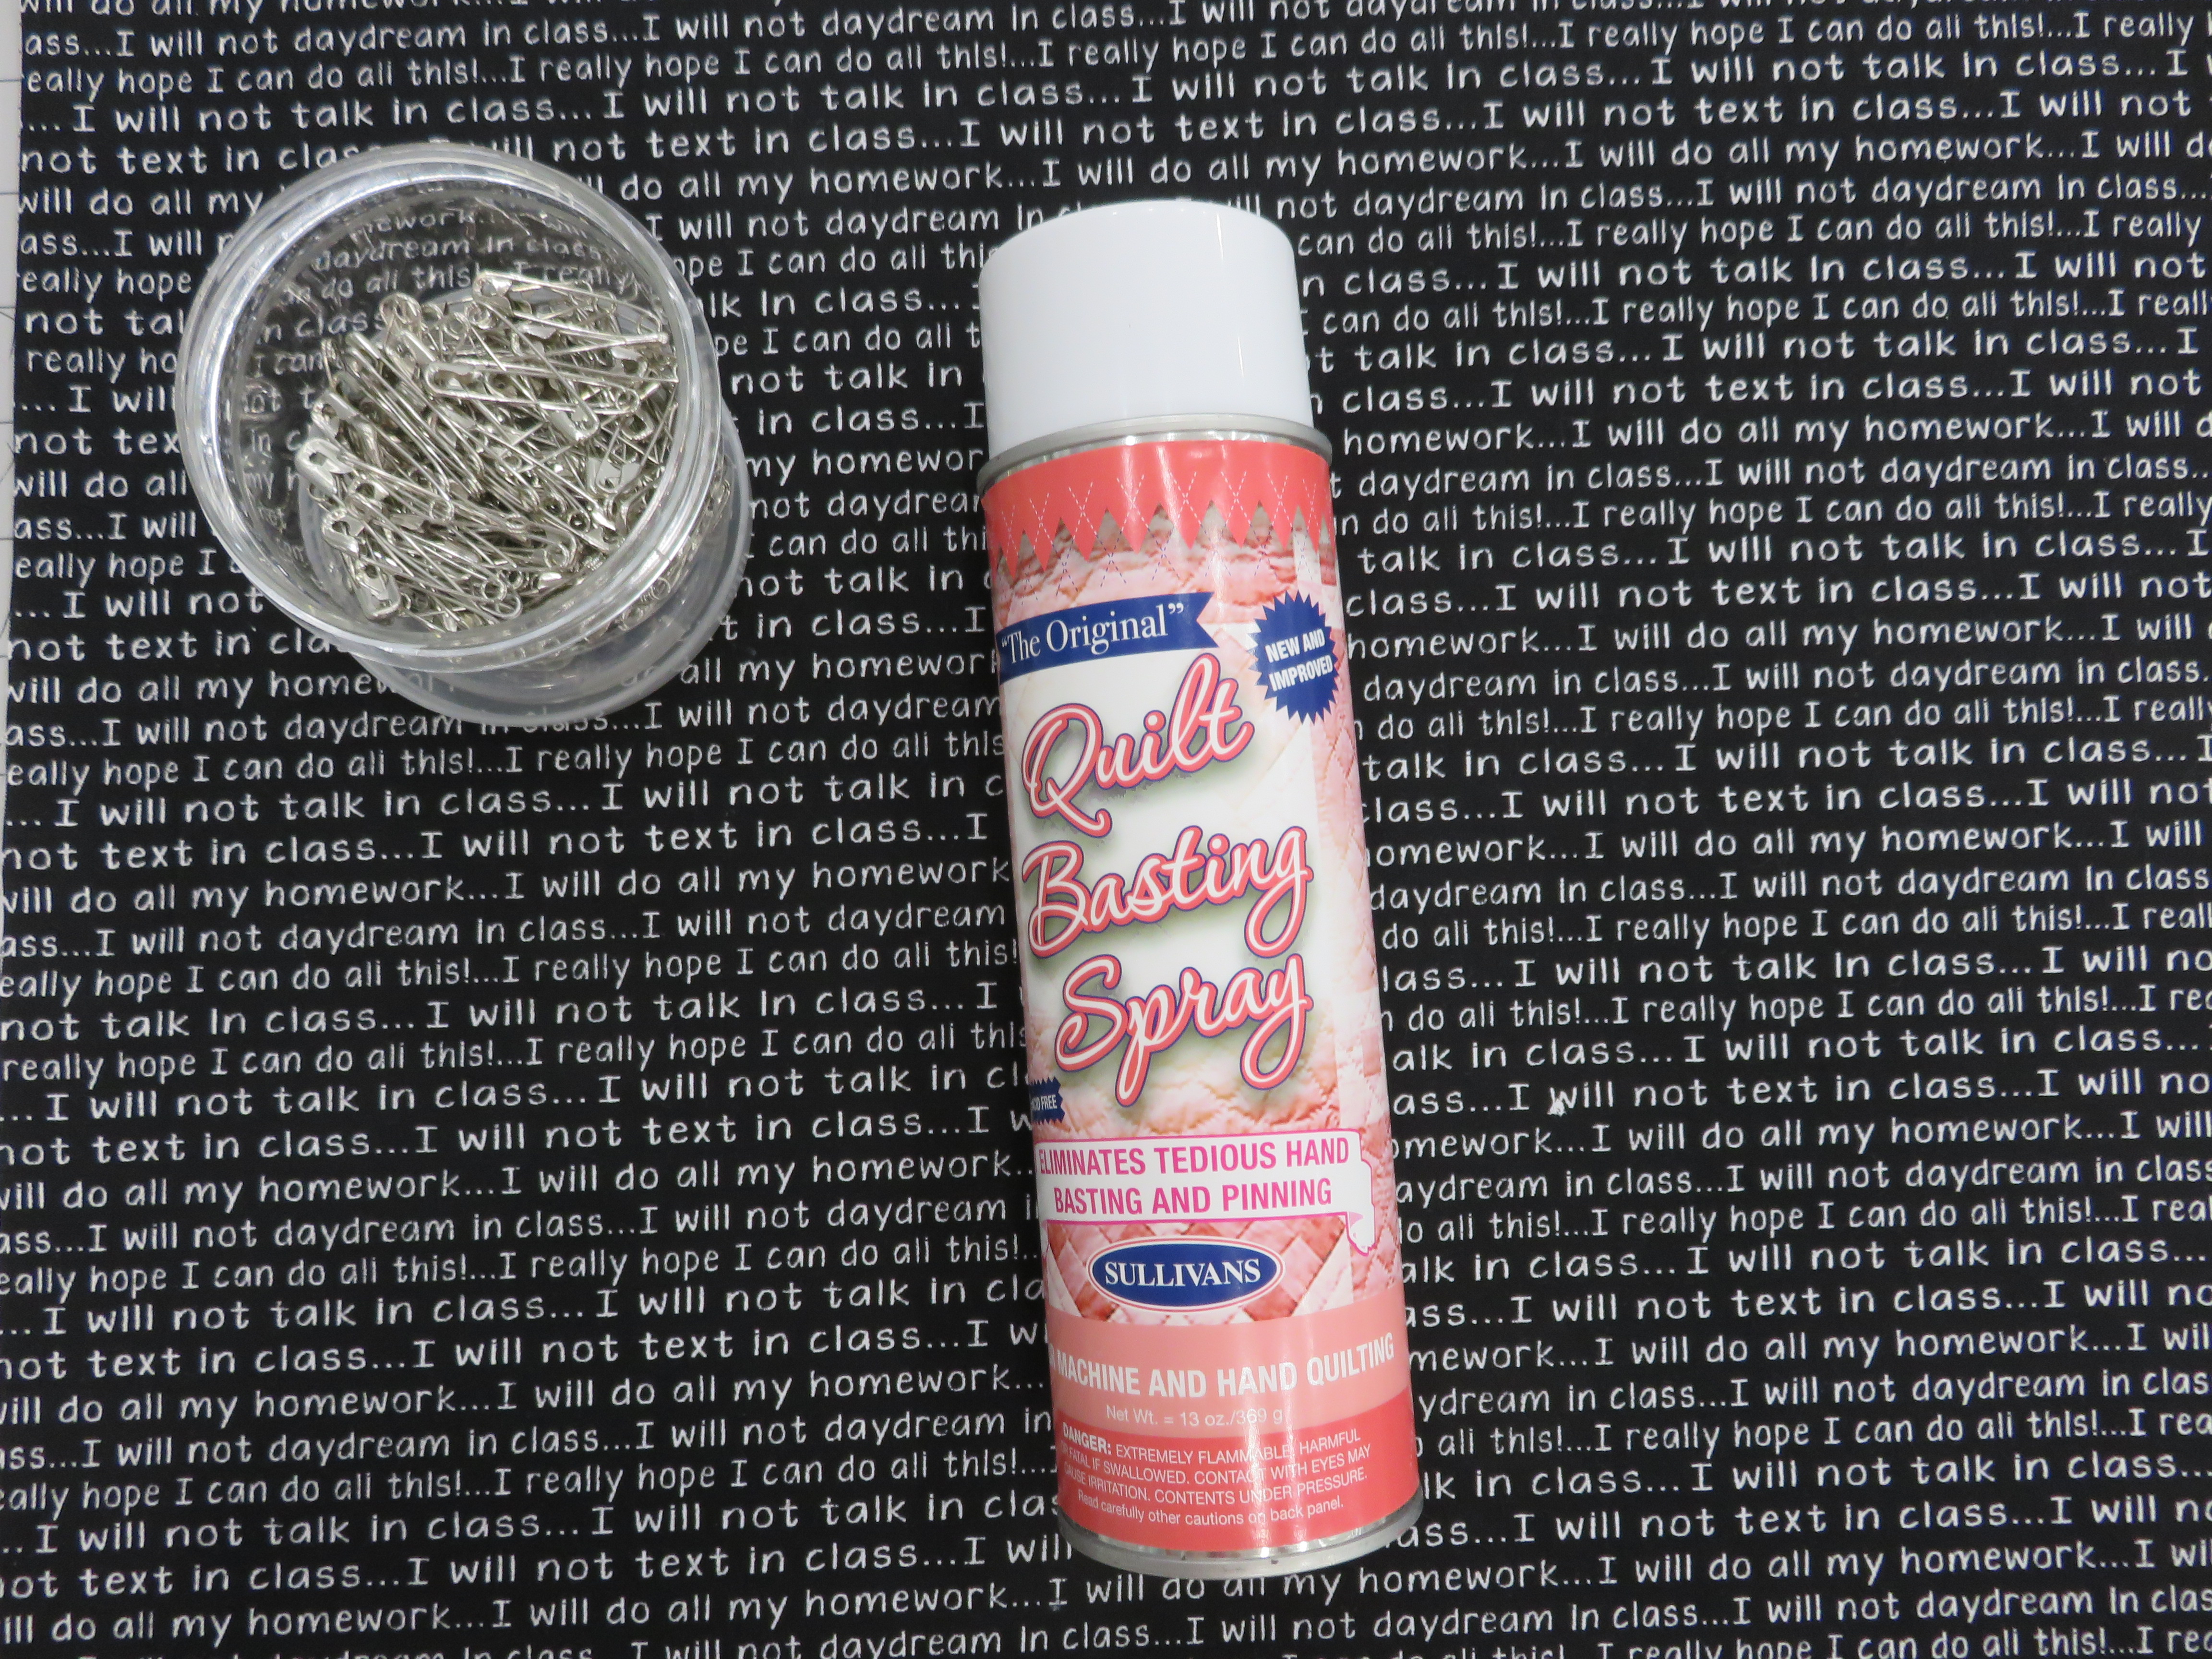
Safety pins/spray baste
Spray starch, if desired
Iron
Tip: The crazier and more unrelated the prints are, the better. This quilt tutorial is great for using up gifted fabrics or scraps that you just don’t know what to do with. You can also use a charm pack instead of cutting your own 6.5” squares. Feel free to play around with the size of the I Spy quilt and change the size of the borders, the number of squares used for the center of the quilt, etc. Just be sure to adjust the size of the backing and batting to reflect the changes made on the front of the quilt. You could also add sashing if you wanted the novelty prints to be focal points, and let the eye have a place to rest amidst the craziness of the prints.
Layout and Piecing the Top

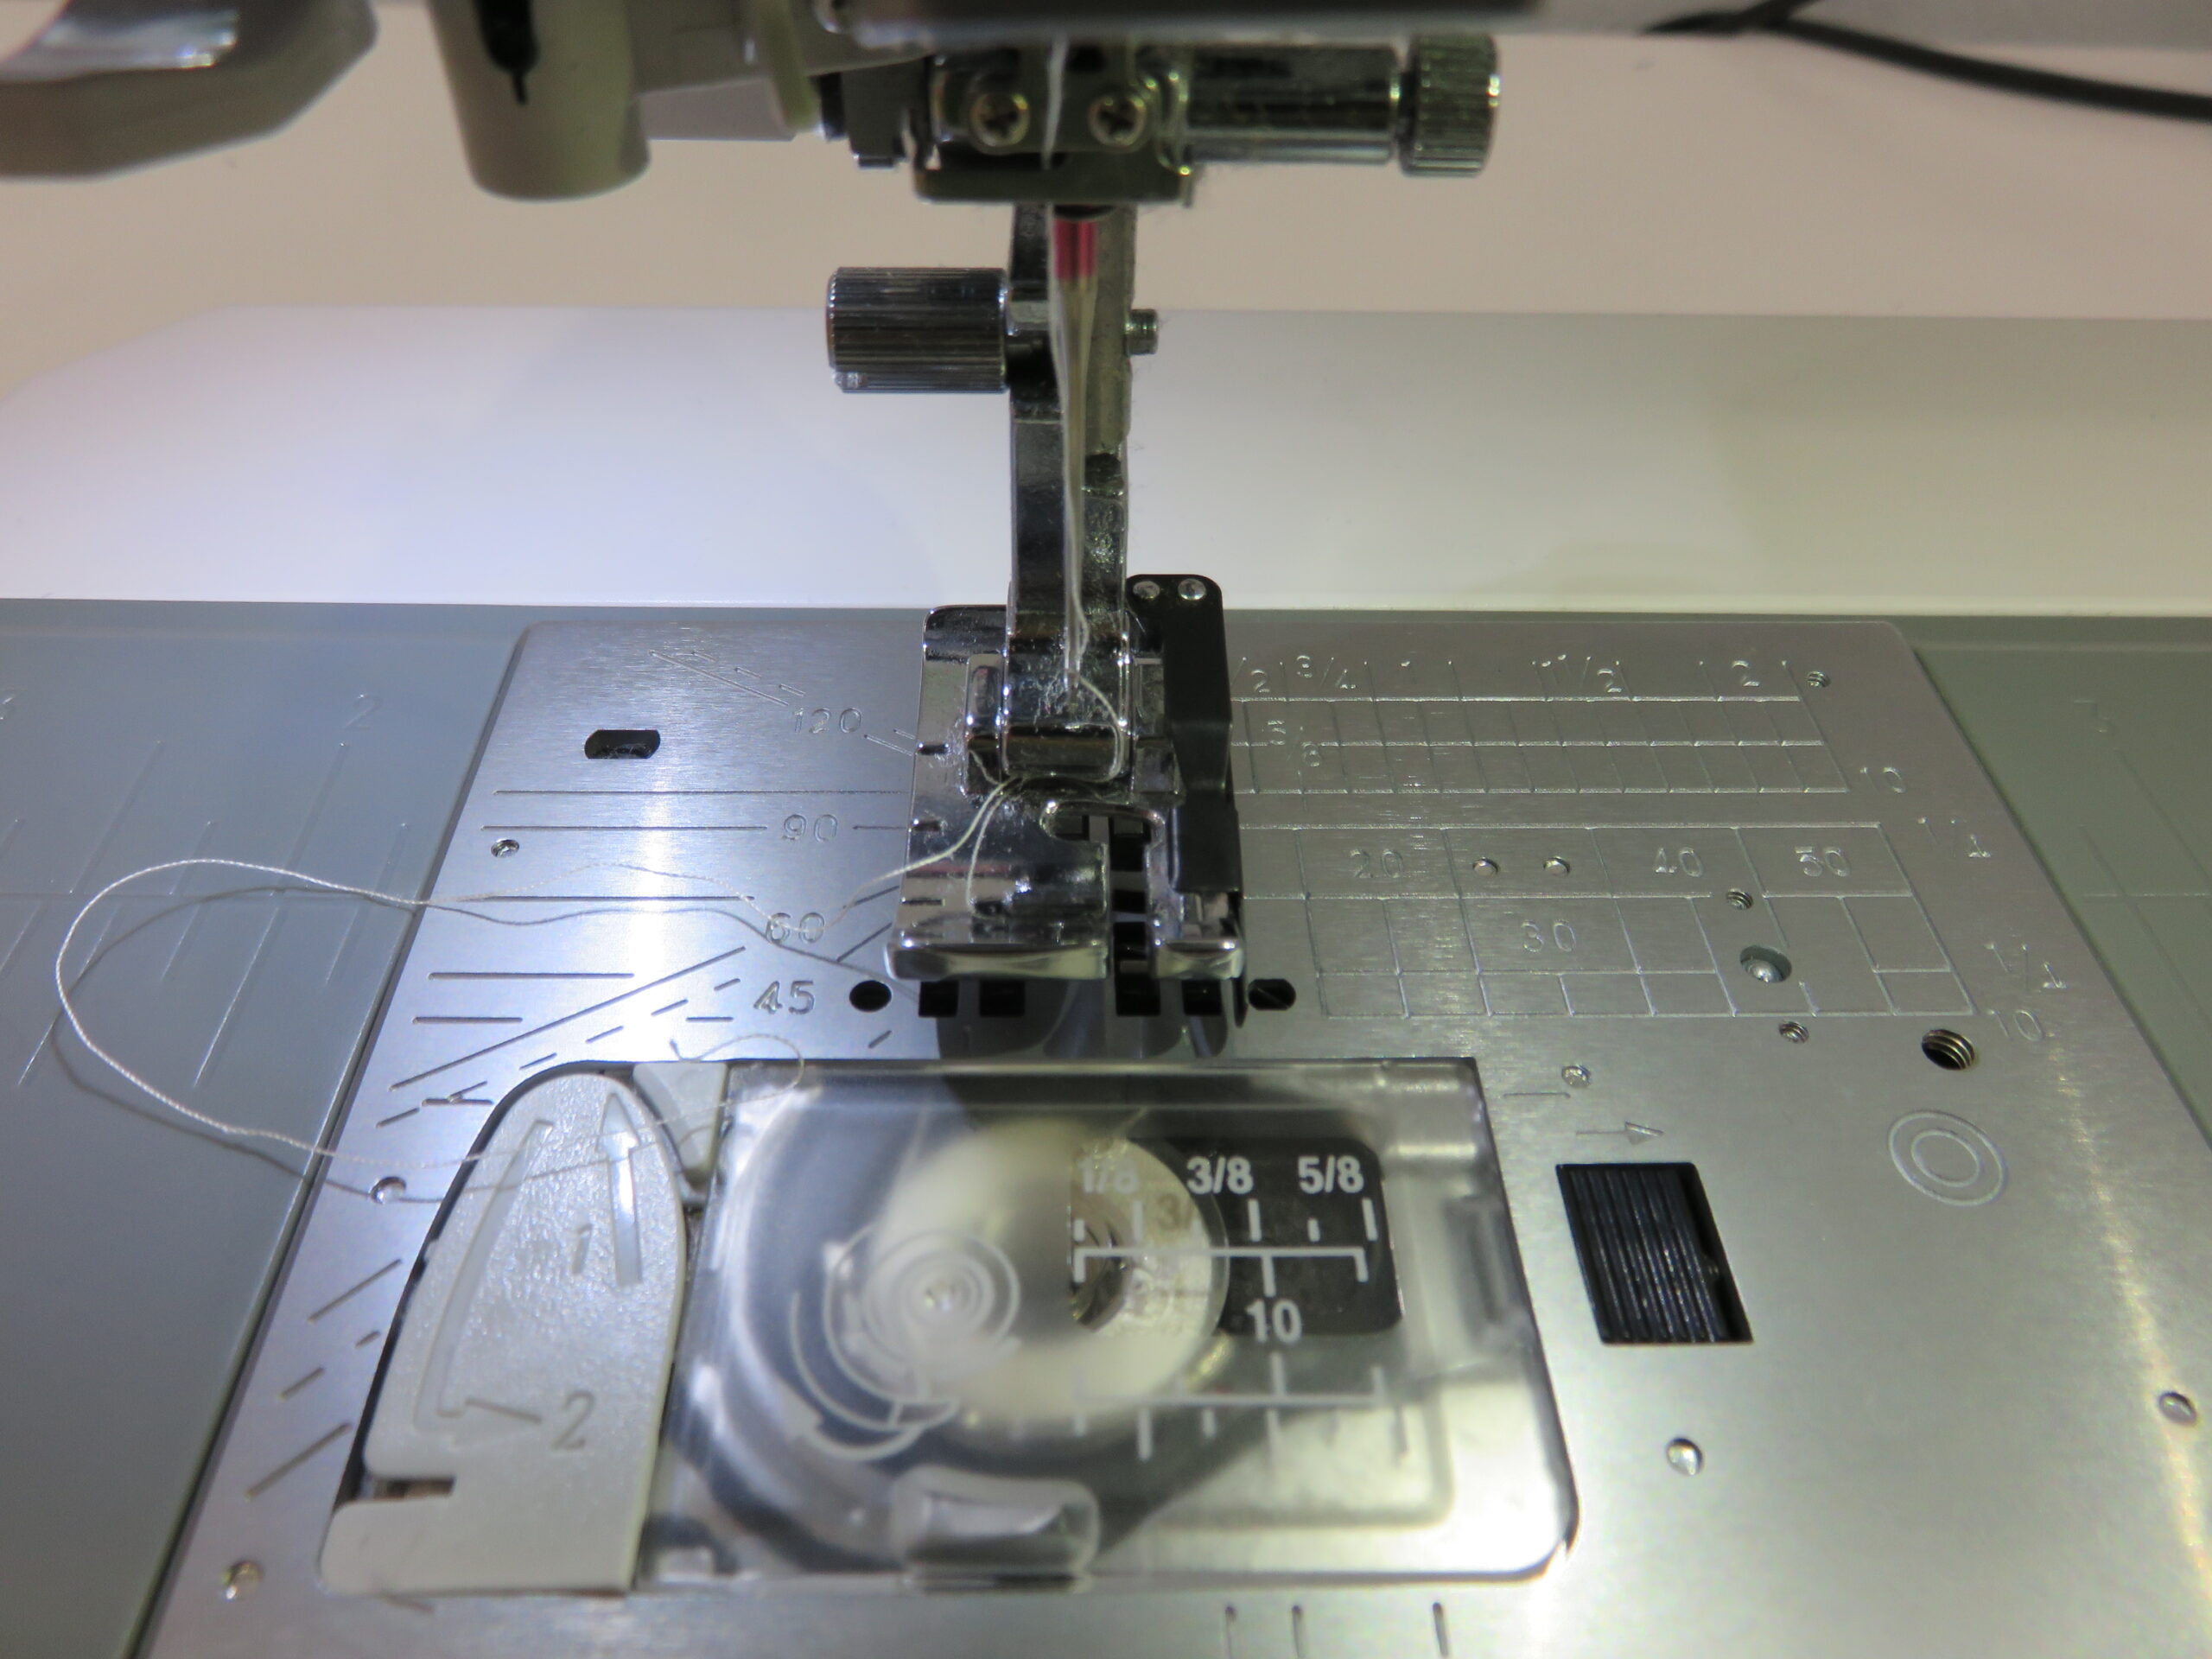
1. If the Janome quarter inch piecing foot O is not attached to the presser foot, install the foot by snapping it on. This foot is amazing at keeping seam allowances a consistent 1/4″ at all times by utilizing a little black guide that slides up against the edge of the fabric being sewn. Thread the machine with the piecing thread you are using. Select needle setting D95S on the MC8900QCP SE for sewing with the quarter inch foot.
2. Begin by arranging the 6.5” squares in the layout you want. You can opt for random placement, group the squares by color family or do a dark to light placement. If you have a design wall, it will come in handy for placement; if not, you can lay out the squares on the floor or a table top.
3. Arrange the 42 squares in a 6 squares wide by 7 squares long placement.
4. Sew each row of 6 together. Begin with row 1. Pin the first two squares right sides together. Line the edges of the pinned squares up under the ¼” foot guide and sew with a ¼” seam allowance.
Tip: To save time and a little thread, you can chain piece (piece the squares together without cutting the thread each time you begin sewing a new square set). Just keep in mind the layout you want–or take a picture–so your squares don’t get out of order.
5. Sew row 2 together, then row 3, and so on until all 7 rows have been pieced.
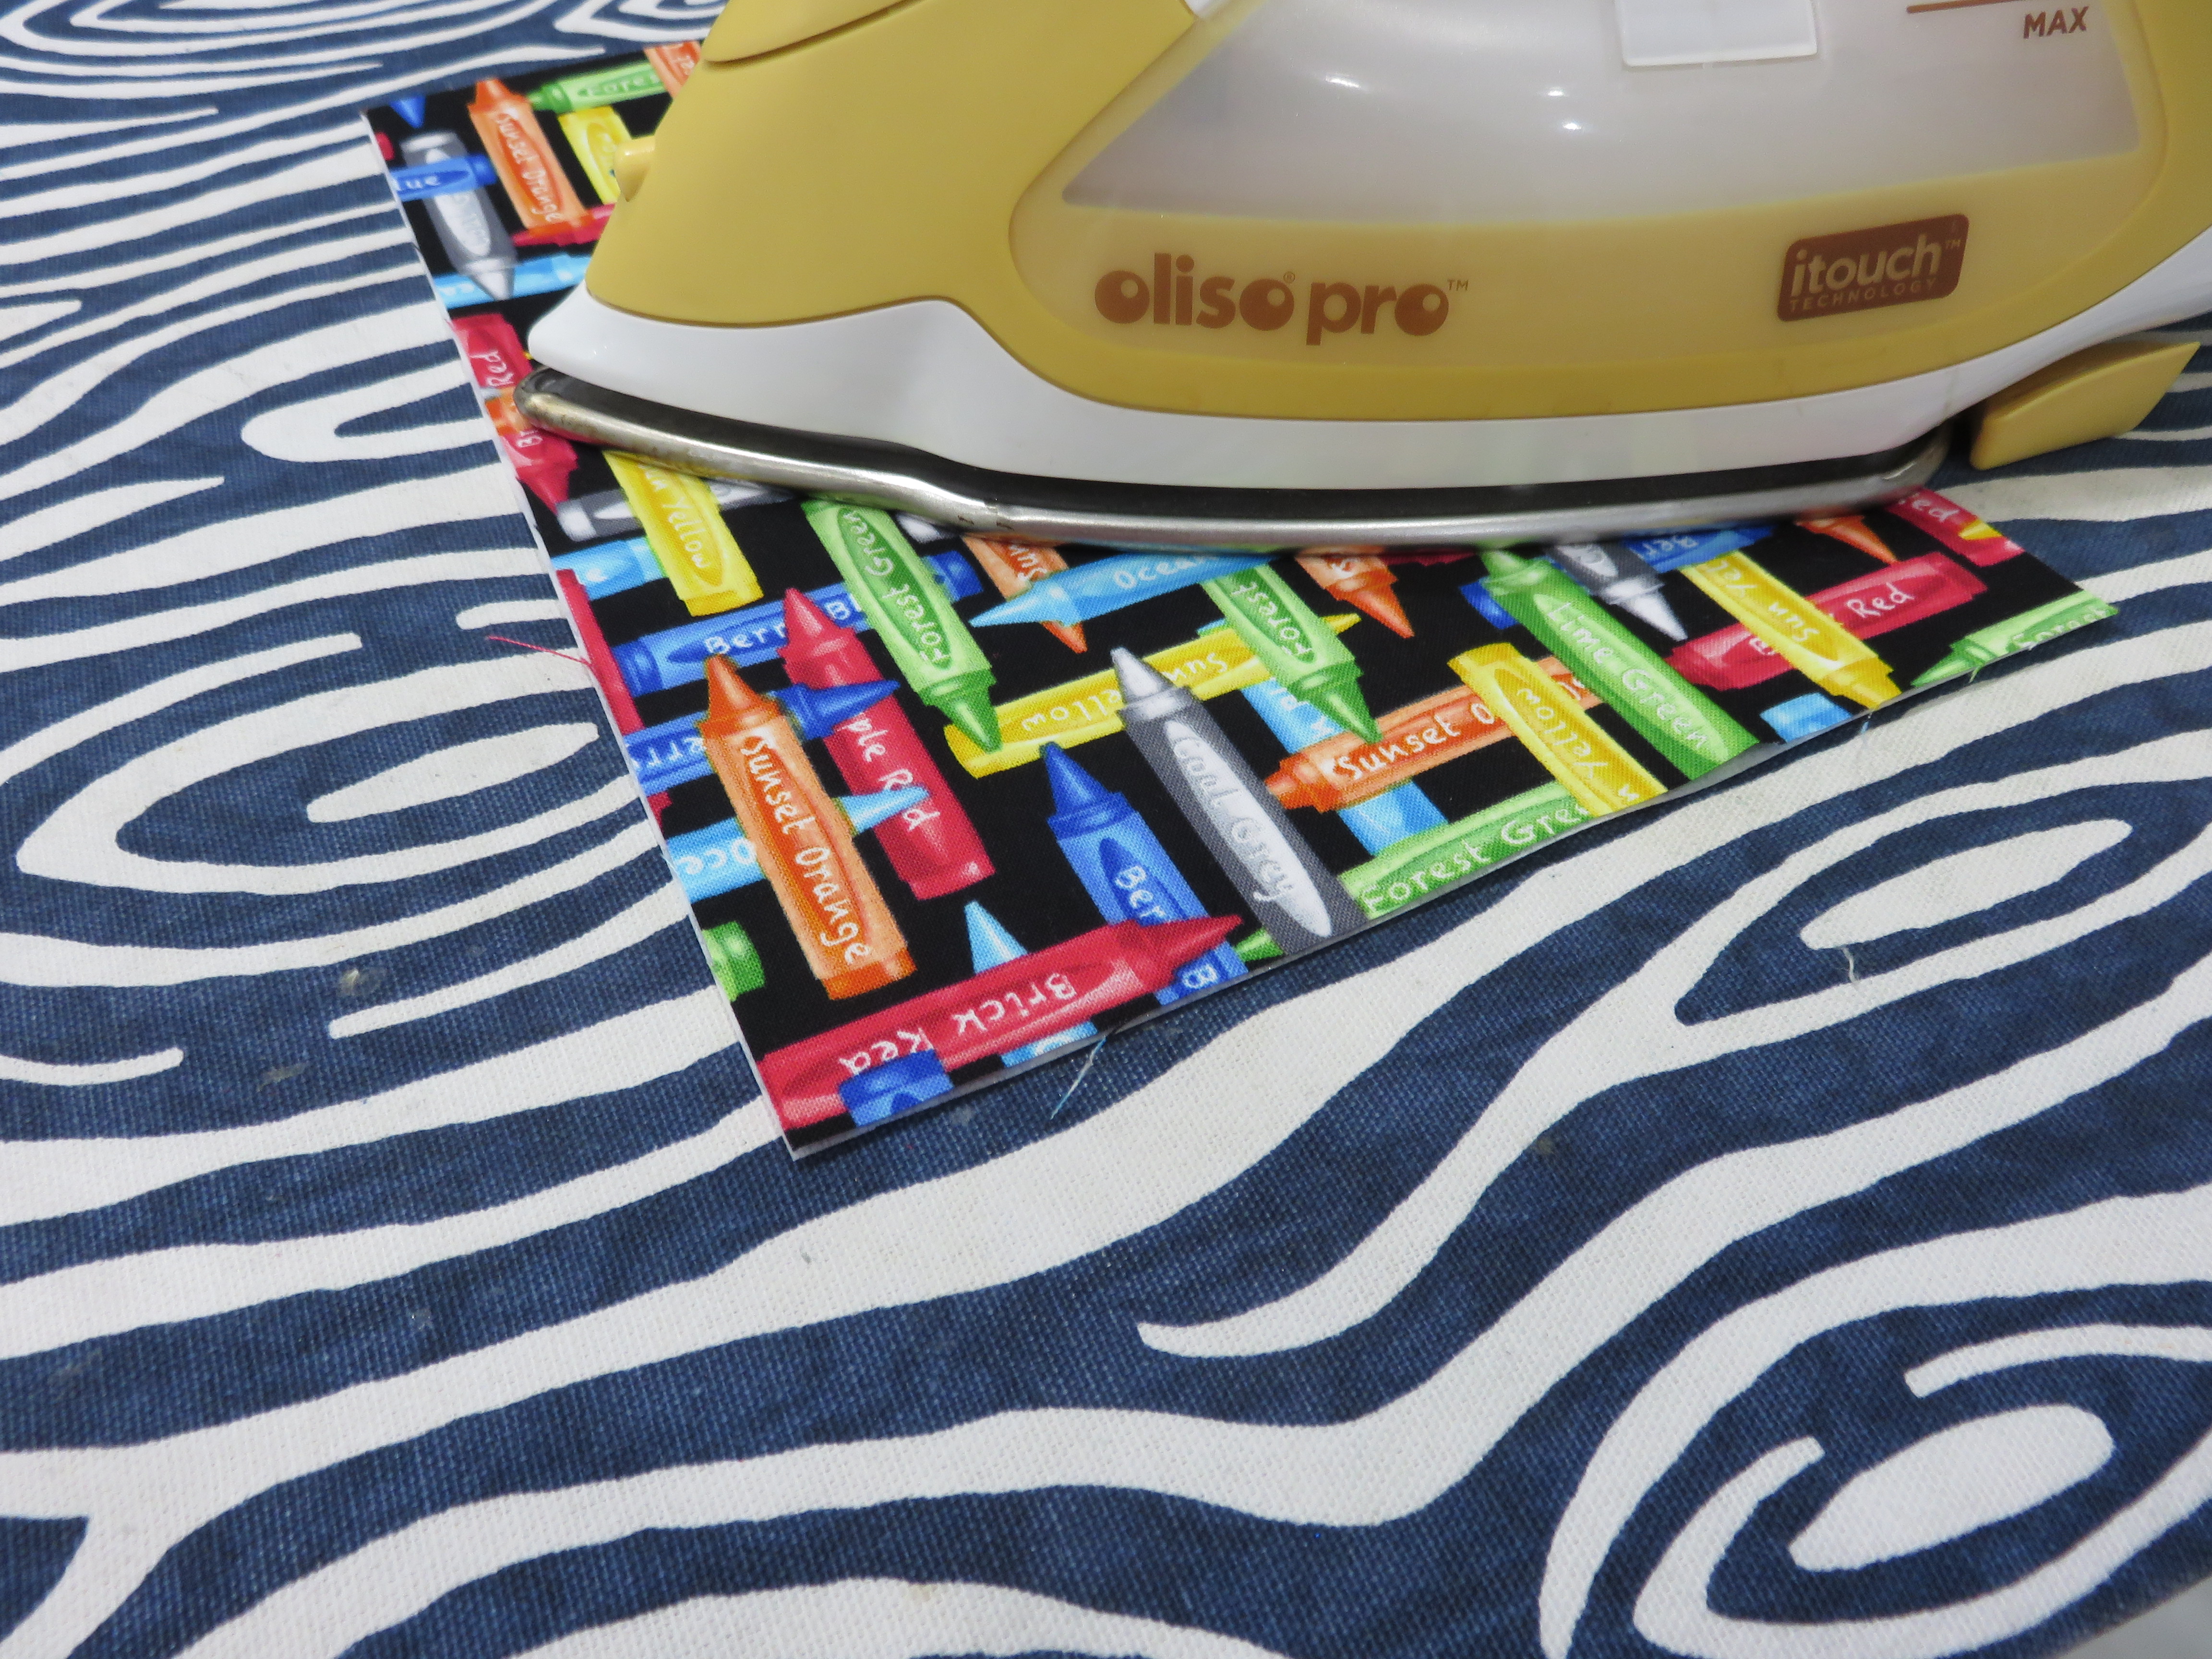
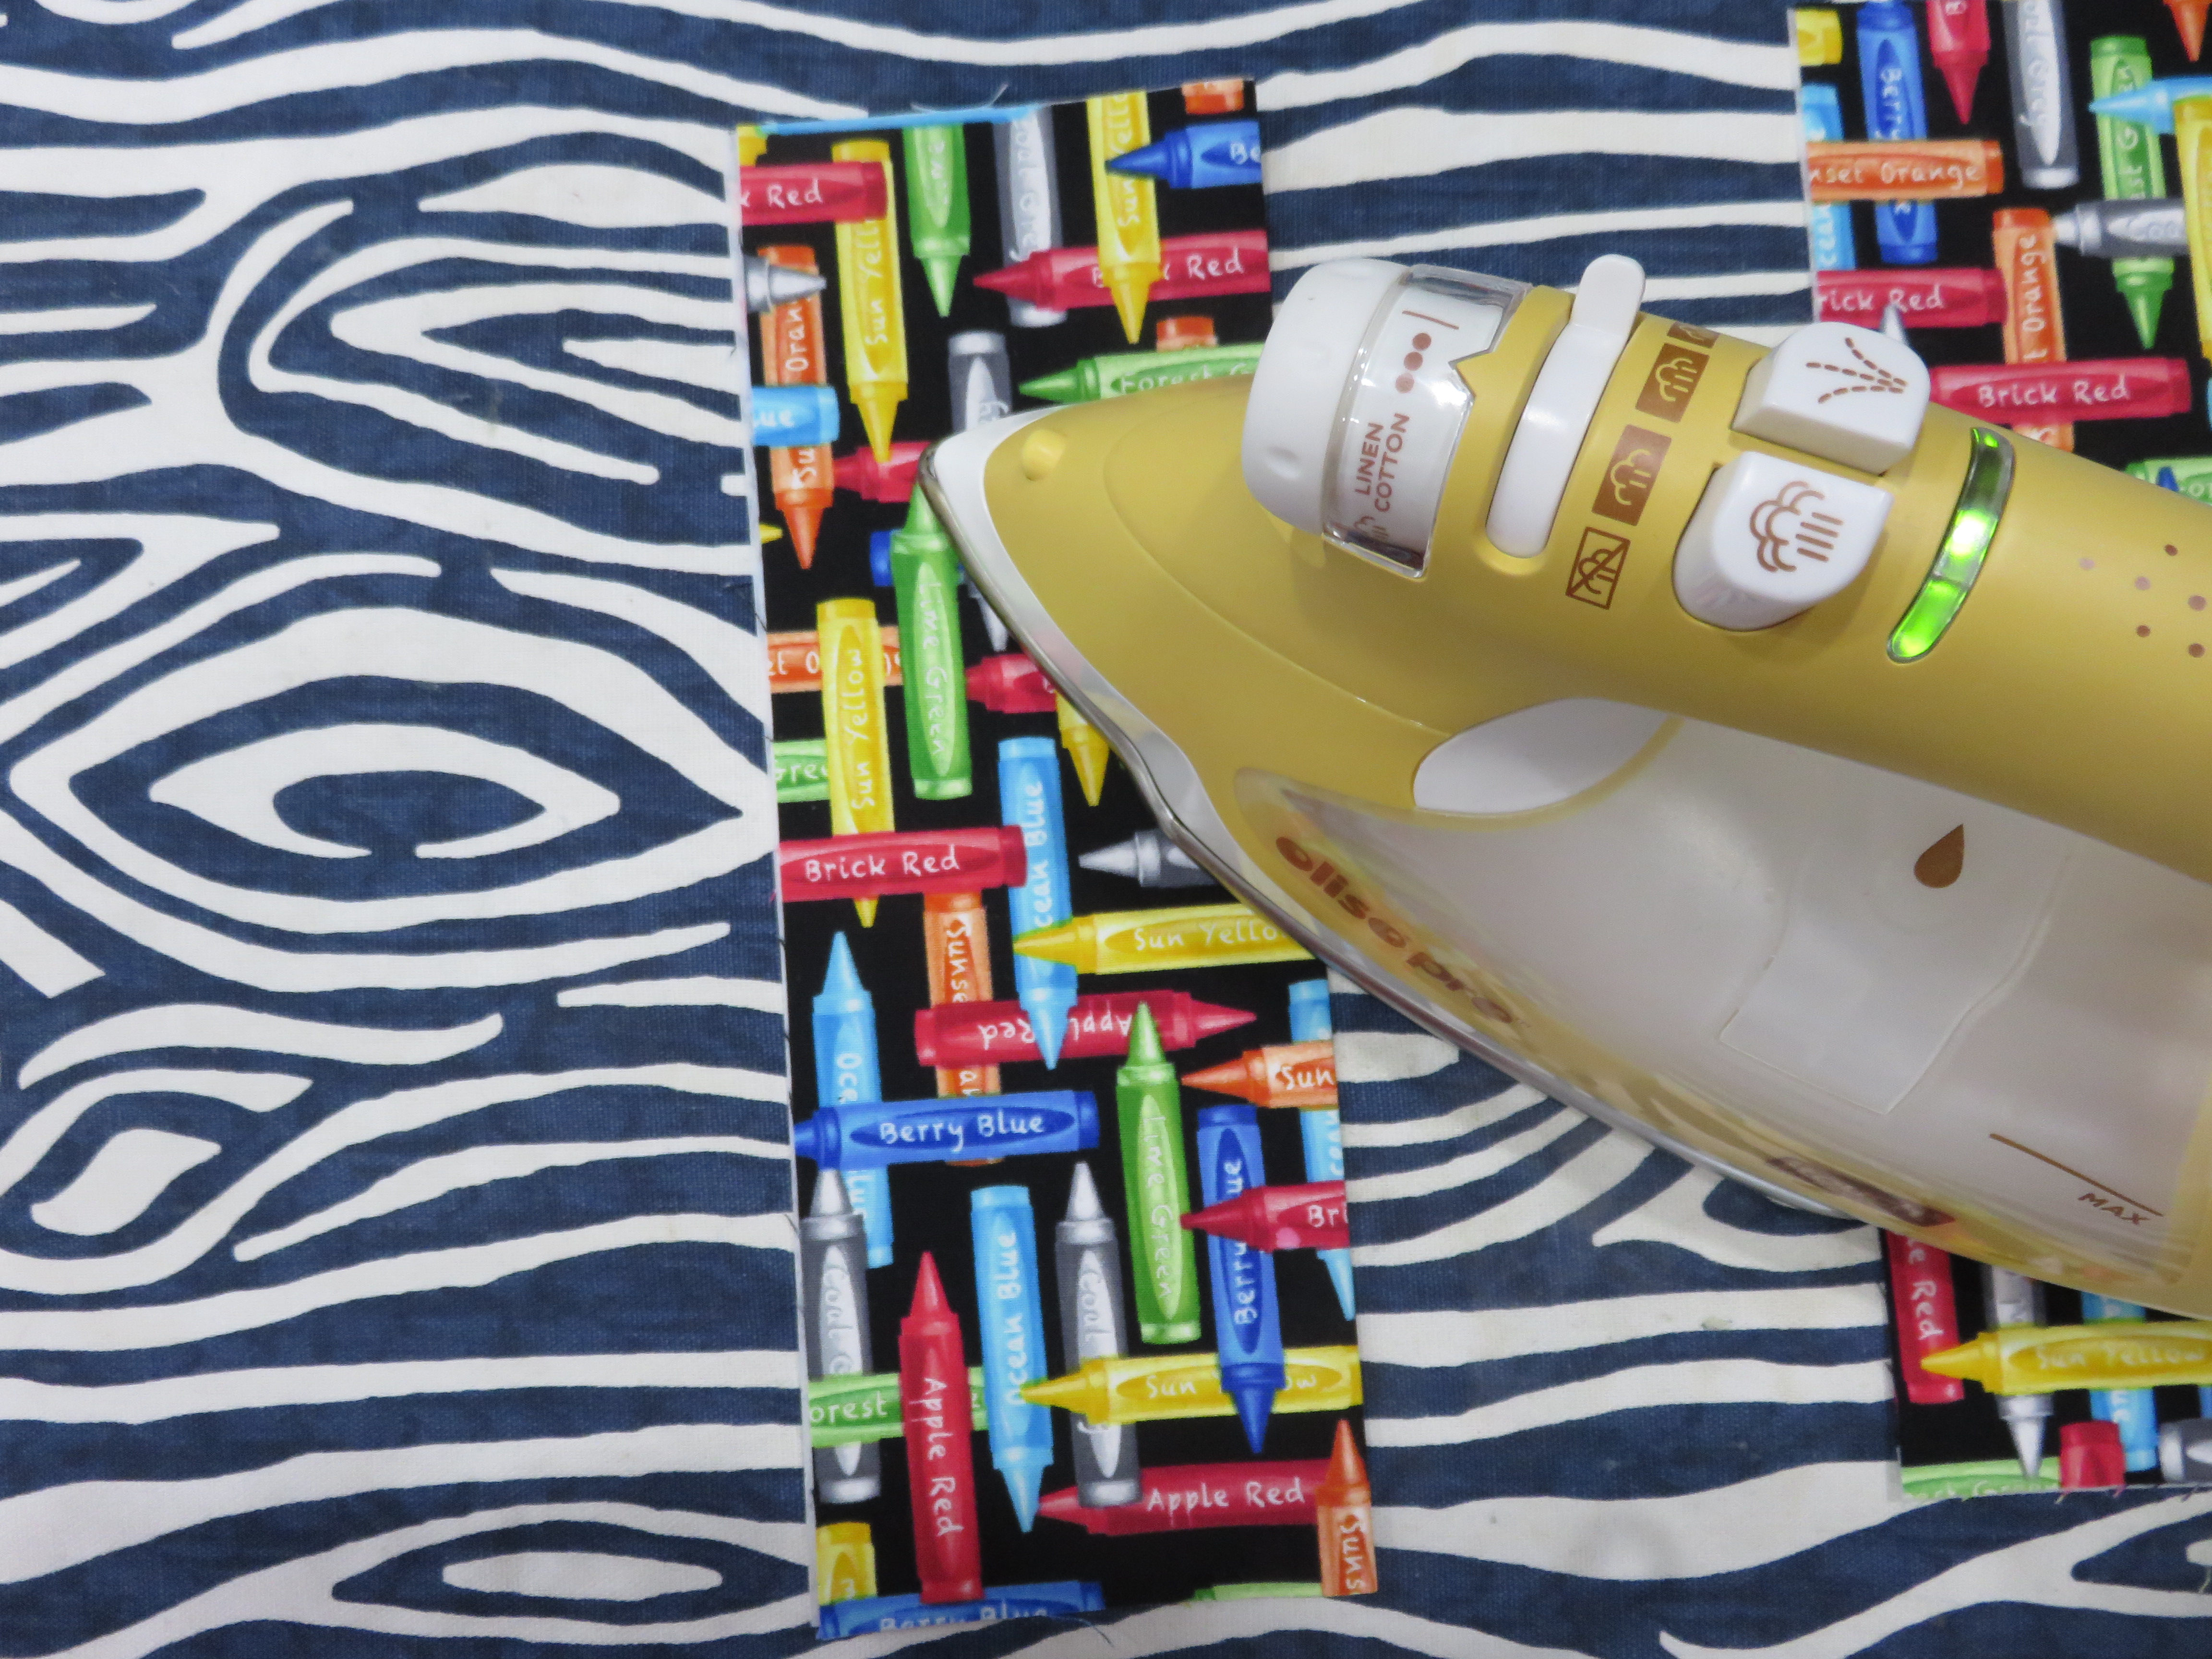
6. Press the seams open on each row,
then place them back on the floor/table/design wall in order.
7. Take rows 1 and 2 from the layout space and pin them right sides together, matching the seam intersections. Carefully pin at the intersections so your squares line up perfectly.
8. Take the pinned rows 1 and 2 to the sewing machine and place under the quarter inch seam foot, placing the edge of the fabric up against the black guide and sew, removing the pins prior to sewing over them.
9. Press the seam just sewn open.
10. Continue adding a row at a time by pinning the top of row 3 to the bottom of row 2, with right sides together. Again, carefully match the seam intersections and pin in place. Sew with a quarter inch seam allowance, and press the seam open.
11. Repeat step 10 with each additional row until you have sewn all 7 rows together. Press all seams open to reduce bulk.
12. Place one of the 36.5” x 6.5” border pieces right side down on the top edge of the top of the quilt (which will be right side up). Match the ends of the border with the ends of the top and pin in place. Sew the top border piece on using the quarter inch foot.
13. Place the other 36.5” x 6.5” border piece right side down on the bottom edge of the quilt top (which will be right side up). Match the ends of the border with the ends of the bottom and pin in place. Sew the bottom border piece on using the quarter inch foot. Press both seams sewn in steps 12 and 13 open.
14. Place one of the 55” x 6.5” side border strips right sides together with a side edge of the quilt top. Sew together with the quarter inch foot.
15. Place the other 55”x 6.5” side border strip right sides together with the remaining side edge of the quilt top. Sew together with the quarter inch foot and press both seams open.
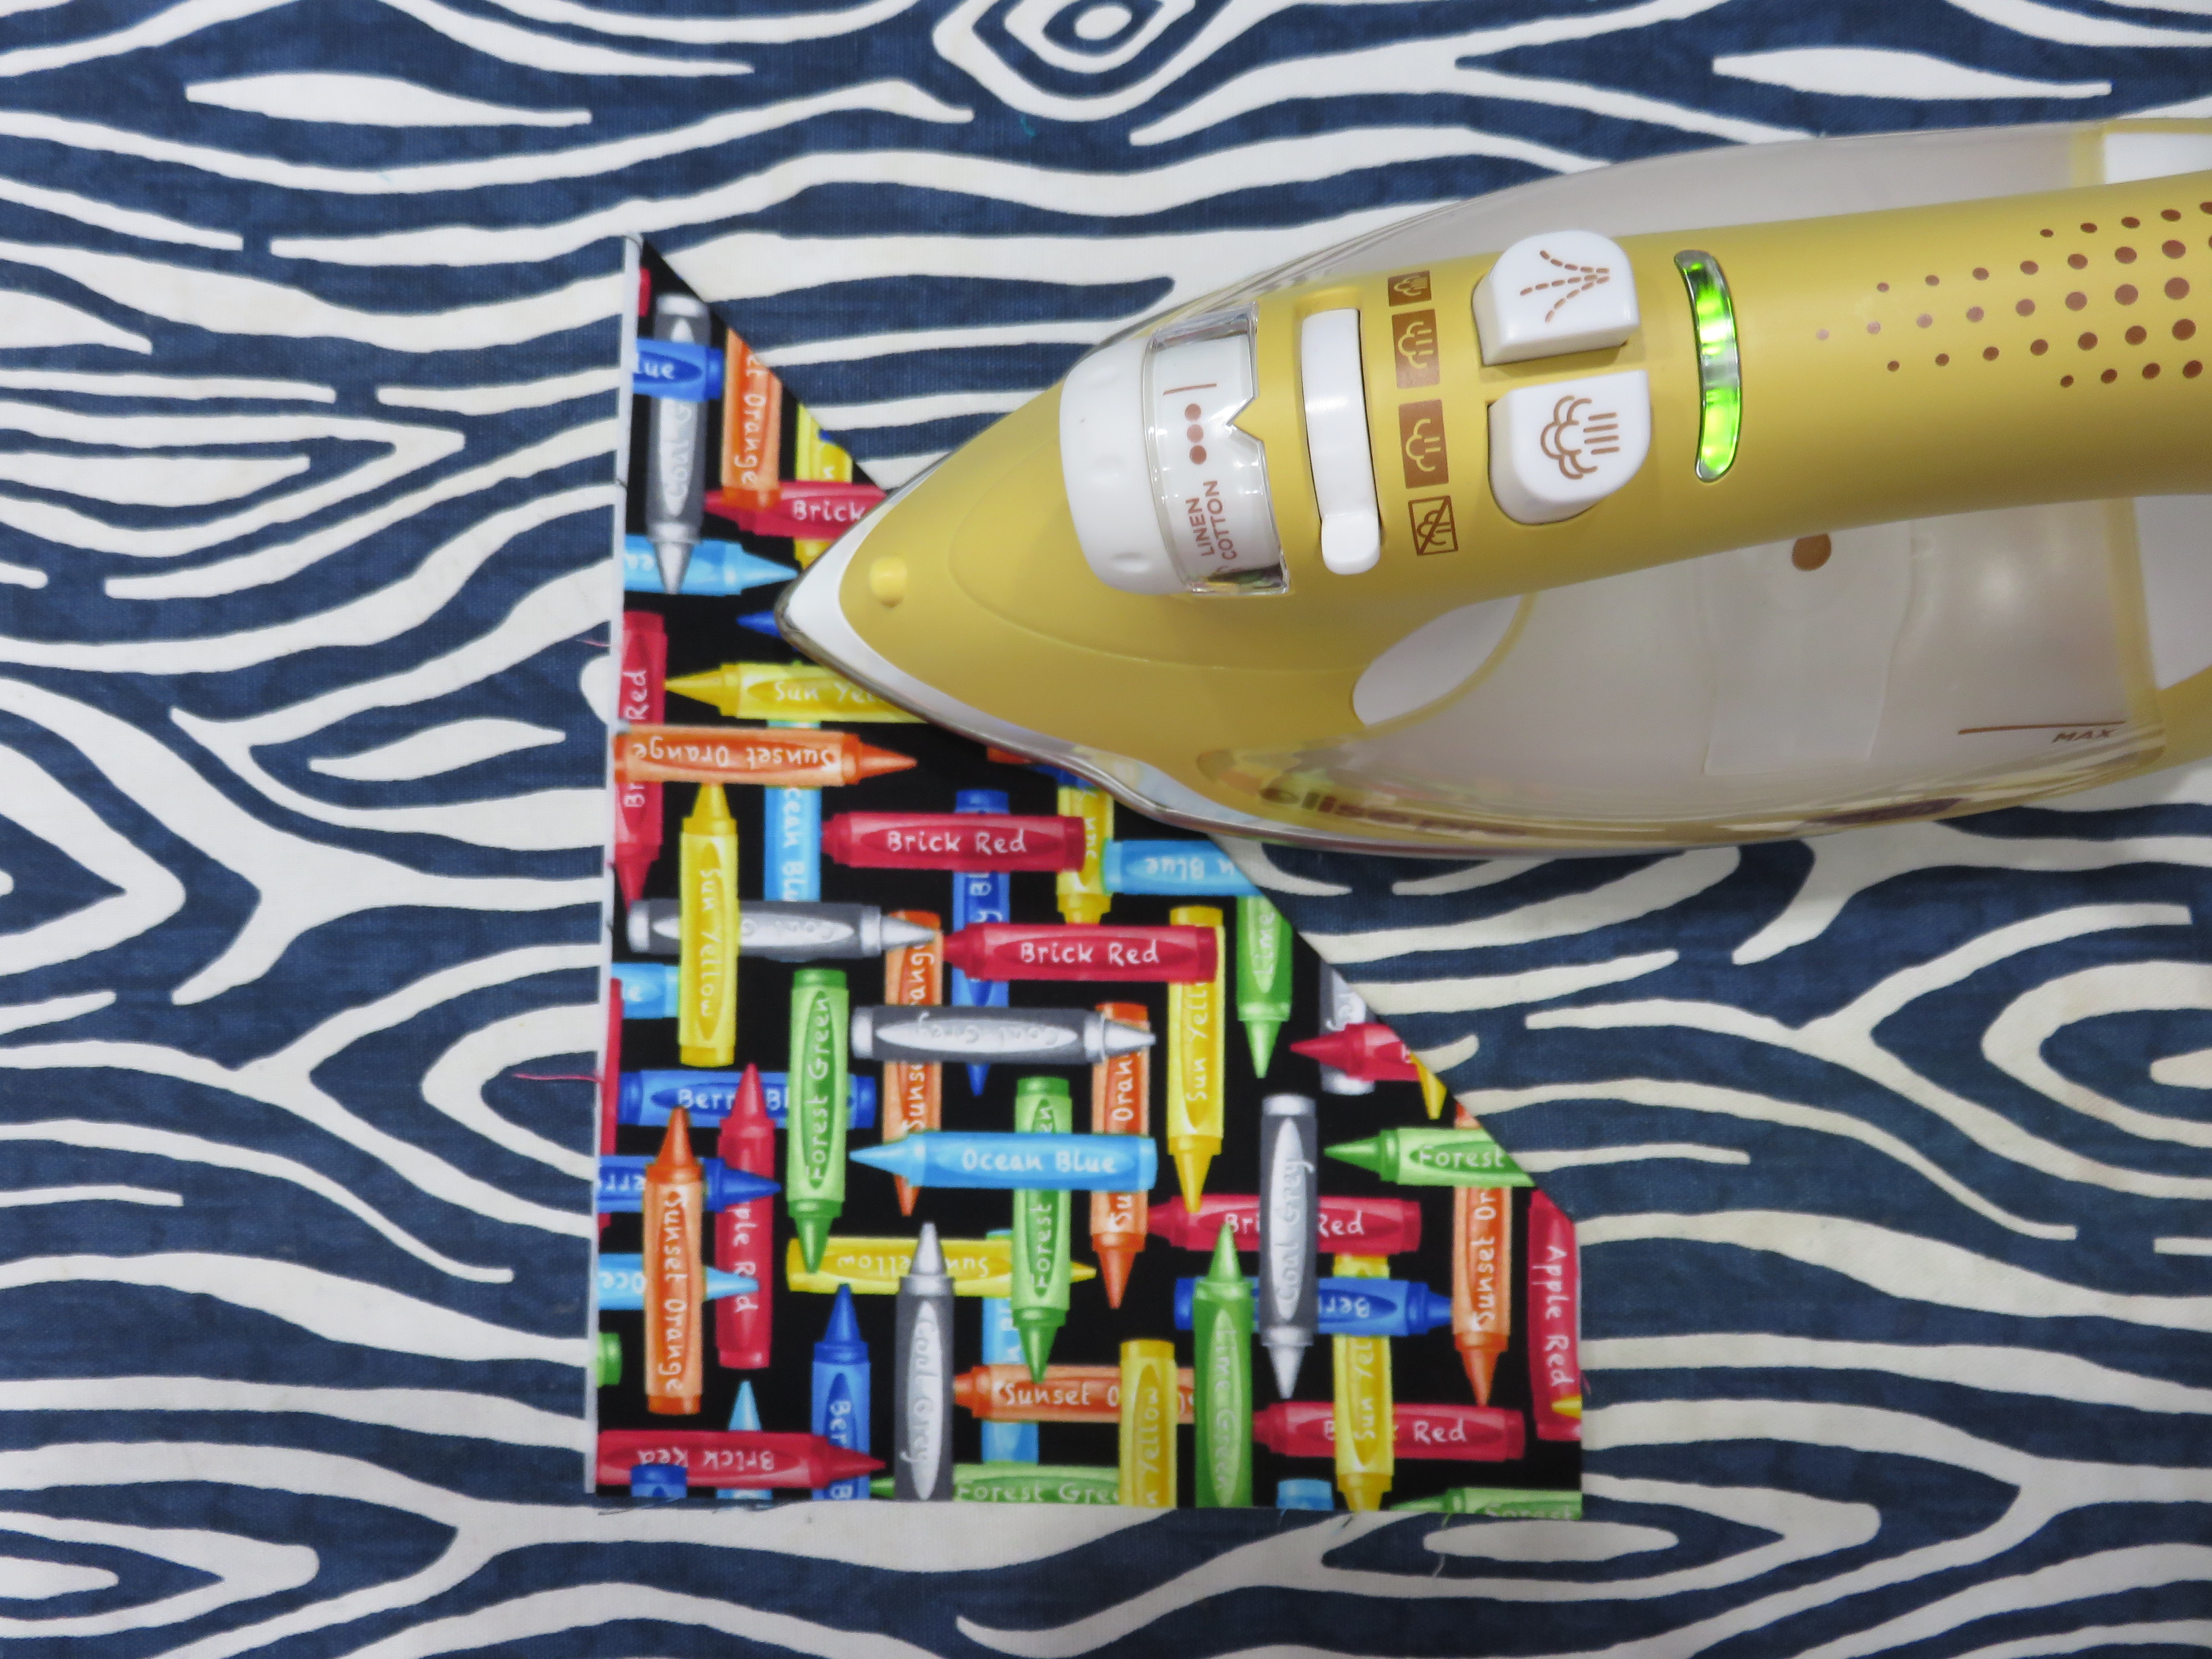
16. Press the entire quilt top one more time, lightly starching if you desire, and set aside.
Quilting
1. Assemble a quilt sandwich with the backing, batting and top by placing the backing right side down. Place the batting on top of the wrong side of the backing fabric. Center the pressed quilt top right side up on top of the batting and backing. Keep in mind that the backing fabric and batting should be larger on all sides around the quilt top.
2. Baste all the layers together in the manner you choose, being careful to keep all the layers flat and unwrinkled. This can be basted with your sewing machine, safety pins, or spray baste.
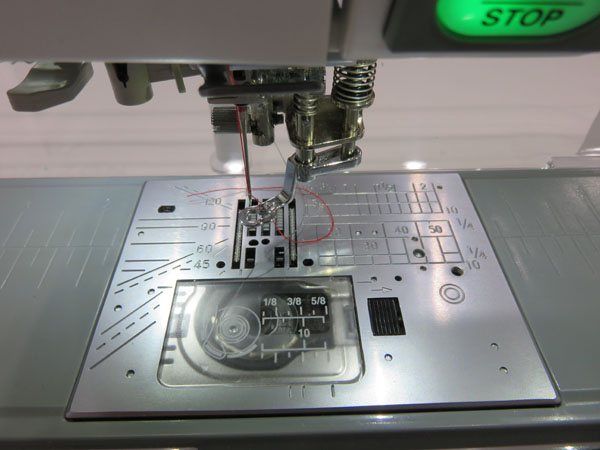
3. Attach QBS foot for free motion. To attach this foot, you will need to remove the set screw and loosen the foot holder that held the quarter inch foot, and remove it. Then attach the convertible free motion foot to the presser bar and install the screw that will hold it in place. Lower the feed dogs. Adjust the presser foot pressure to “5” and set the machine to “D4S”.
4. Wind bobbin with that quilting thread you’ve selected to quilt the I Spy quilt. Thread machine with matching quilting thread.
5. Quilt the layers together with a fun design. The quilt in the images was quilted with an all over swirl pattern. Select a simple pattern that will show off the novelty prints, or a busier, all over pattern that will making finding the objects a little more difficult!
Tip: When free motion quilting, try to keep your quilting stitches a uniform length—not too small, and not too large. You may want to practice the quilting motif before starting on the quilt. Be sure to check the manufacturer’s suggestion for quilting distance on the batting you use.
6. Once the quilting is completed, trim the sides of the quilt to square up prior to adding binding.
Binding
1. With the binding fabric, cut (6) 2 ½” strips across the grain or cut bias strips, and join the strips to create at least 216” in total length.
2. When the length is complete, press the strips in half lengthwise, wrong sides together.
3. Attach the binding around the perimeter of the quilt, mitering the corners, and finishing with your favorite binding method.
Now your quilt is finished and ready to be packed in the car for any dull moments that may arise on road trips! Be sure to keep utilizing the awesome Janome quarter inch foot for all of your perfect piecing needs.
Thanks to Janome for this fun tutorial!
 eBook 400+ Embroidery Stitches for Quilts & More
1 × $9.95
eBook 400+ Embroidery Stitches for Quilts & More
1 × $9.95  eBook Amazing Ways to Use Circles & Rays
1 × $19.95
eBook Amazing Ways to Use Circles & Rays
1 × $19.95