The Quilt 2018 project style for August is Modern. In keeping with this theme, let’s take a look at the process of making abstract quilts.
To abstract an object is to summarize it, reduce it to a hint of its former self. Quilting lends itself to abstract form since basic shapes are a strong part of the piecing construction.
For this exercise let’s keep things small and simple.
Supplies:
Image
Tracing Paper
Pencil
Ruler/Straight Edge
Step One: Select an image.
Pick an image. The more complex the image, the easier it is to abstract. When an image is made up of just basic shapes, it is already abstracted to a certain degree and can be a challenge to work with, especially in the beginning.
You can also use an object and create the image yourself by drawing it. Again, make the drawing fairly detailed so there is plenty to work with when you are creating the abstract design.
Here is the image I used. You are welcome to play with this image too.
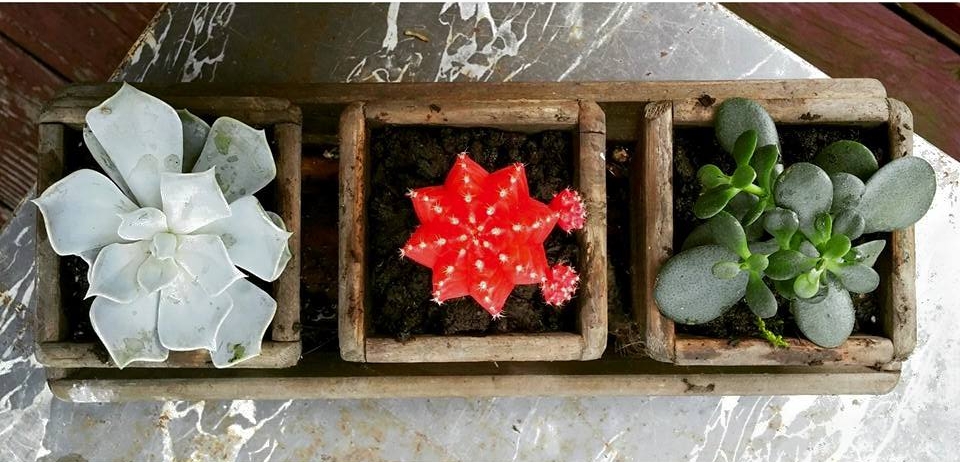
Image by Sara Cross
Download the image here.
Step Two: Abstract it.
We will start with a few rules. Stick to three shapes: squares, rectangles, and triangles. By the end of the exercise they will need to connect for piecing, but we don’t have to worry about that quite yet. Don’t be a critic, let yourself play. Don’t worry about drawing straight lines.
To begin, lay the tracing paper over the image. Draw a square or rectangle around the shape defining your outer boundary. Redraw the image using only squares, rectangles, and triangles inside the boundary.
Be as detailed as you need to, but remember the goal is to summarize the image.

Step Three: Again.
Good job! Now let’s do it again.
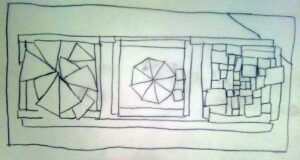
Lay another piece of tracing paper over your squares, rectangles, and triangles drawing. Abstract further, taking away detail.
See how it is changing, but you can kinda make out the succulents.

Step Four: One more time.
Fantastic! Now let’s do it again.
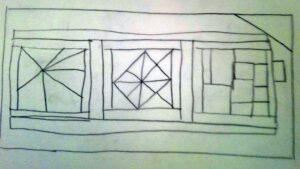
Lay another piece of tracing paper over the previous and, you guessed it, abstract even further but this time with ruler in hand. Use your ruler to square things up and draw straight lines. You will also want to connect the shapes with no gaps between them. Try to end up with only rectangles, squares, and triangles.
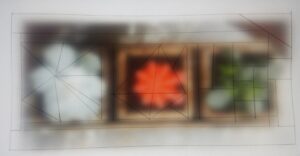
During this stage, the original image disappears into the shapes only leaving a glimpse of itself behind.
Here you can see my progression through the three abstractions.

Step Five: Piece it together.
Take your final drawing and label each shape. Make a copy and cut it apart for templates. Cut out the shapes from fabric adding a 1/4″ all around the shape for a seam allowance.
Using your drawing as a guide, piece your abstract art together.
Layer, quilt as desired, and bind.
Don’t forget to show off your creation on our Project Parade Facebook group. We all want to see your art!
 eBook 400+ Embroidery Stitches for Quilts & More
1 × $9.95
eBook 400+ Embroidery Stitches for Quilts & More
1 × $9.95  eBook Amazing Ways to Use Circles & Rays
1 × $19.95
eBook Amazing Ways to Use Circles & Rays
1 × $19.95