Handi Quilter Groovy Boards are an easy way to achieve perfection in quilting.
You may have spent many hours and dollars on your quilts but still feel less than confident in your quilting abilities. As a new quilter, Groovy Boards are like training wheels. They guide you through the design to get the perfect quilting motifs on your quilt.
Choosing a Design
There are many options for your quilt. Some are border designs, offering more than one size on the same board. Others are edge-to-edge designs, offering either dense quilting or lofty looks. Other boards offer you many sizes of squares and circles, spiral blocks or feather wreaths.
Groovy Board with a lofty design.
Preparing to Stitch
You should purchase at least two boards of the same design, so that you can “leap frog” the first board over to the third position. The ideal situation is to purchase 4 boards so that they can be connected together and not need to be moved. This saves time in the quilting process.
Attach the boards together with the rings that are provided for stability. Painters tape (low-tack tape used for taping off unpainted areas) works great for securing the boards to your table while quilting (there is nothing worse than having a board move in the middle of a row).

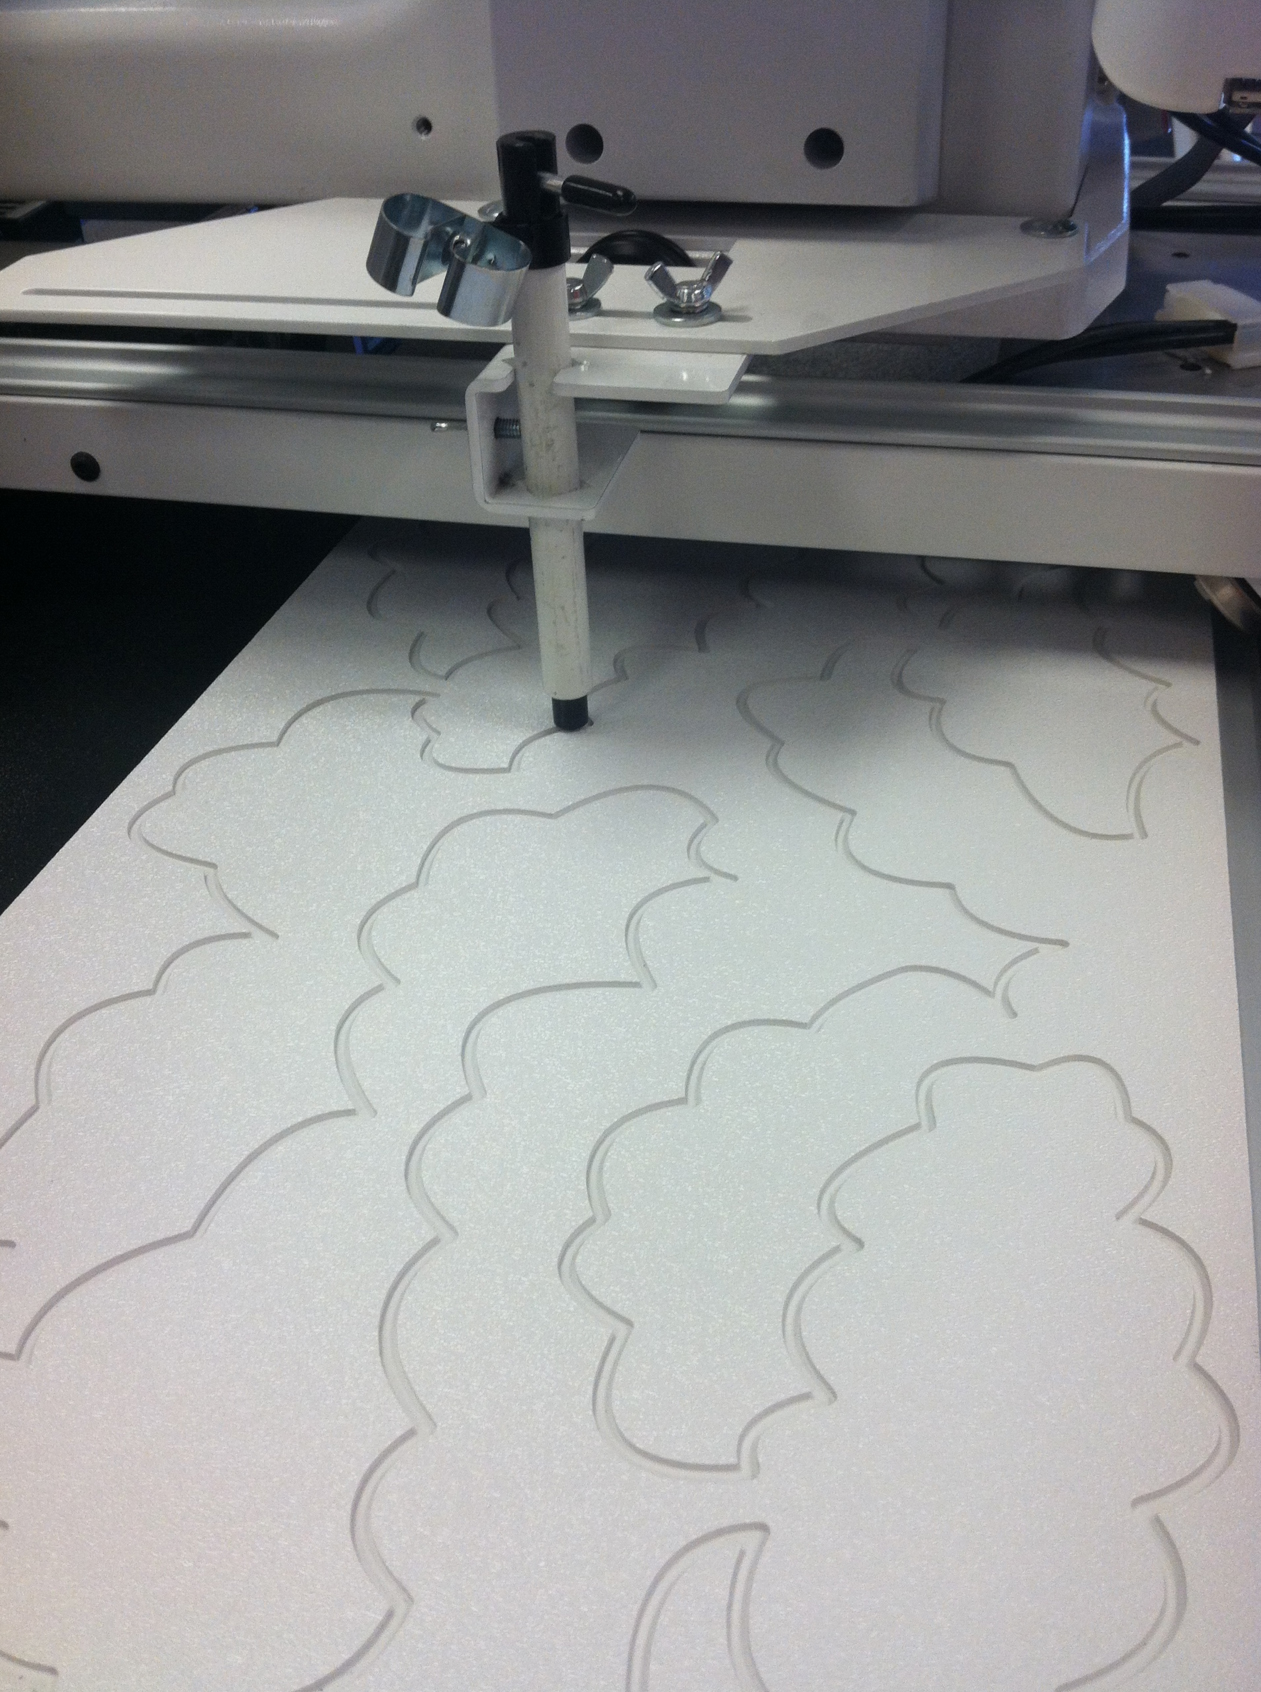
Groovy Board with a more dense design.
Stylus and Adaptor
The Groovy Board Stylus and Adapter is an optional accessory you can purchase from your local HQ retailer or online at http://www.HandiQuilter.com. Attach the stylus to the adapter on the machine and place it in the groove at the beginning of the design. The stylus has a little play in it so that it does not bind in the points or groove of the design. This extra play can cause your quilting lines to look wobbly if the stylus is allowed to travel back and forth from one side of the groove to the other. To avoid this, press the stylus tip against the same side of the groove as you move the machine around the design. This gives you a smooth stitching line.
Making It Easy AND Accurate
The Dueling Circle Groovy Board has 23 concentric circles to choose from. Use a few different colors of permanent markers, such as red, blue, green and black, and color in the grooves for ease in finding the correct circle that you would like to stitch.
Dueling Circles, Dueling Squares, and Feather Wreath have a dot in the center of the boards for ease in lining up the design with your block. Find the center of your block and place the machine needle in the center spot. Next, adjust your stylus and board so that they are together with the stylus in the center hole. Tape the board to your table so that it does not move as you quilt out the design.
When placing your quilt on the frame, use a horizontal channel lock to square up your quilt. Then, you can place your groovy boards against the back track on the frame and the design will quilt out “square” on the quilt.
Copyright 2012 Handi Quilter, Inc.