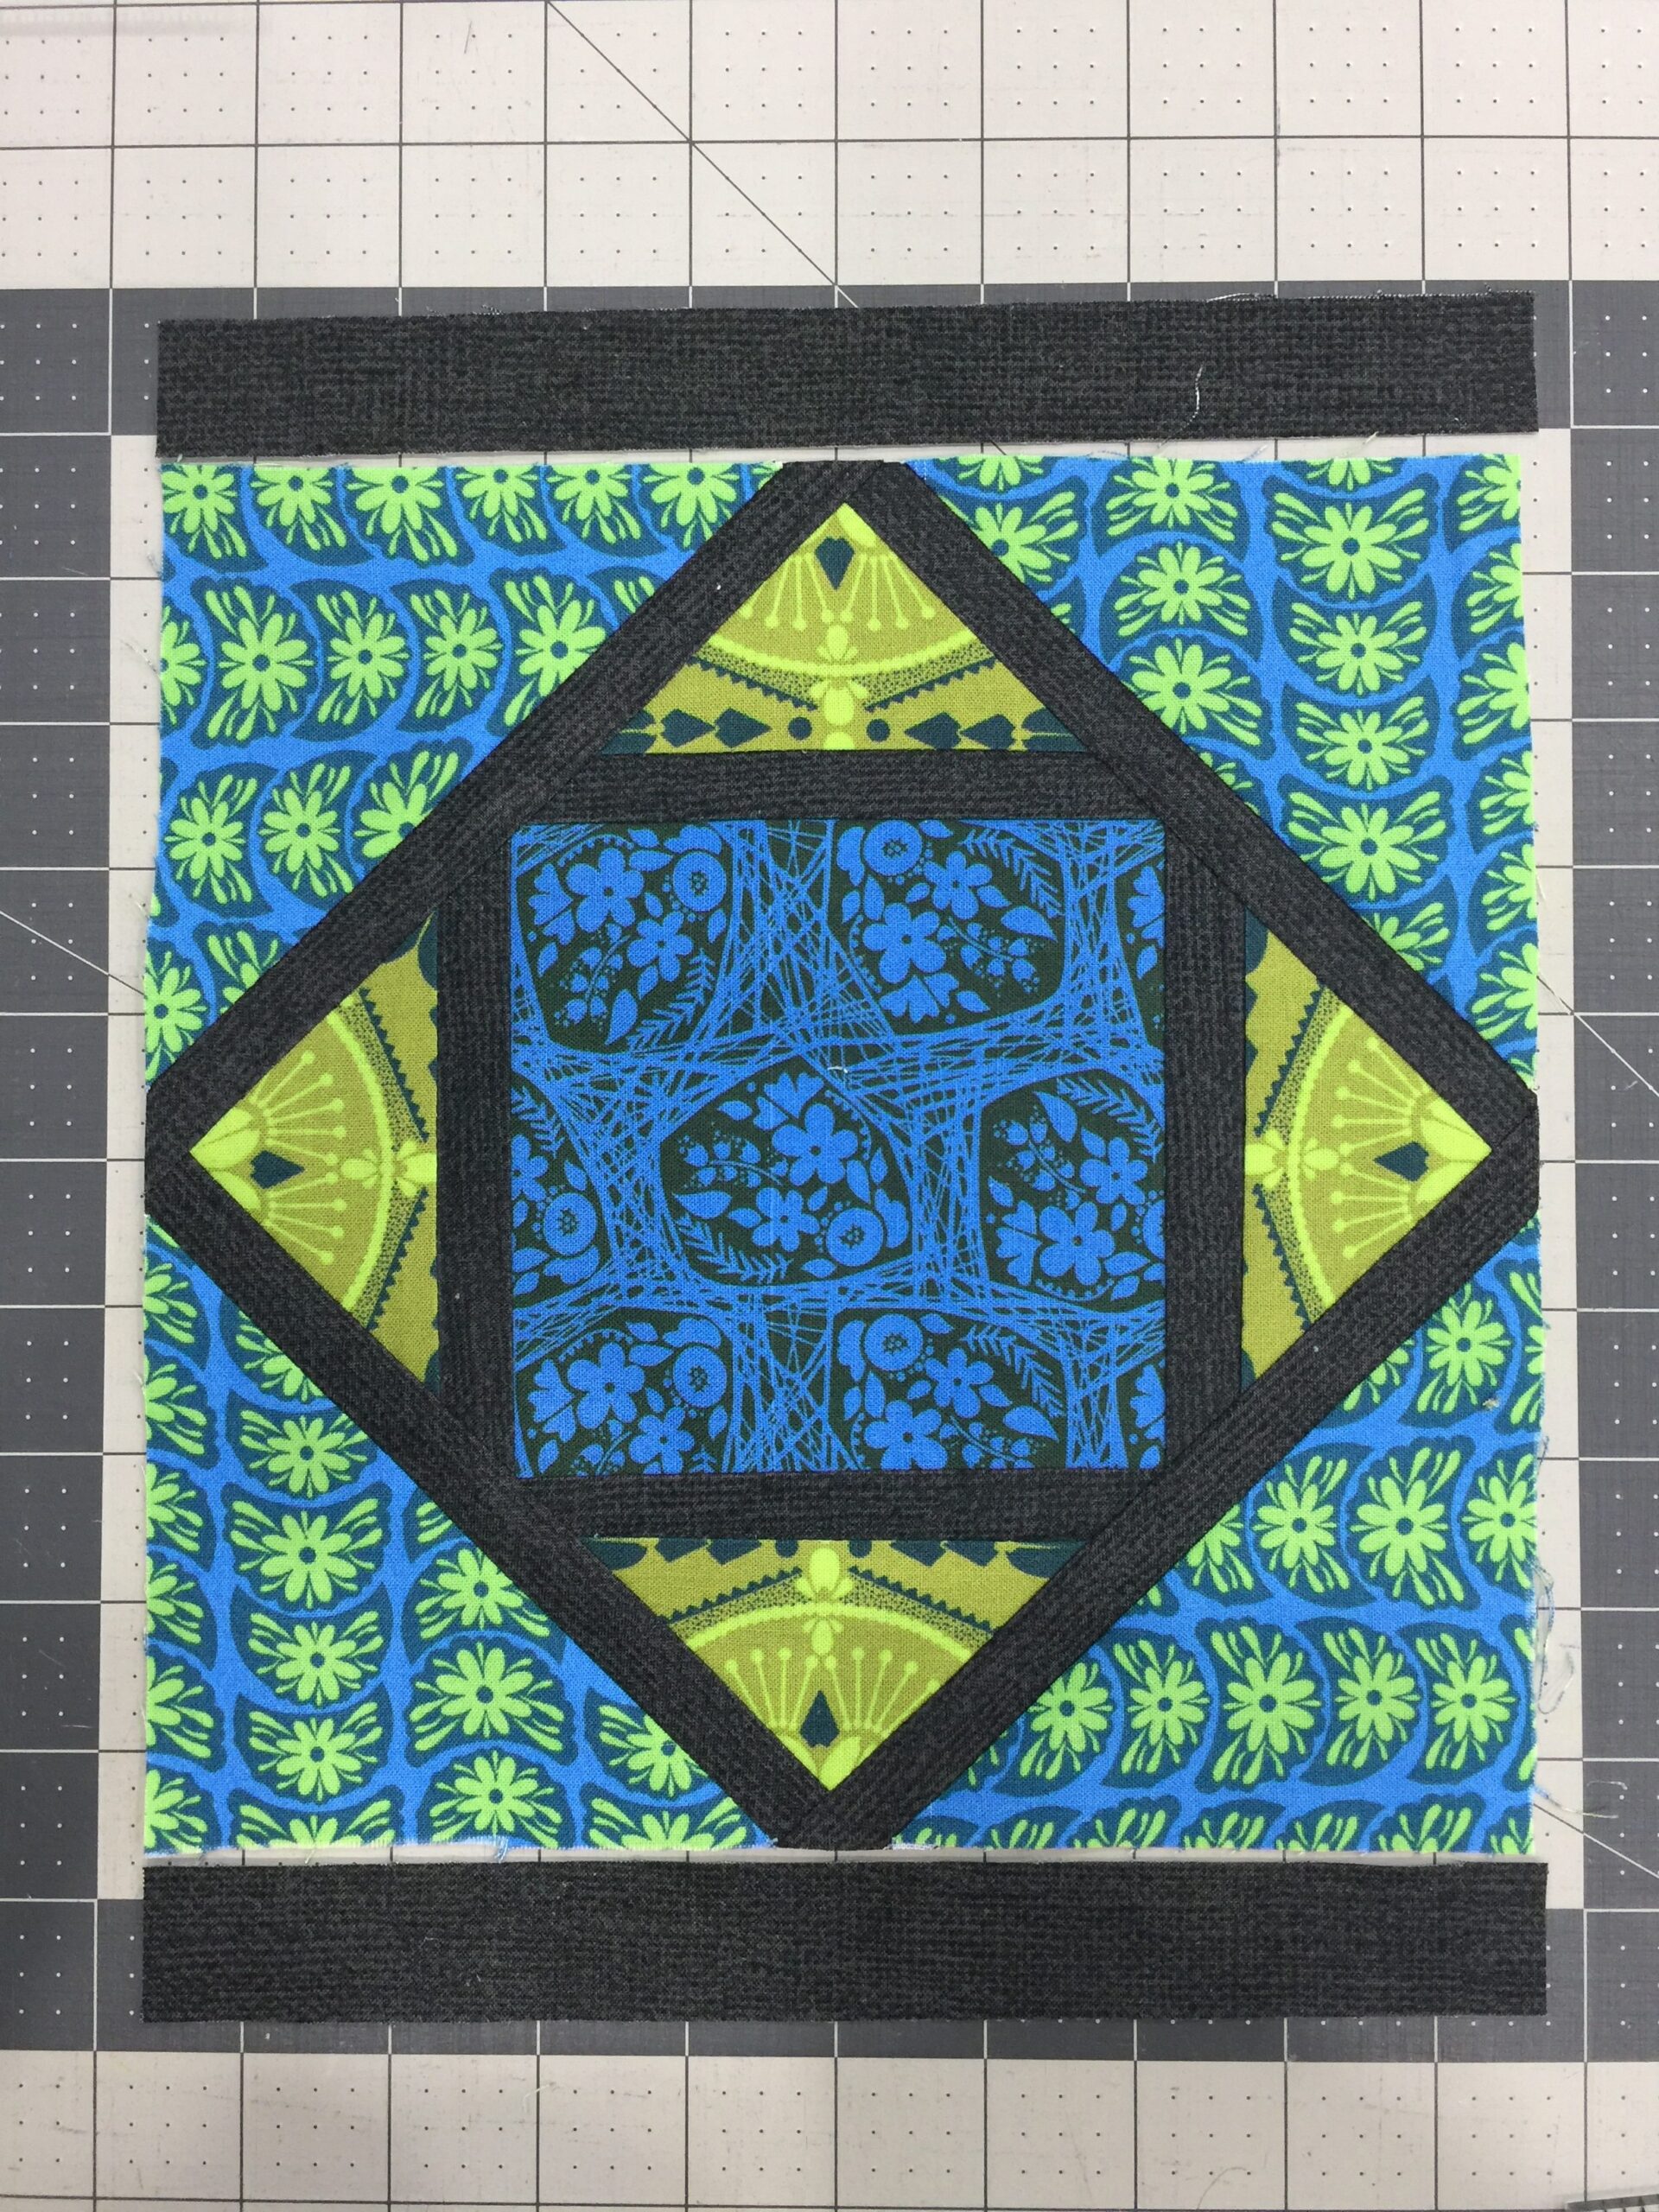
Block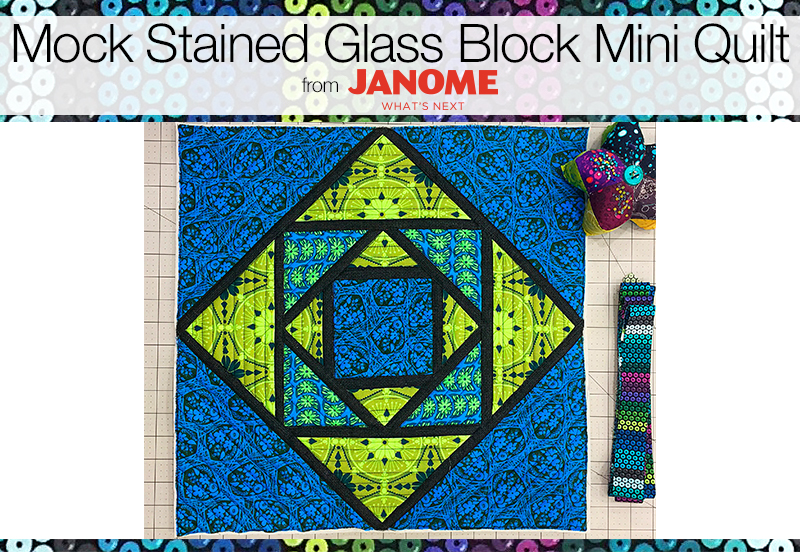
If you have a case of the winter blues, this mini quilt will be a great way to brighten up your day! Select your favorite colors—bright colors or gem tones will work wonderfully with this project—along with a fabric in black or dark grey to separate the “glass panels”. You can opt to just make the block without quilting it to be hung in a window that gets lots of light to mimic stained glass, or quilt it up using your Horizon Memory Craft 8900QCP for a vibrant mini quilt. The quarter inch piecing foot will make this project an absolute breeze to complete, so grab your fabrics and get sewing!
WOF= width of fabric, FQ=fat quarter (18” x 21”), all seam allowances are 1/4” unless otherwise specified.

Janome Supplies Required:
HMC8900QCP SE
1/4″ Seam foot O
QBS foot for free motion quilting
AcuFeed foot AD
Red Tip Needle
Pre-wound bobbin
Empty Bobbin
Fabrics/Notions Required:
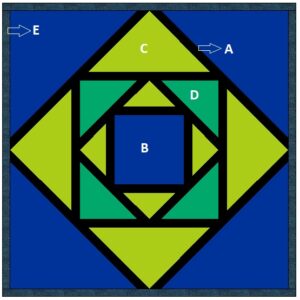
Refer to color diagram
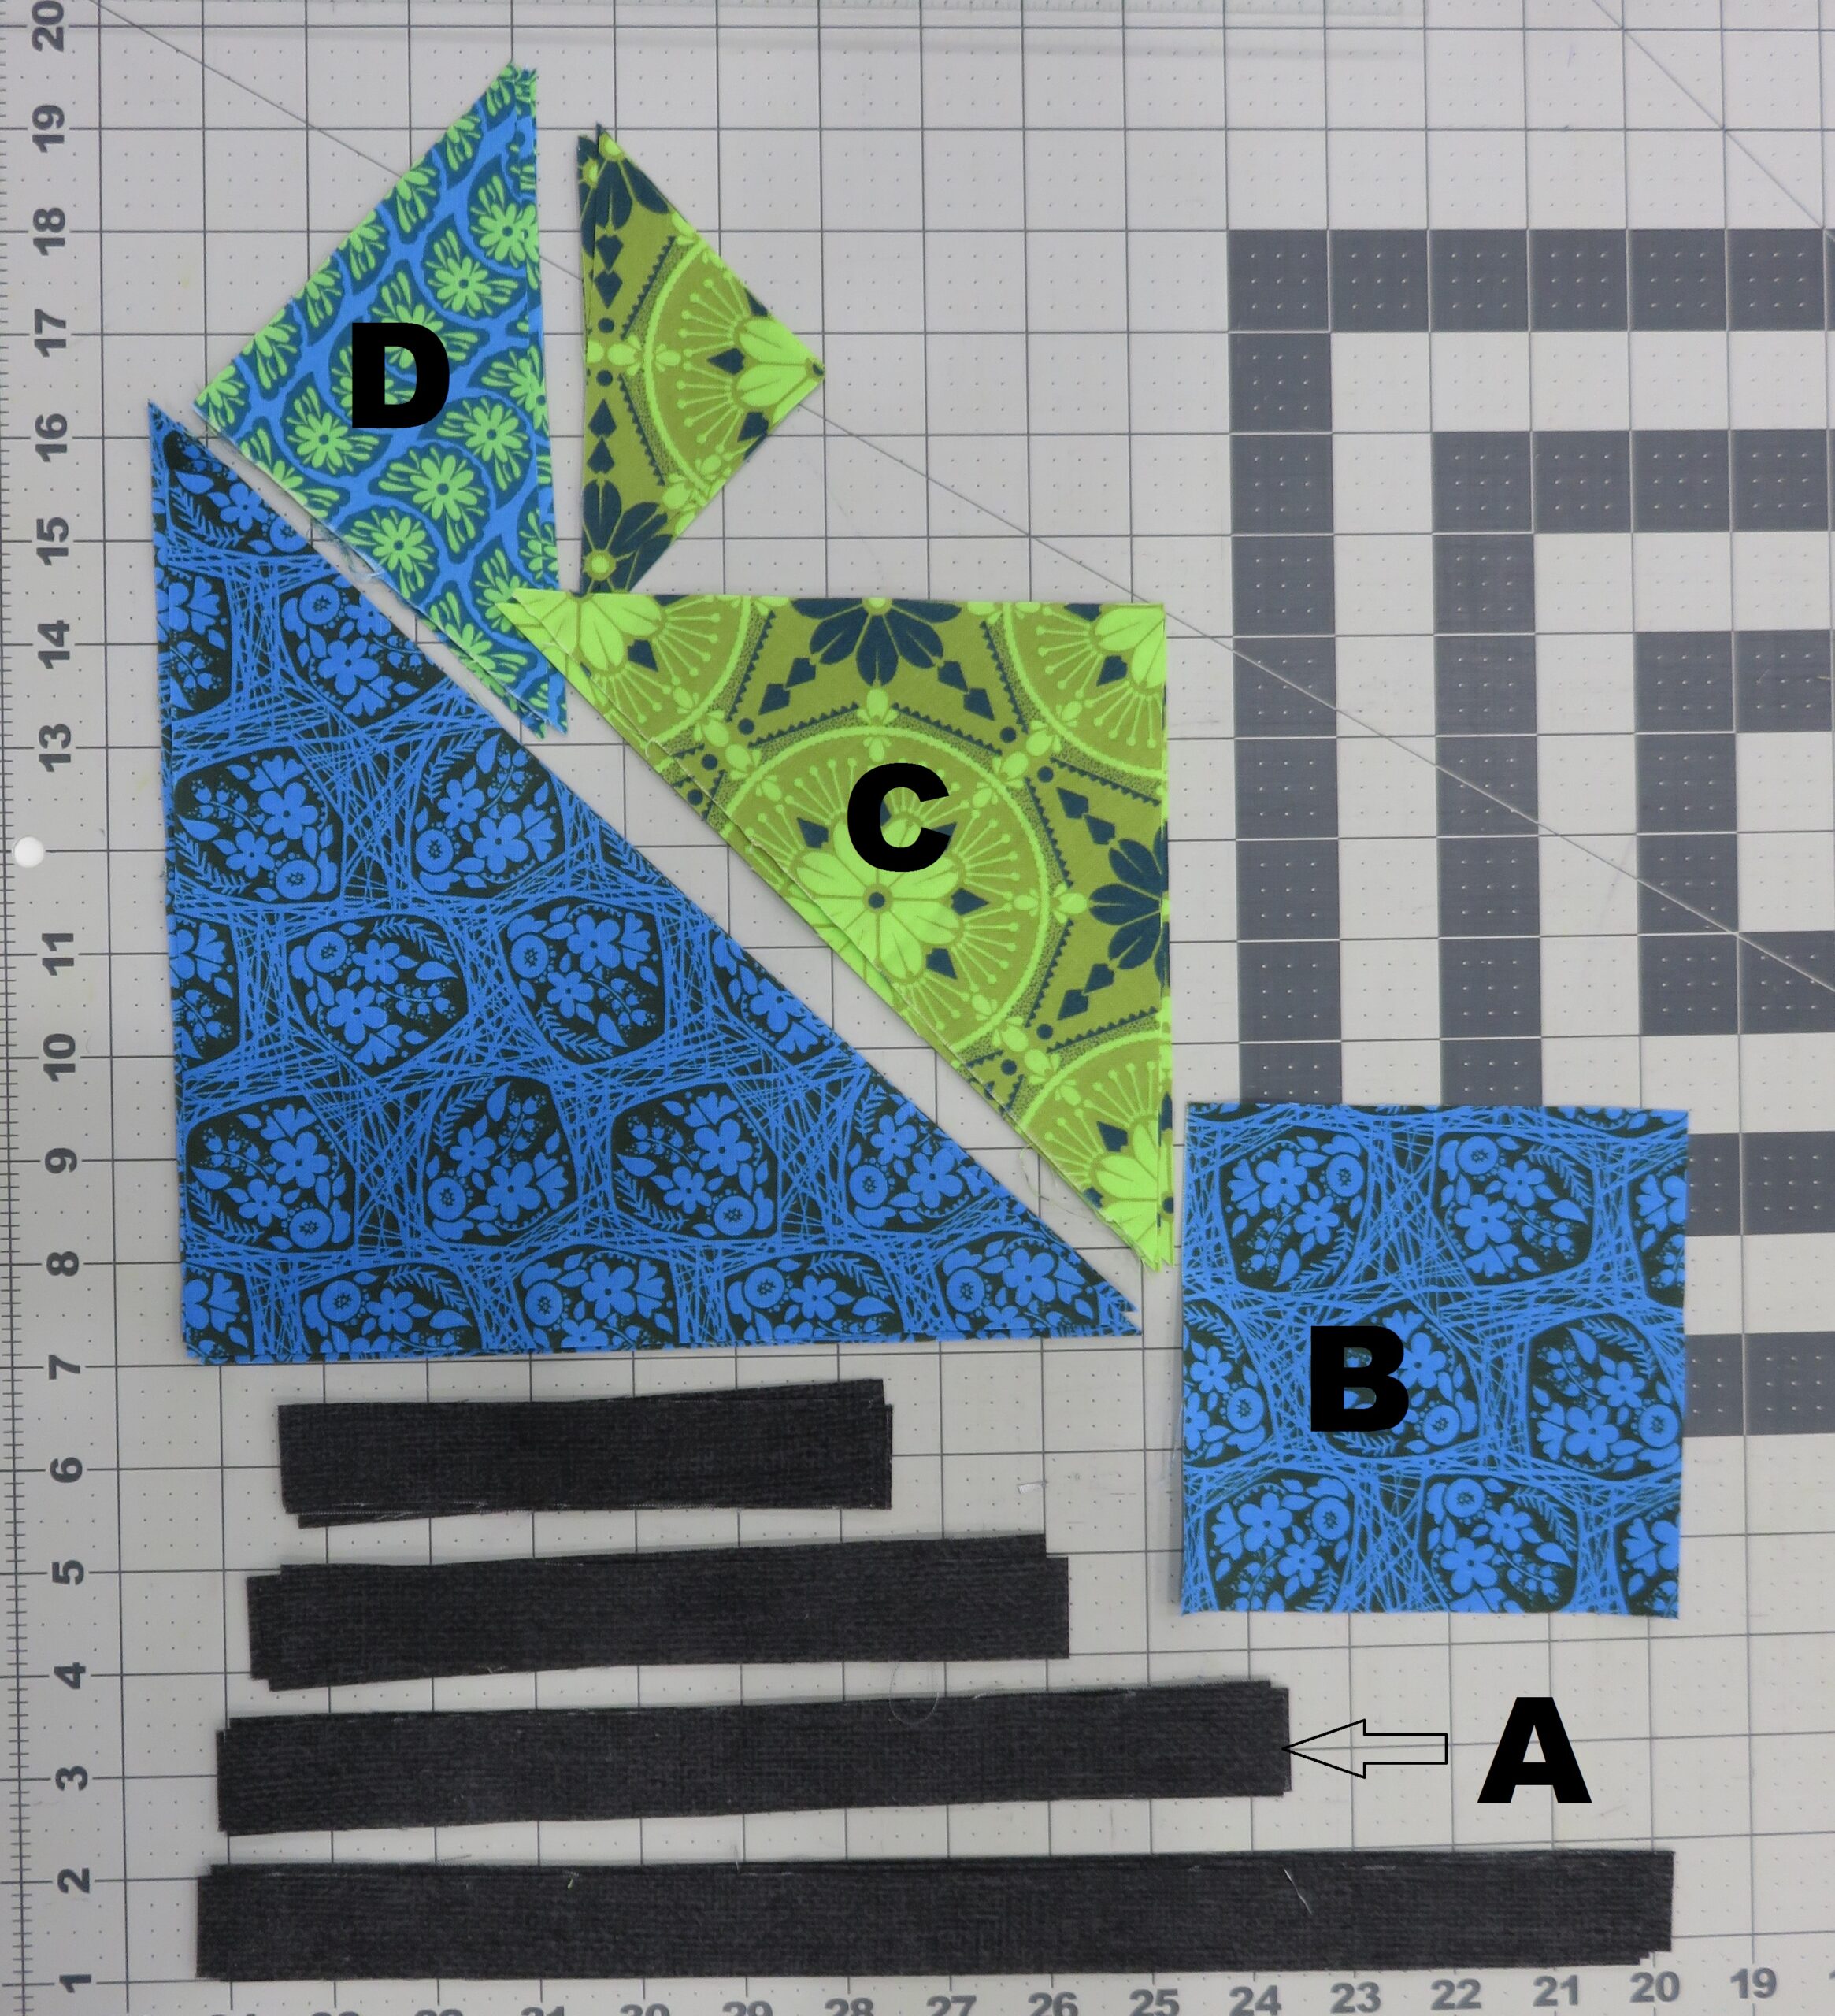
1 FQ Black or dark fabric (Fabric A) sub cut into:
(2) 13-1/8”x1”
(2) 14” x 1”
(2) 9-3/8” x 1”
(2)10-1/4”x1”
(2) 5” x 1”
(2) 5-3/4” x 1”
(2) 6-3/4” x 1”
(2) 7-5/8” x 1”
1 FQ Blue (can be solid or tone-on-tone) cotton fabric (Fabric B) sub cut into:
(1) 5” x 5” square for center of block
(2) 9-1/8” x 9-1/8” squares; then cut each square diagonally in half for a total of 4 triangles
1 FQ Green (can be solid or tone-on-tone) cotton fabric (Fabric C) sub cut into:
(1) 4-5/8” x 4-5/8” square; then cut in half diagonally once, from corner to corner and then cut in half again from opposite corner to corner to yield a total of 4 triangles.
(1) 9-1/8” x 9-1/8” square, then cut in half diagonally once, from corner to corner and then cut in half again from opposite corner to corner to yield a total of 4 triangles.
1 FQ blue and green mix cotton fabric (Fabric D) sub cut into:
(2) 4-5/8” x 4-5/8” squares; then cut each square diagonally in half for a total of 4 triangles
1/4 yd. cotton fabric (Fabric E) for binding sub cut into:
(2) 2.5” x WOF for a total of 84” of binding
2/3 yd. backing fabric (Fabric F-not pictured in diagram) sub cut into:
(1) 24” x 24” square
24” X 24” piece of batting (loft is up to you)
Coordinating all-purpose sewing thread for piecing
Quilting thread
Student Supplies Required:
Marking pen/tailors chalk
Rotary cutter/ruler/mat
Safety Pins
Spray baste (optional)
Supreme Slider quilting mat
Piecing the miniature quilt top
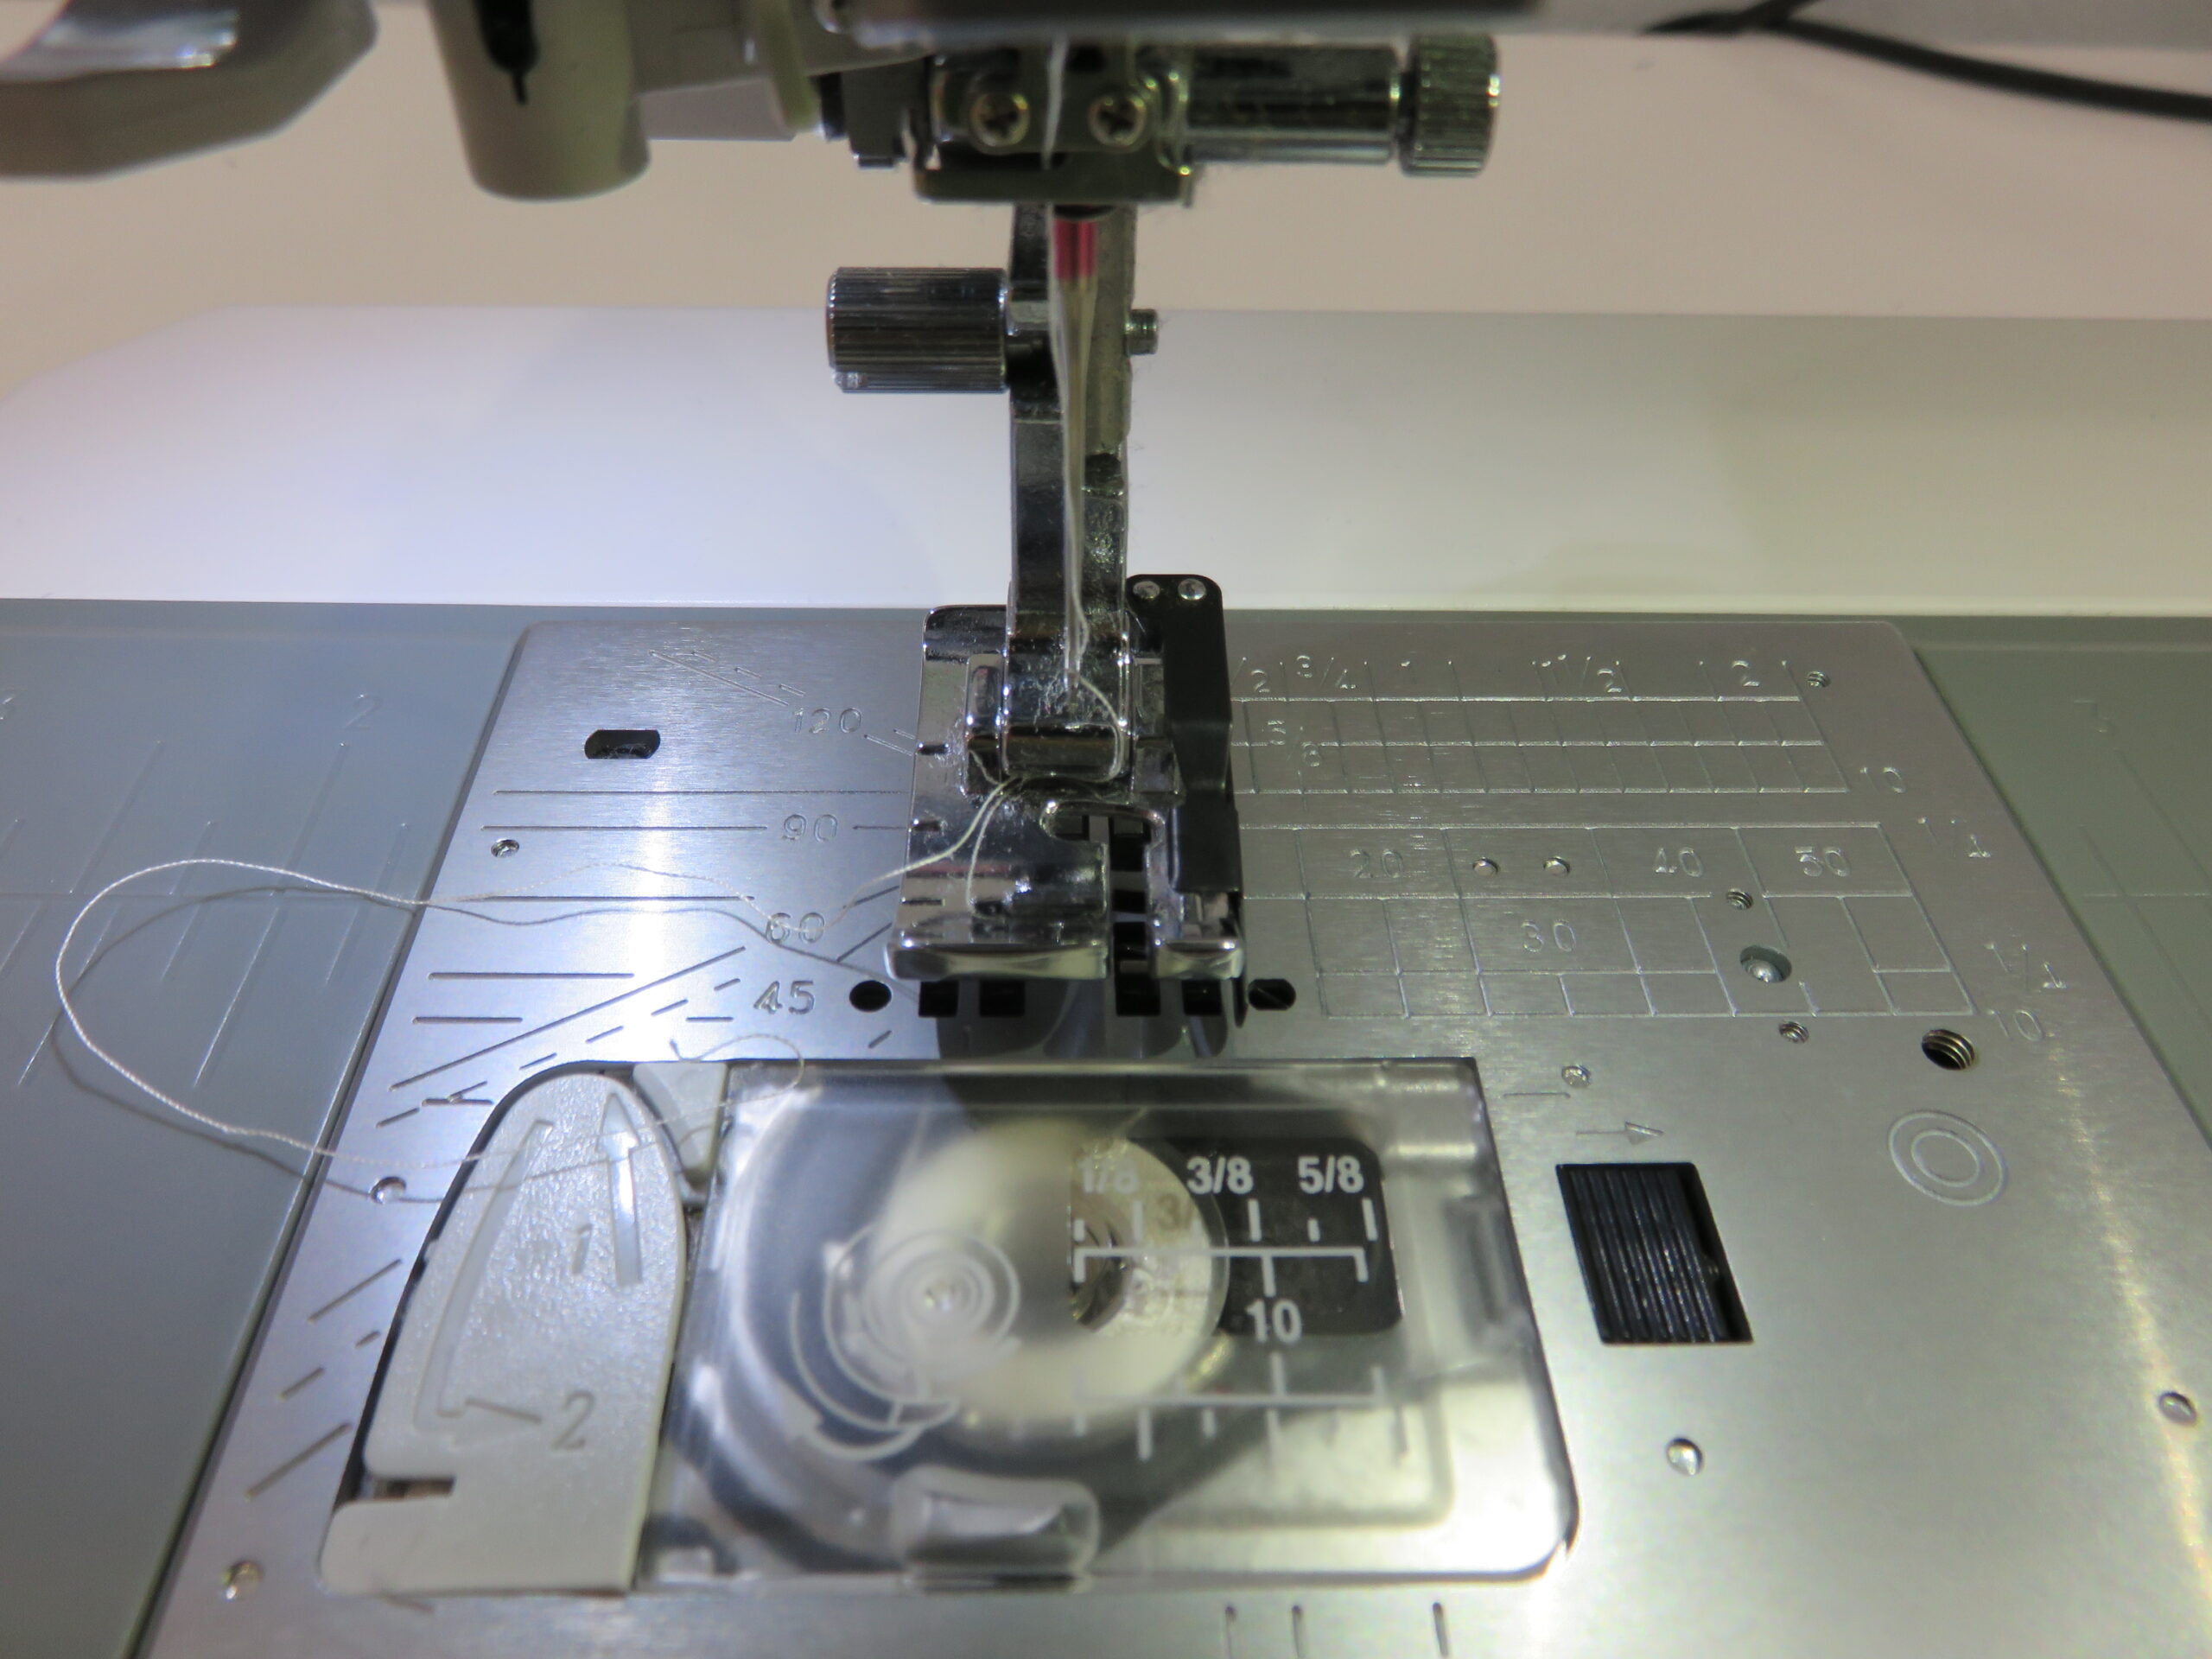
1. Attach 1/4″ seam foot O.
2. Cut all pieces as specified below.
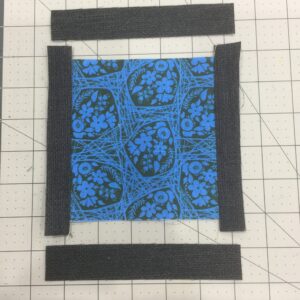
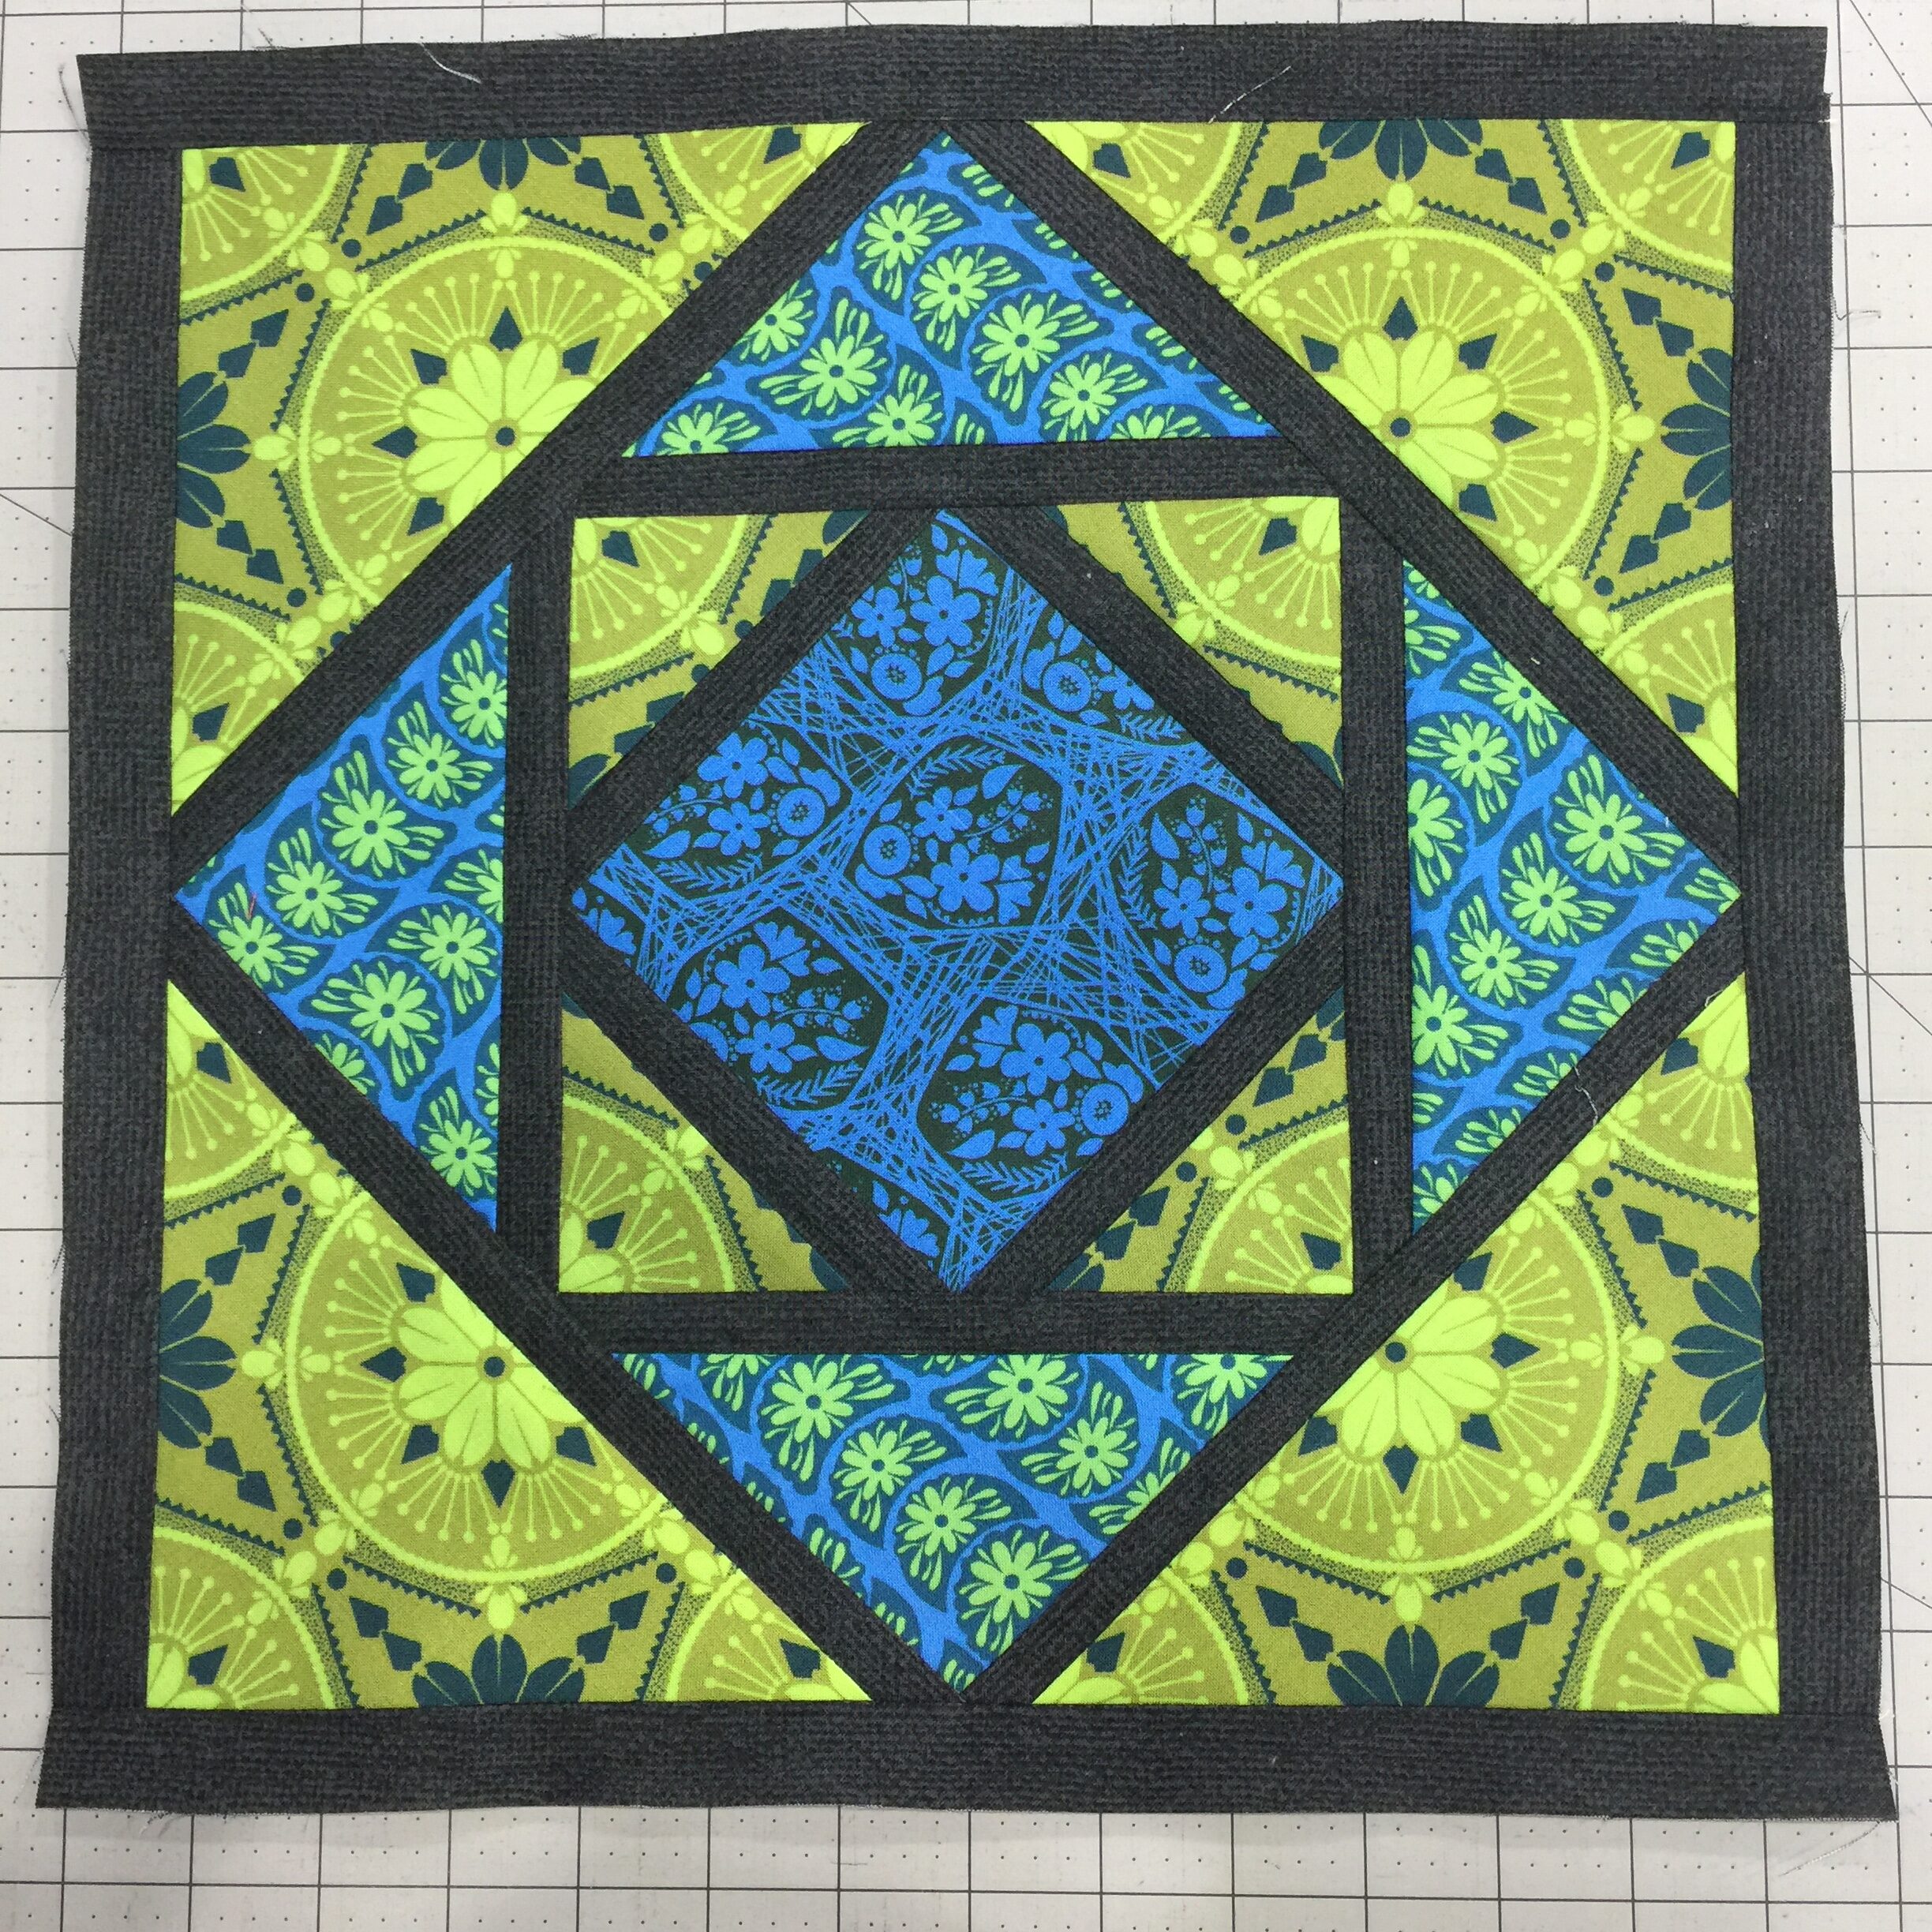
3. Take the 5” x 5” square cut from fabric B and the (2) 5” x 1” pieces of fabric A. Place one of the 5” x 1” pieces of fabric A right sides together with the top of the 5” x 5” fabric B and pin in place. Place the remaining 5” x 1” fabric A right sides together with the bottom of the 5” x 5” fabric B and pin in place. Using the 1/4″ seam foot O, sew together with quarter inch seam allowances. Press seams.
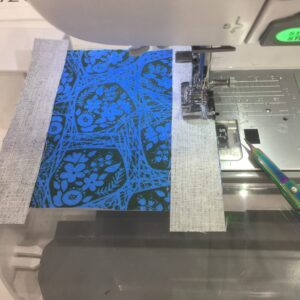
4. Take the (2) 5-3/4” x 1” pieces of fabric A and place them right sides together on the remaining edges of the 5” square fabric B. Pin in place and sew together with a 1/4” seam allowance. Press seams. If needed, square up edges.
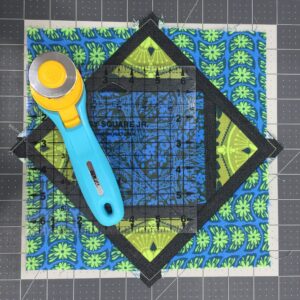
5. Take the 4 triangles you cut from the 4-5/8” square of fabric C and place the first triangle right sides together, centering the longest edge of the triangle on the 5-3/4” edge of fabric A. Repeat with the remaining 3 triangles of fabric C with the other edges of the in-progress block. Pin in place.
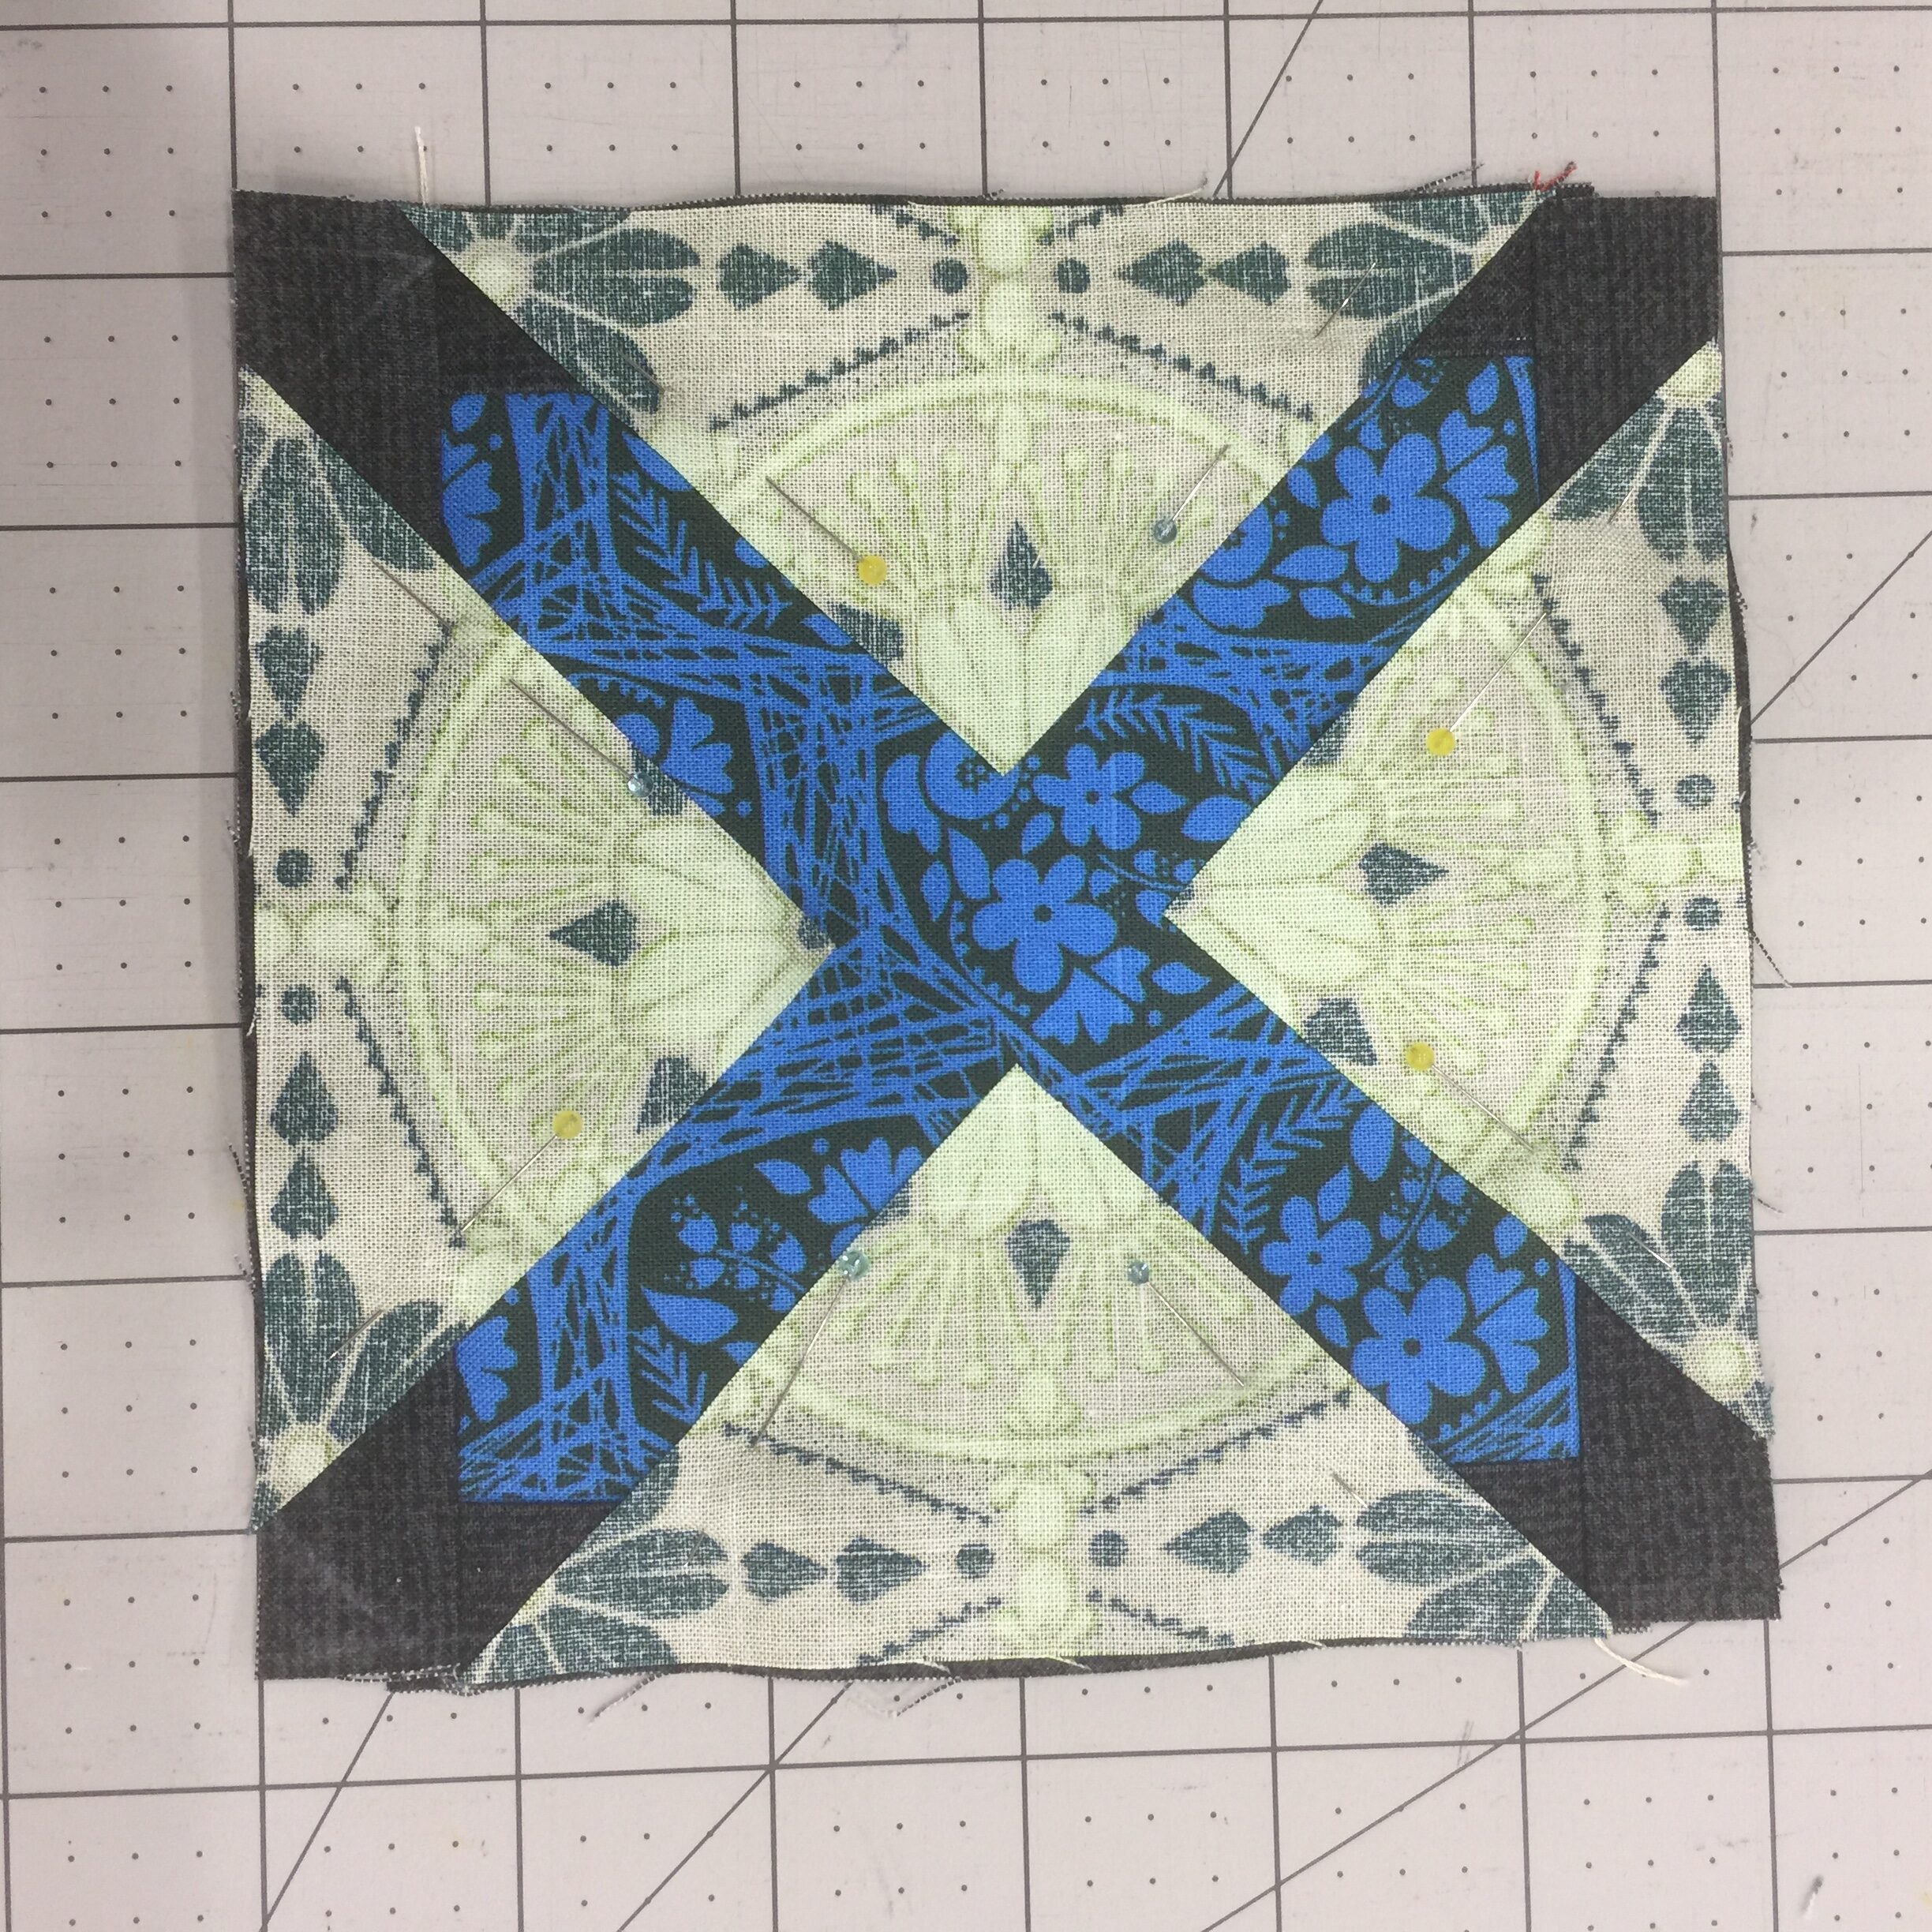
6. Sew with a 1/4″ seam allowance and press seams.
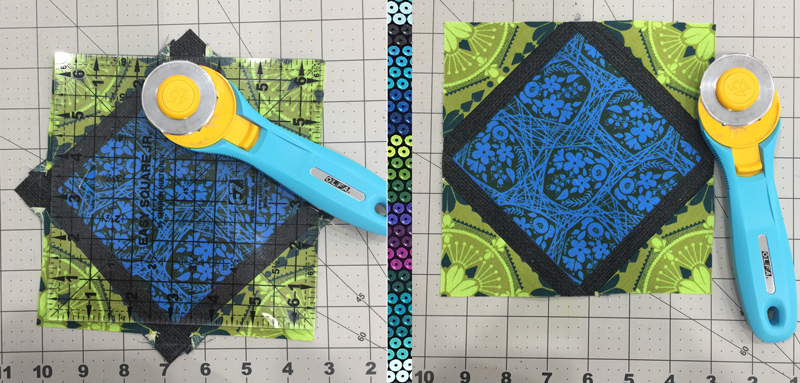
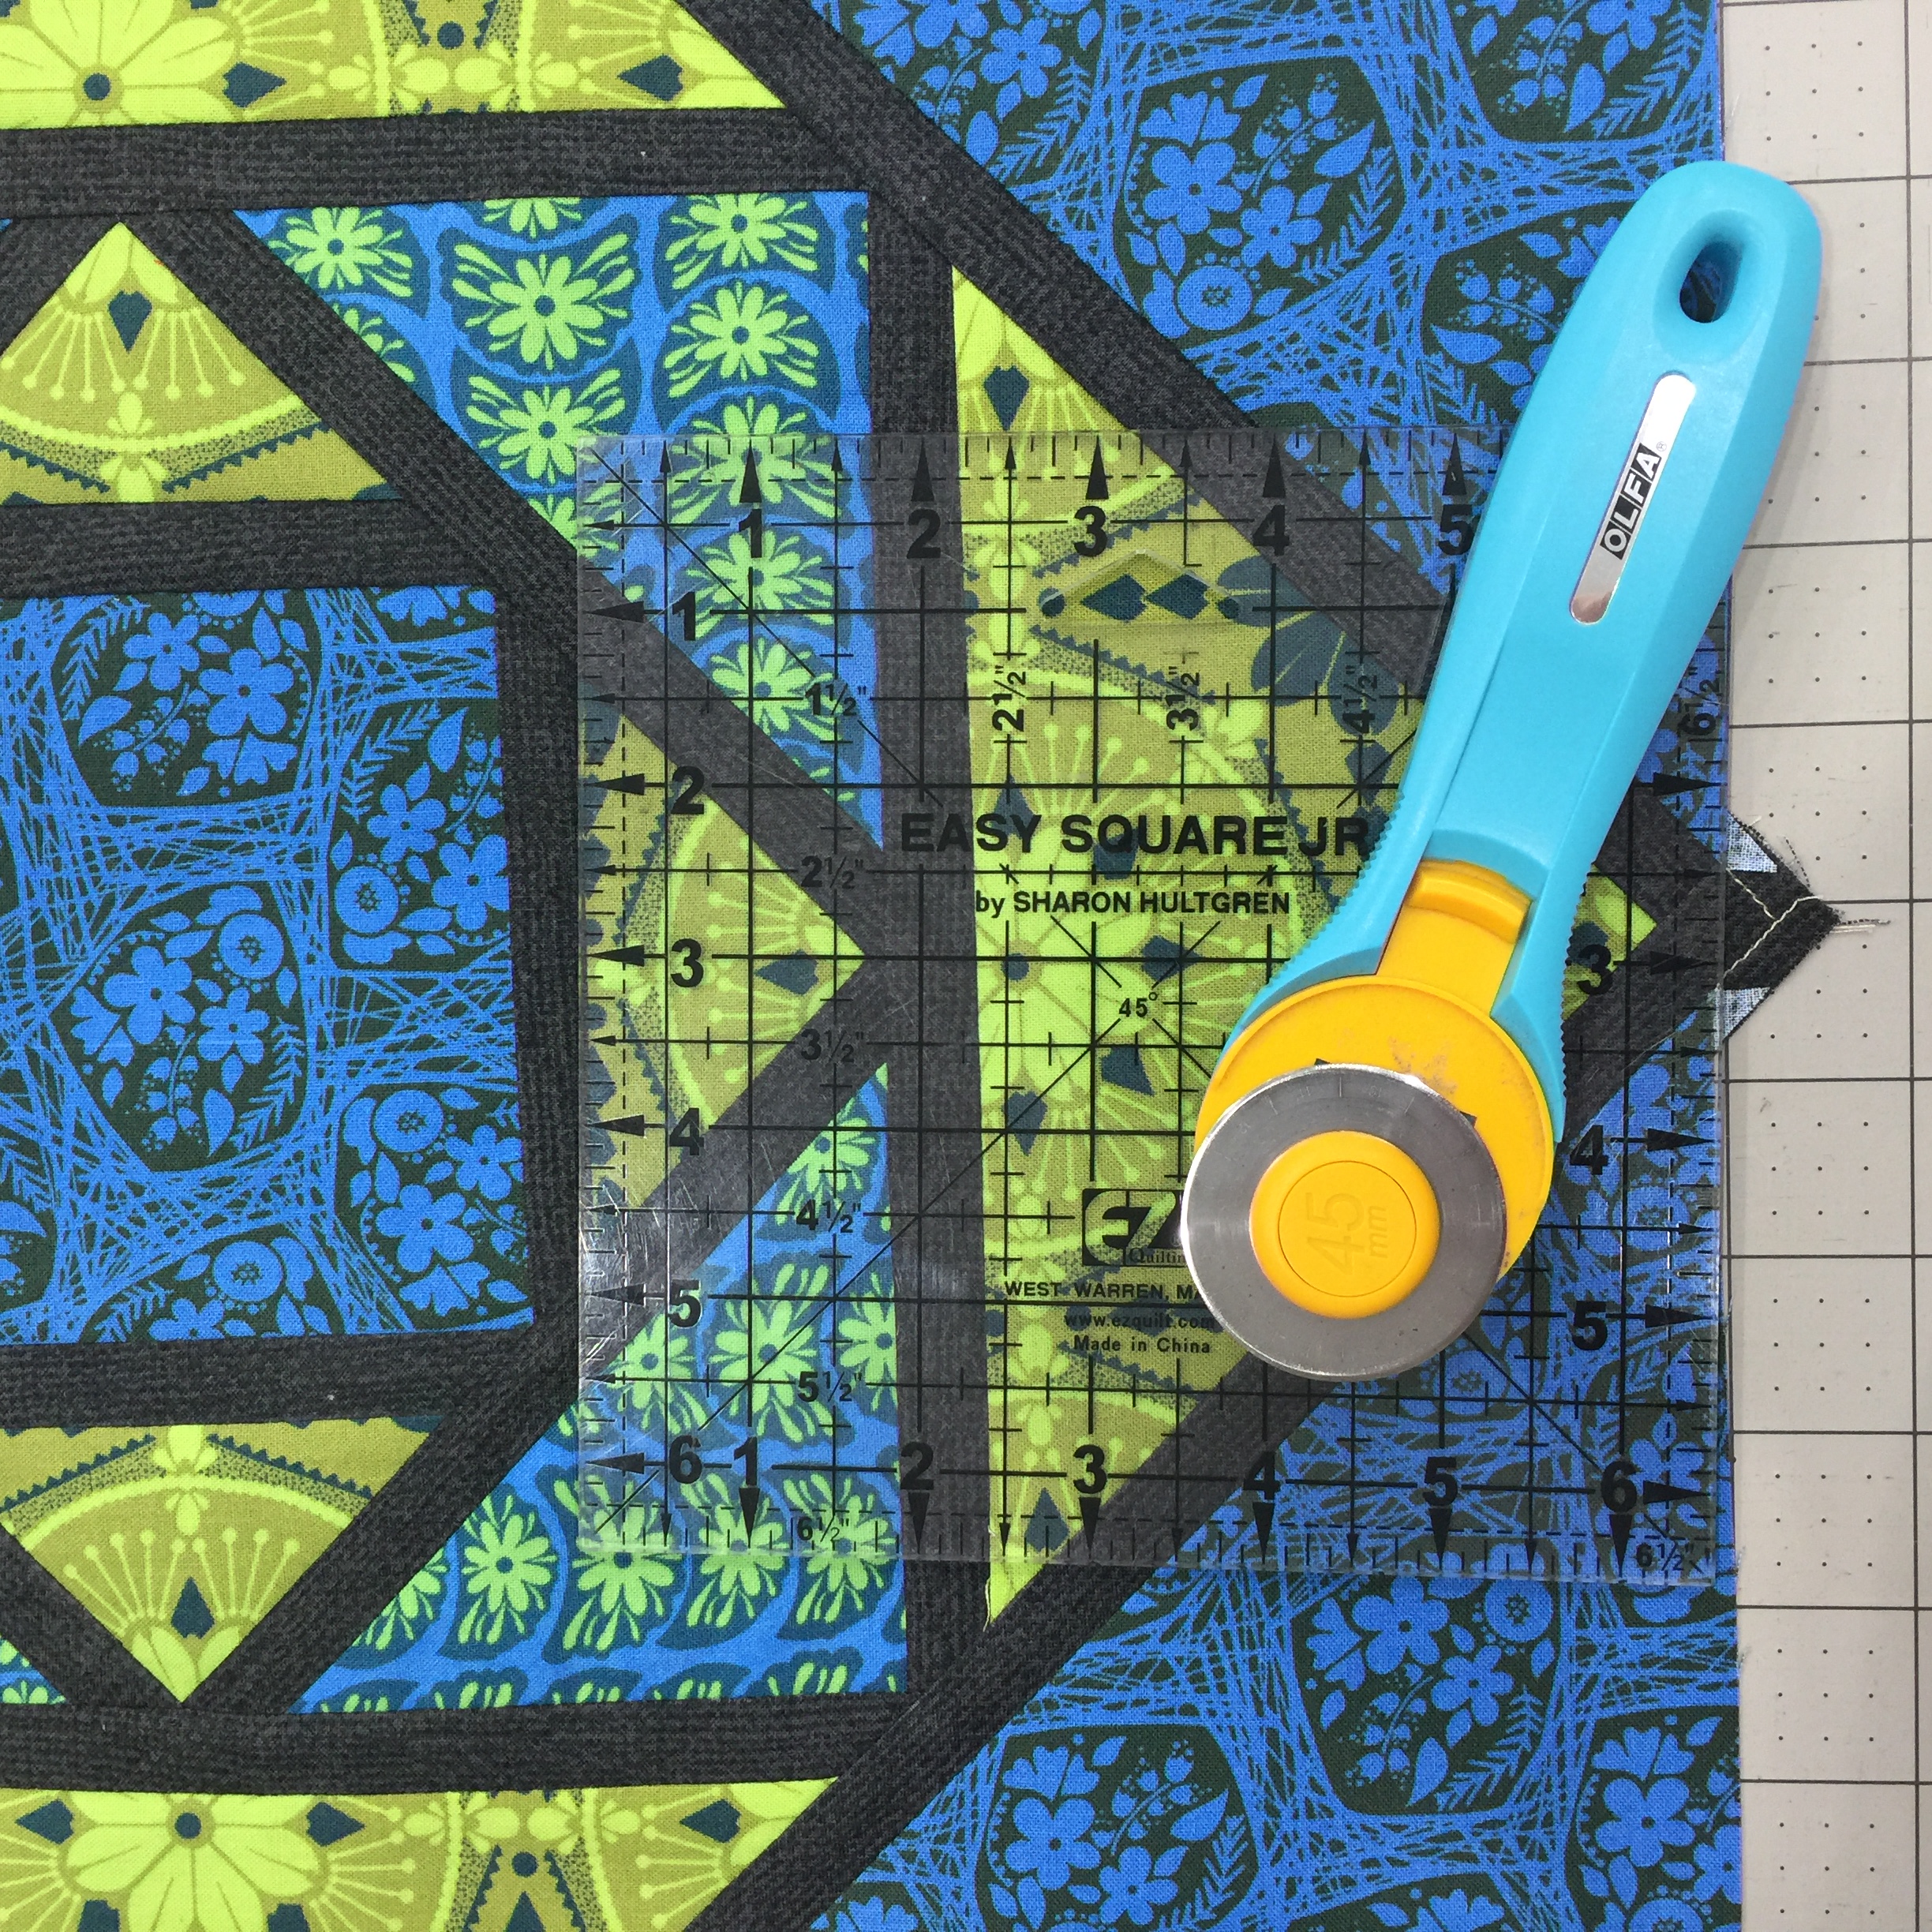
7. Using a ruler and rotary cutter, trim off the points of fabric A.
8. Take the (2) 6-3/4” x 1” pieces of fabric A and place one of the 6-3/4”x 1” pieces of fabric A right sides together with the top of the in-progress block and pin in place. Sew together with a 1/4″ seam allowance. Repeat with the other 6-3/4” x 1” piece of fabric A-but place on the bottom of the in-progress block. Press seams.

9. Take the (2) 7-5/8” x 1” pieces of fabric A and place the pieces of fabric A right sides together with the other two sides of the in-progress block and pin in place. Sew together with a 1/4″ seam allowance. Press seams.
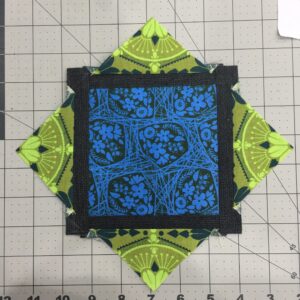
10. Take the 4 triangles you cut from the (2) 4-5/8” square of fabric D and place the first triangle right sides together, centering the longest edge of the triangle on the 7-5/8” edge of fabric A. Repeat with the remaining 3 triangles of fabric D with the other edges of the in-progress block. Pin in place.
11. Sew with a 1/4″ seam allowance and press seams.
12. Using a ruler and rotary cutter, trim off the points of fabric A to square up the in-progress block.
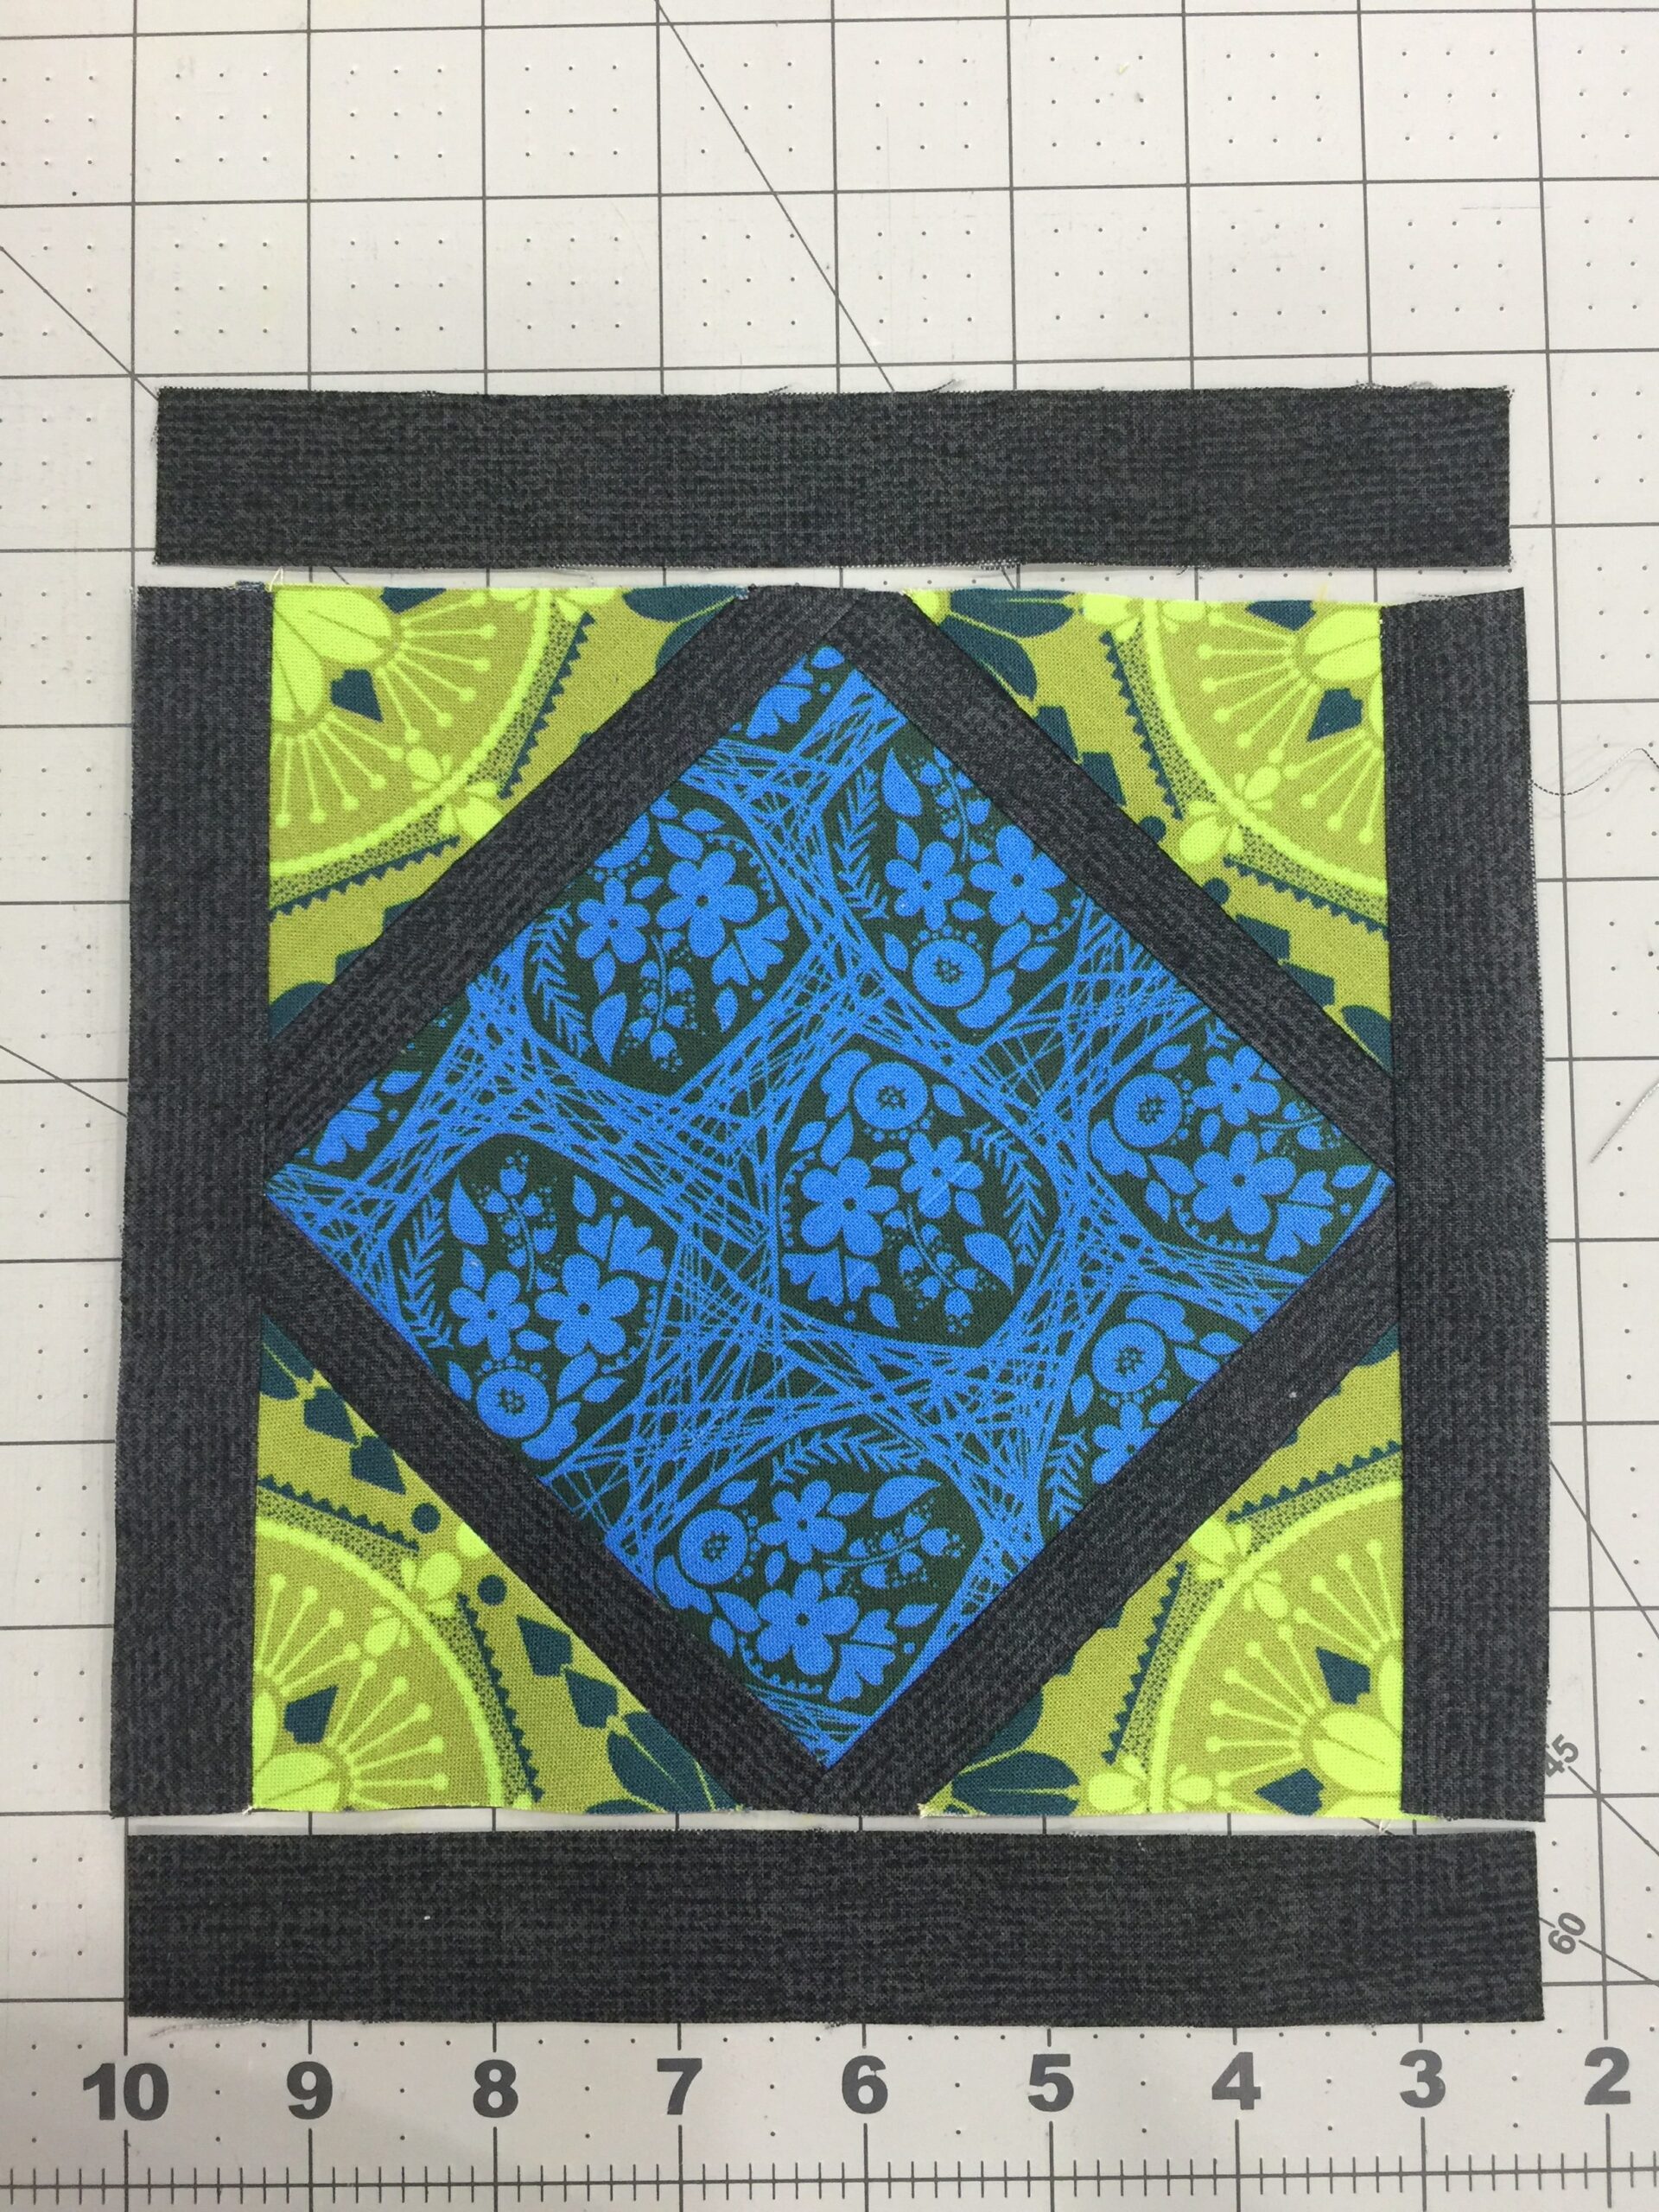
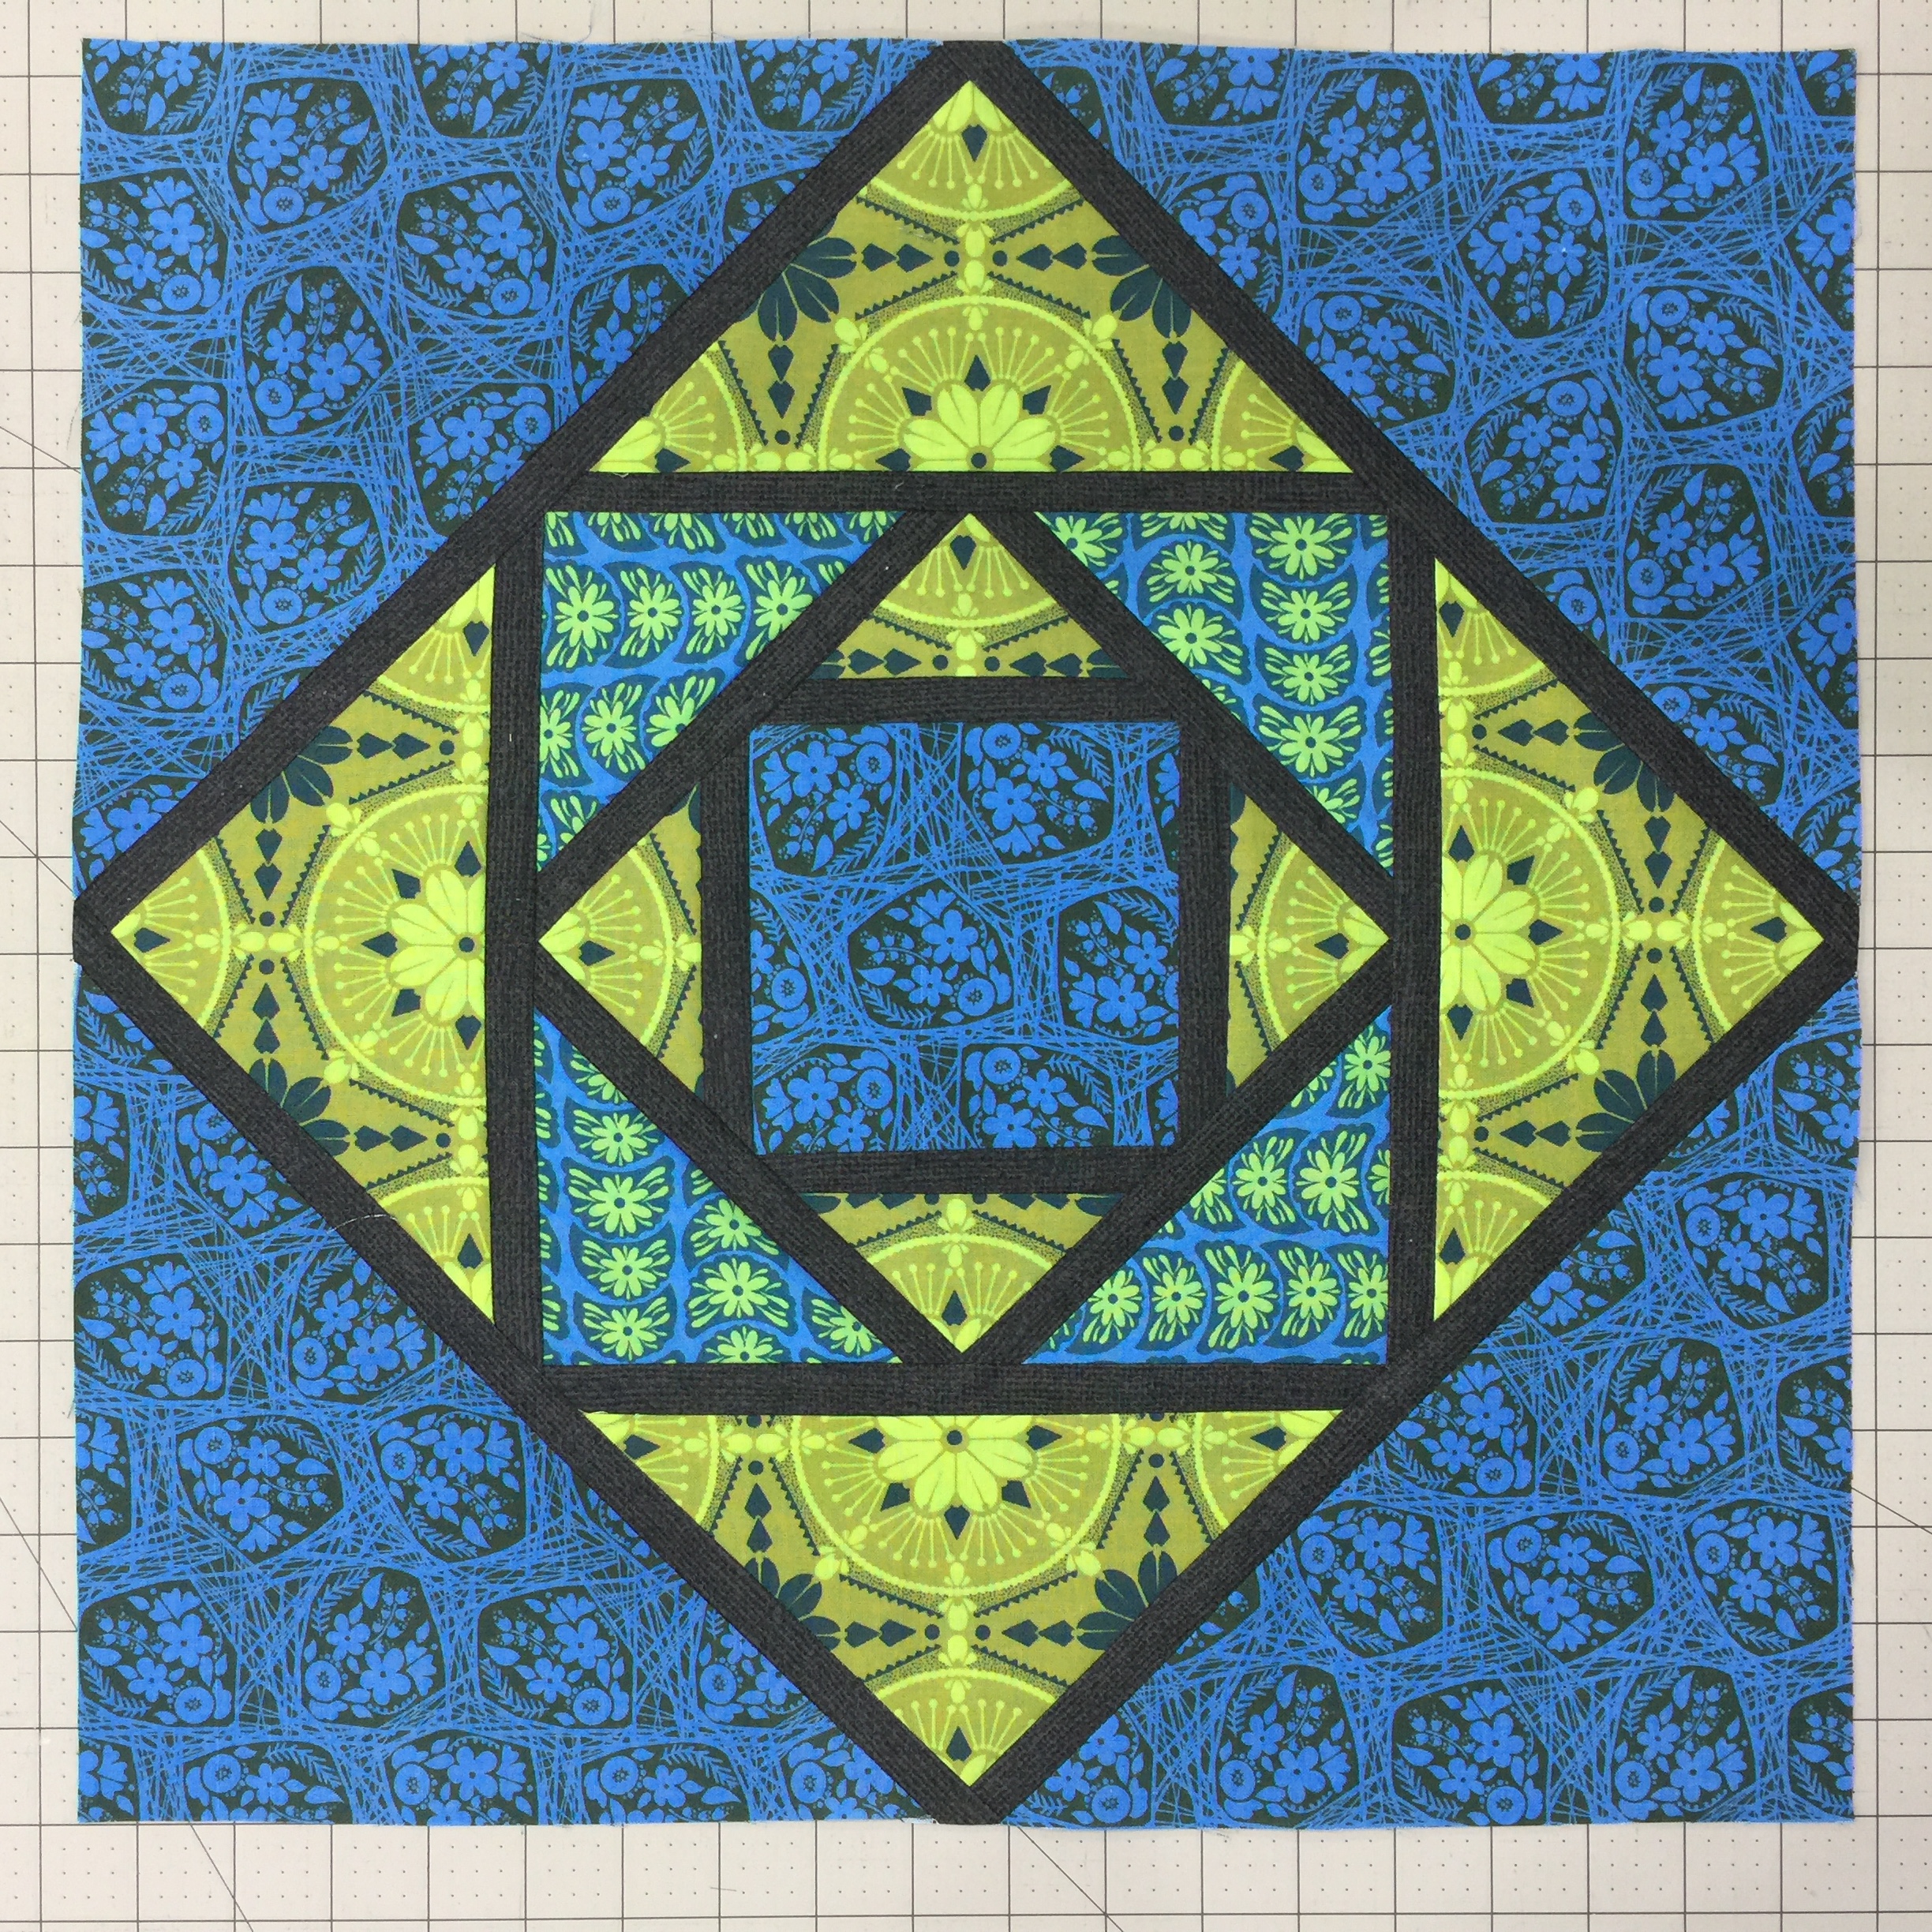
13. Take the (2) 9-3/8” x 1” pieces of fabric A and place one of the 9-3/8”x 1” pieces of fabric A right sides together with the top of the in-progress block and pin in place. Sew together with a 1/4″ seam allowance. Repeat with the other 9-3/8” x 1” piece of fabric A-but place on the bottom of the in-progress block. Press seams.
14. Take the (2) 10-1/4” x 1” pieces of fabric A and place the pieces of fabric A right sides together with the other two sides of the in-progress block and pin in place. Sew together with a 1/4″ seam allowance. Press seams.
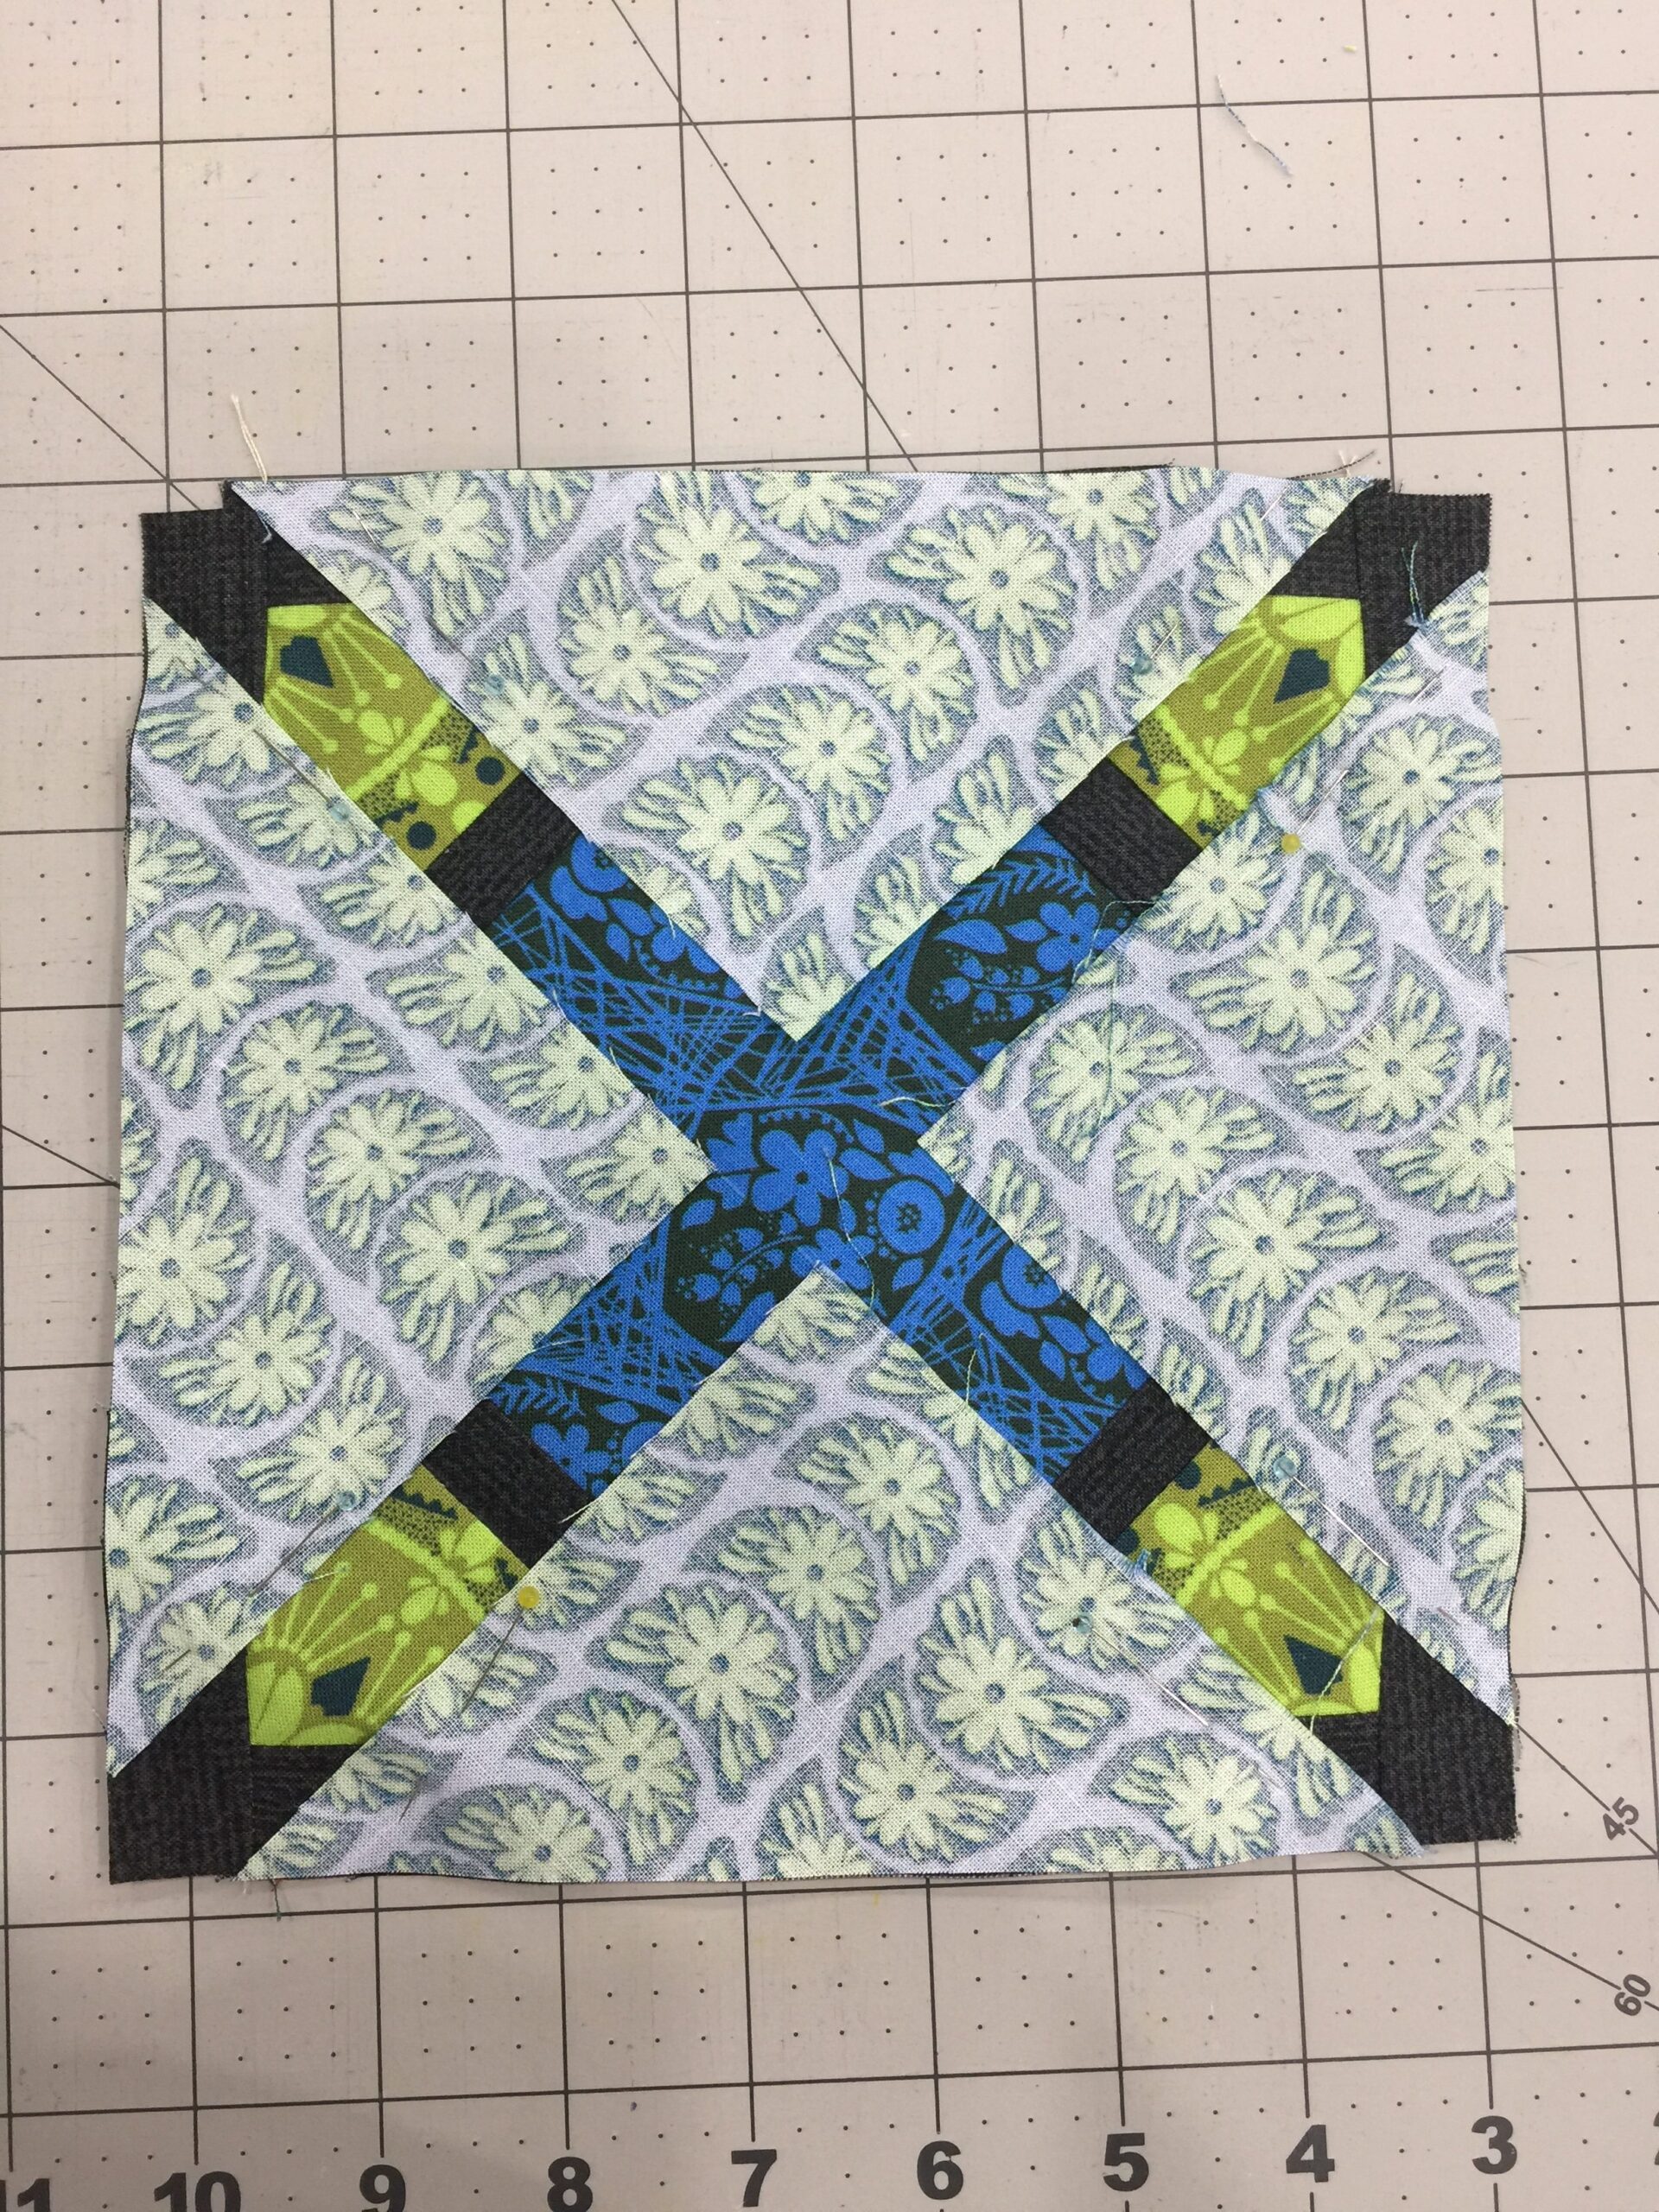
15. Take the 4 triangles you cut from the 9-1/8” square of fabric C and place the first triangle right sides together, centering the longest edge of the triangle on the 10-1/4” edge of fabric A. Repeat with the remaining 3 triangles of fabric C with the other edges of the in-progress block. Pin in place.

16. Sew with a 1/4″ seam allowance and press seams.
17. Using a ruler and rotary cutter, trim off the points of fabric A to square up the in-progress block.
18. Take the (2) 13-1/8” x 1” pieces of fabric A and place one of the 13-1/8”x 1” pieces of fabric A right sides together with the top of the in-progress block and pin in place. Sew together with a 1/4″ seam allowance. Repeat with the other 13-1/8” x 1” piece of fabric A-but place on the bottom of the in-progress block. Press seams.
19. Take the (2) 14” x 1” pieces of fabric A and place the pieces of fabric A right sides together with the other two sides of the in-progress block and pin in place. Sew together with a 1/4″ seam allowance. Press seams.
20. Take the 4 triangles you cut from the (2) 9-1/8” squares of fabric B and place the first triangle right sides together, centering the longest edge of the triangle on the 14” edge of fabric A. Repeat with the remaining 3 triangles of fabric B with the other edges of the in-progress block. Pin in place.

21. Sew with a 1/4″ seam allowance and press seams.
22. Using a ruler and rotary cutter, trim off the points of fabric A to square up the in-progress block.
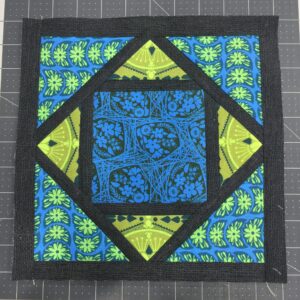
23. If you choose to hang the block in a lit window without quilting, then you’re done! At this stage, the light will pass through the block much easier than it would a quilted mini.
Quilting it All Together
1. Layer the wall hanging top on top of batting and the backing fabric (Fabric F).
2. Pin the layers together, making sure to keep all of the layers flat (you can also use spray baste).
3. The batting and backing fabric will be slightly larger than the pieced top.
4. Attach QBS foot for free motion. Lower the feed dogs. Adjust the presser foot pressure to “5” and set the machine to “D4” “D4S”.
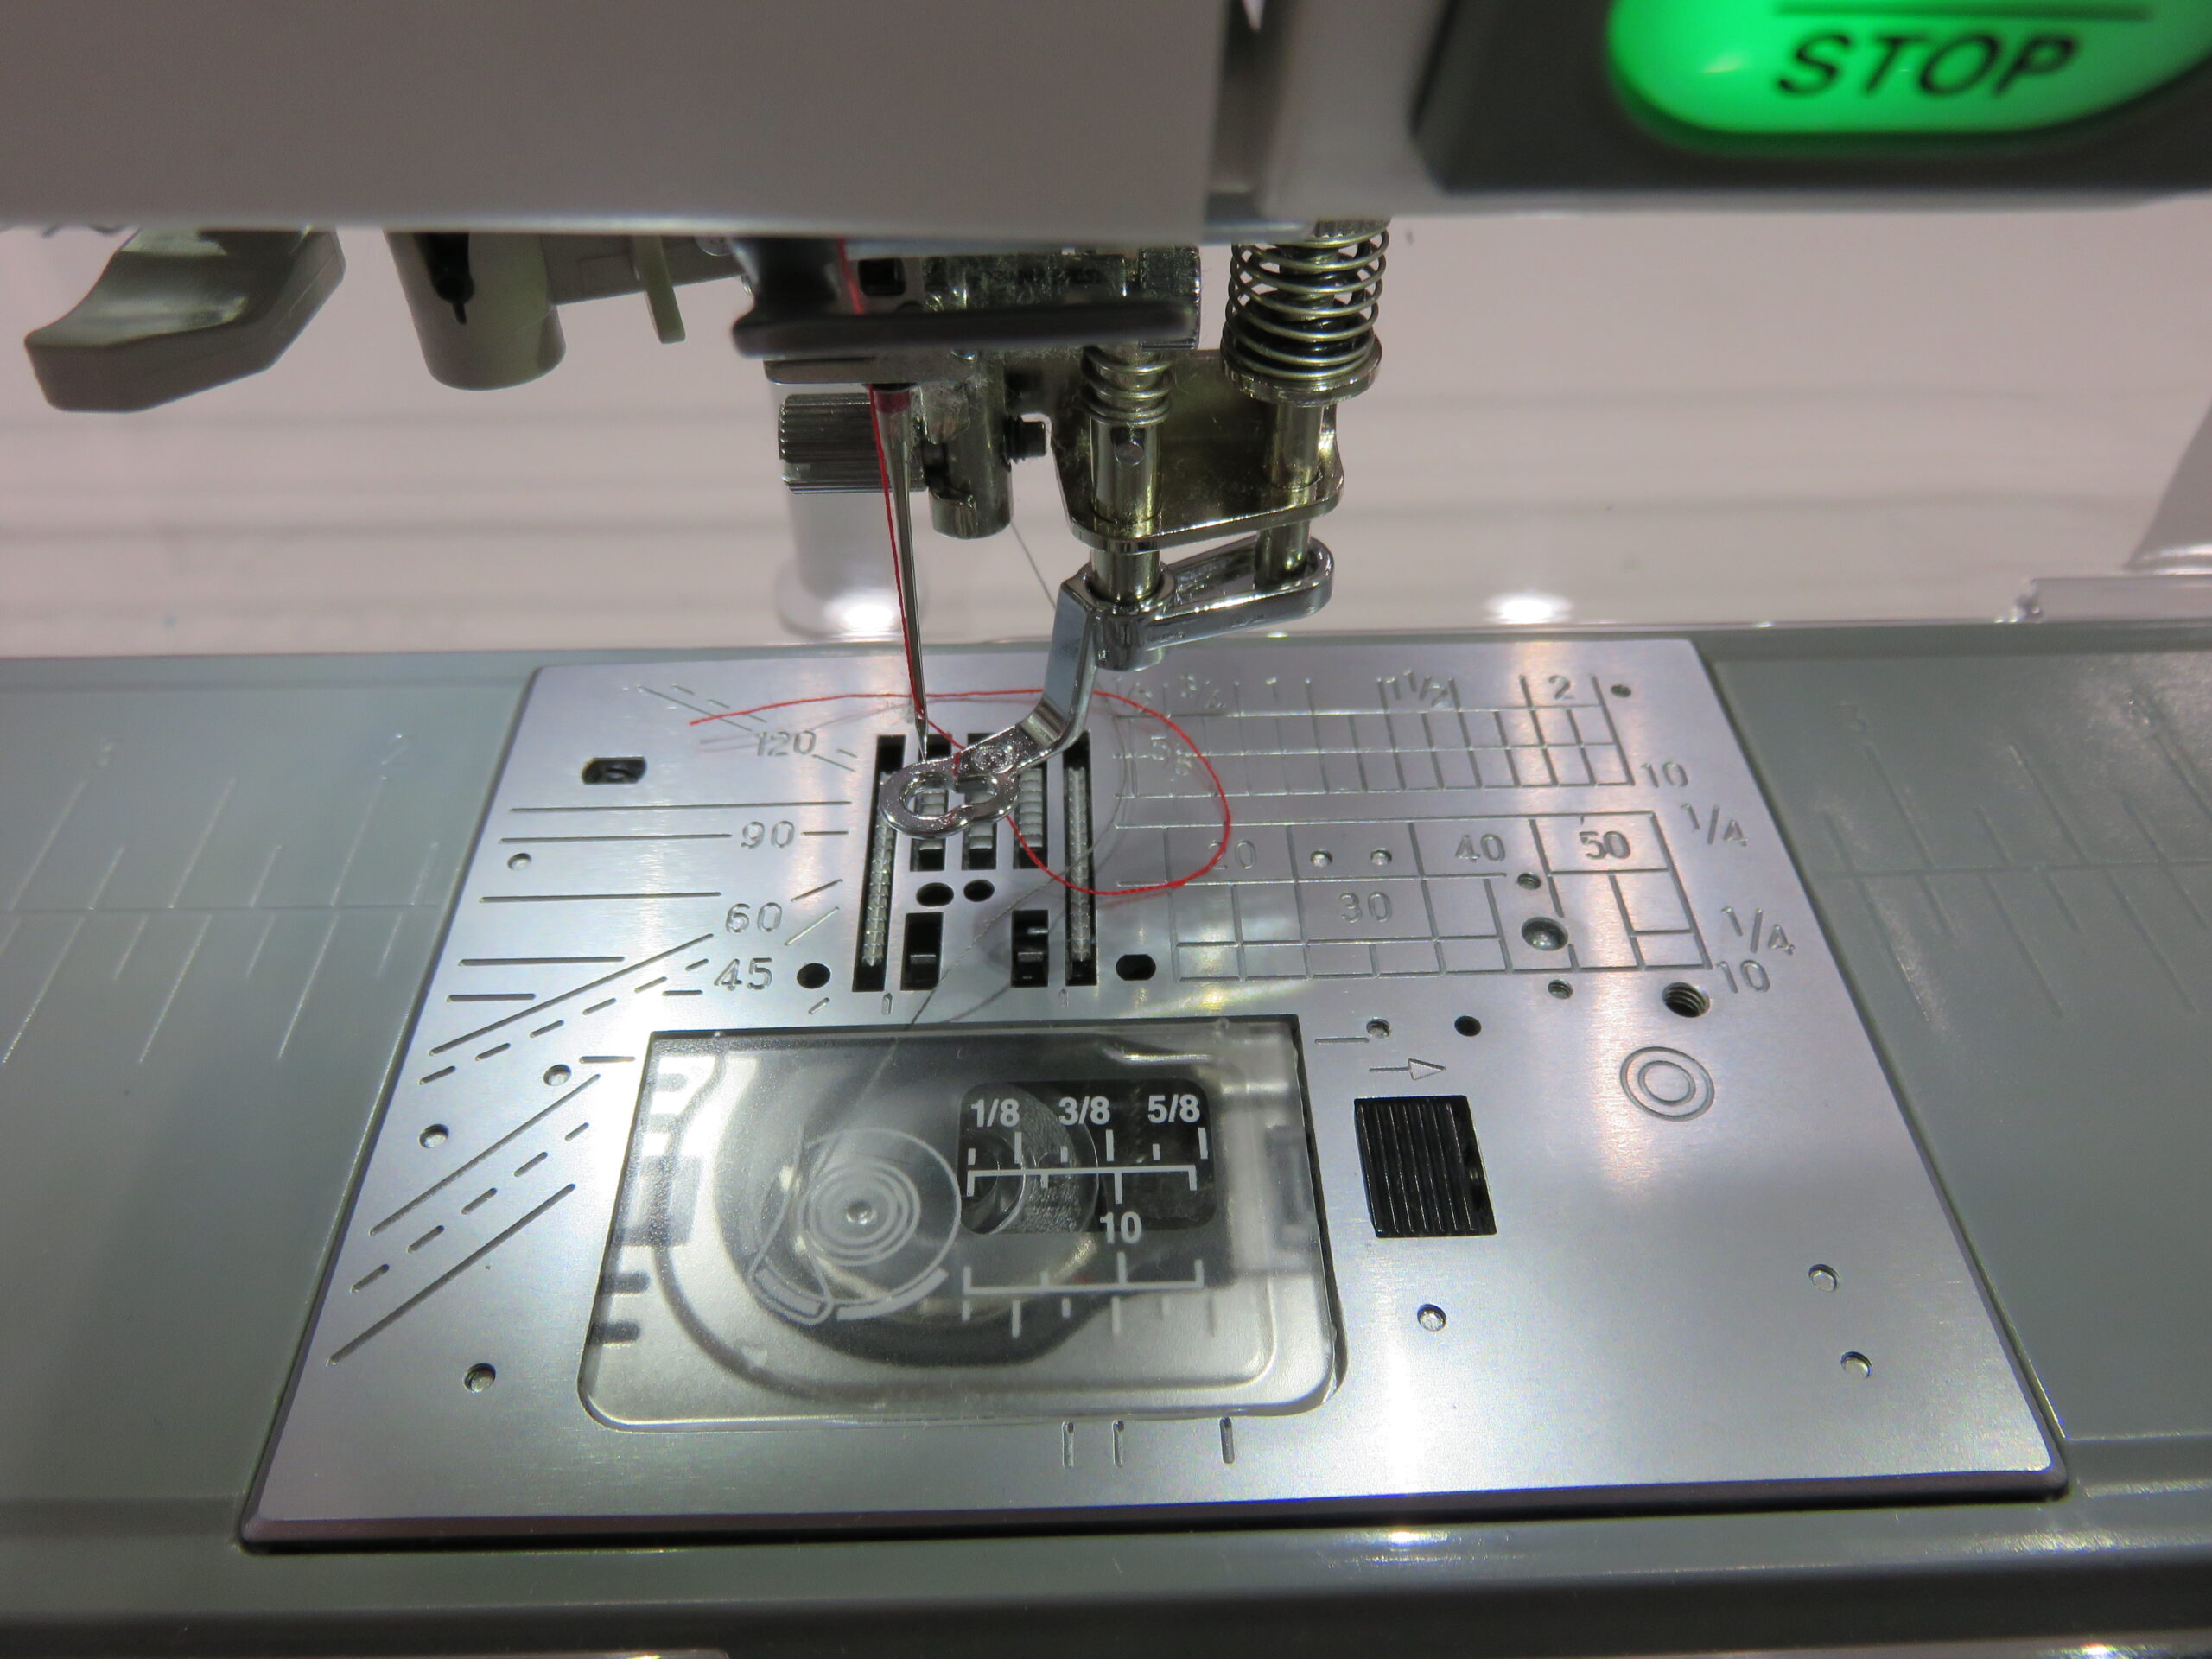
5. Wind bobbin with quilting thread that you’ve selected. Thread machine with matching thread.
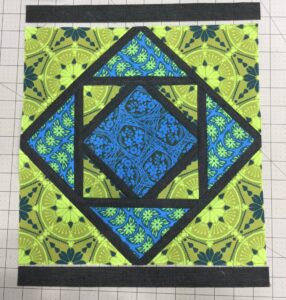
6. Quilt the layers together with a fun design. I opted for straight line quilting, roughly 3/4” apart.
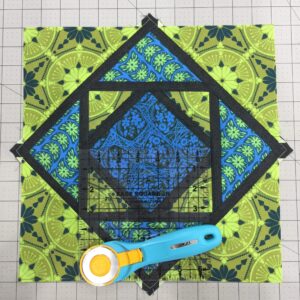
7. Trim the sides of the wall hanging when quilting is complete to square up figure 1.
Binding
1. With the remaining fabric (E) cut 2 ½” strips across the grain or cut bias strips, cutting enough to create 84” in length.
2. When the length is complete, press the strips in half lengthwise, wrong sides together.
3. Attach the binding around the wall hanging with the method you prefer.