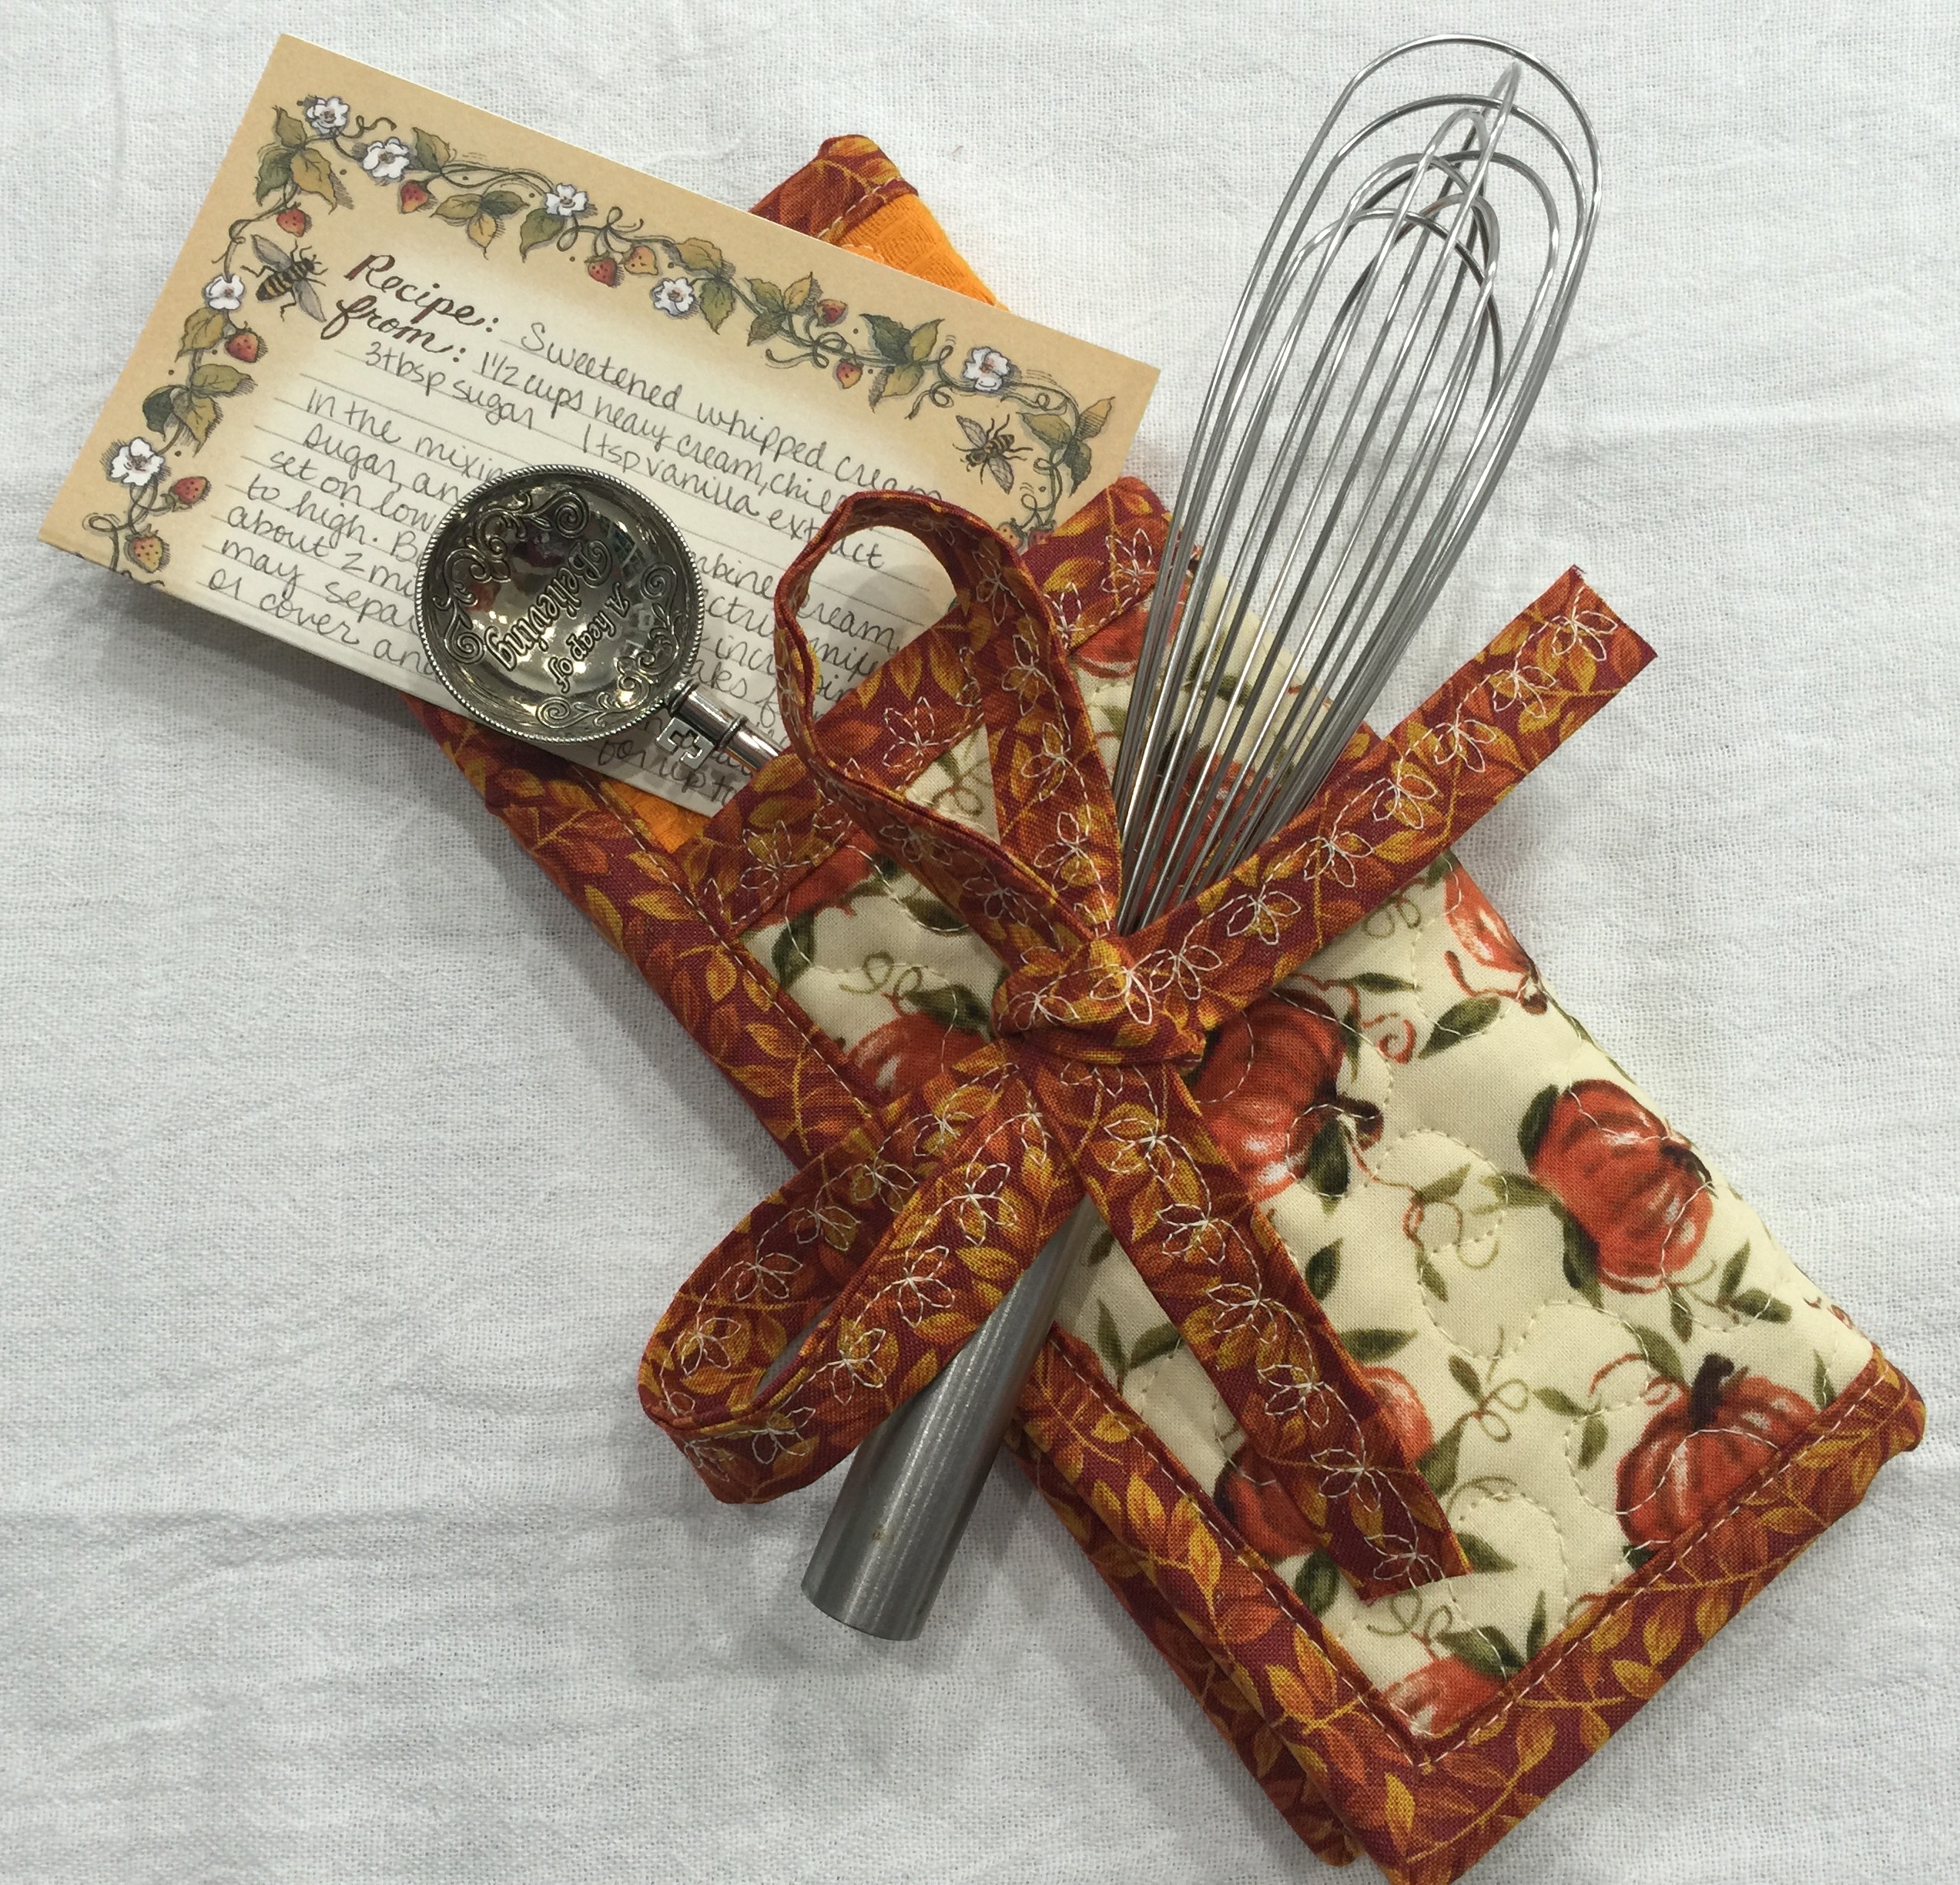
Quilted Hot pad Hostess Gifts
In the fall season, we are greeted by family dinners and other fun events that are hosted by others. Show your hosts and hostesses your appreciation by whipping up some adorable and functional quilted hot pads. Utilize the free motion quilting and decorative stitches available on the Horizon Memory Craft 8900QCP Special Edition. This is a great project to showcase seasonal fabrics, or create something you know will coordinate with your host’s home décor. You can even make your own ribbon with the remaining binding and one of the great decorative stitches available on the MC8900.
Skill Level: Beginner to Intermediate
Sewing Time: 3 hours
Janome Supplies Required:
HMC8900QCP SE Sewing Machine
Standard Sewing Foot A
QBS Foot for free motion quilting
Red Tip Needle
Pre-wound Bobbin
Empty Bobbin
Fabrics/Notions required* for 1 hot pad:
Note that fabric dimensions are given with width first, then height (keep in mind for print direction)
1 fat quarter focal fabric (for pocket exterior and back of hot pad) sub cut into:
(1) 10” x 11”
(1) 9” x 7”
½ yd contrasting fabric (for binding and pocket interior) sub cut into:
(1) 60” x 2.5” (can join multiple 2.5” wide strips to get total width)
(1) 9” x 7”
1 coordinating cotton kitchen towel (for front of hot pad) sub cut into:
(1) 10” x 11”
1 package of Insul-Bright sub cut into:
(2) 10” x 11”
(1) 9” x 7”
Coordinating all-purpose sewing thread (cotton*)
Coordinating/contrasting quilting thread (cotton*)
Coordinating decorative thread (cotton*)
*Keep in mind that synthetic fabrics are not a good choice for this project. Please stick to quilting cottons, as the finished product will be exposed to heat.
Student Supplies Required:
Marking Pen/Tailors Chalk
Rotary Cutter/Ruler/Mat
Safety Pins
Binding Clips
Iron
Spray Starch (optional)
Small kitchen items to fill your hot pad pocket
Prepare your Binding & Quilt Sandwiches, Quilt
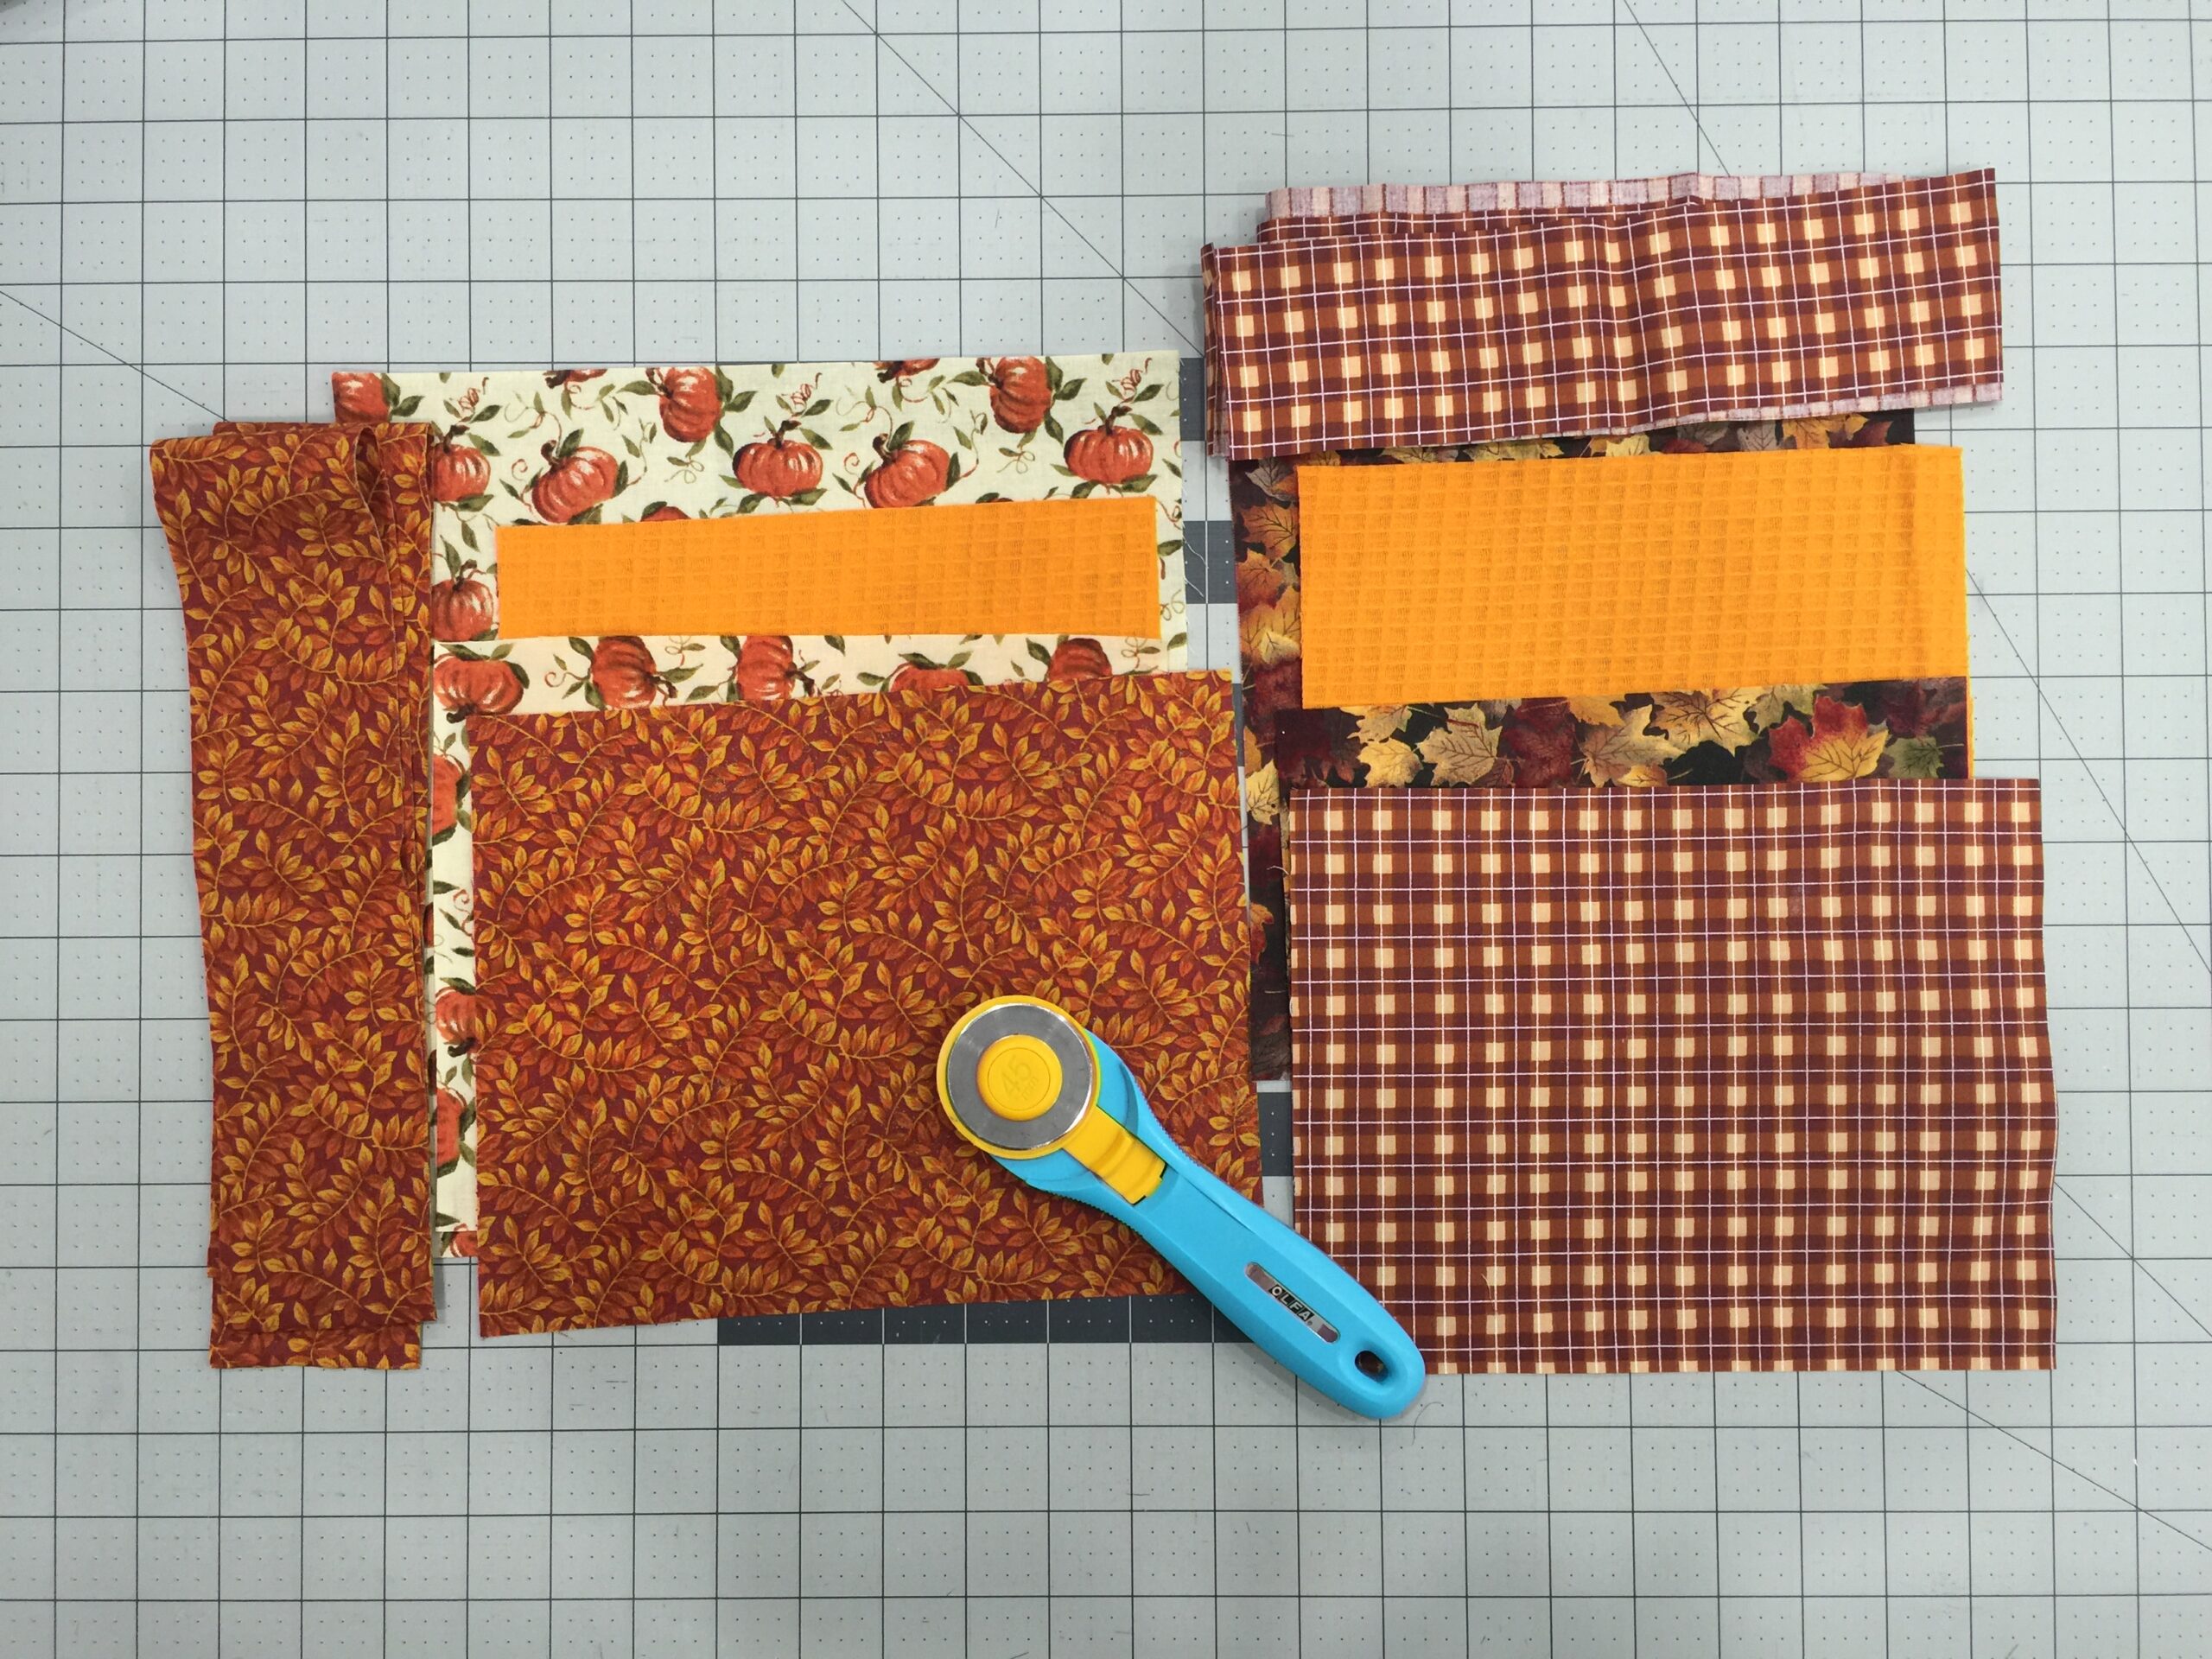
- Cut all pieces in the cut list above. I cut out enough to make two different hot pads, as pictured in below.
- Take the 60” x 2.5” strip for binding and press in half (so the width is now 1.25”) with wrong sides together. Set aside for later use.
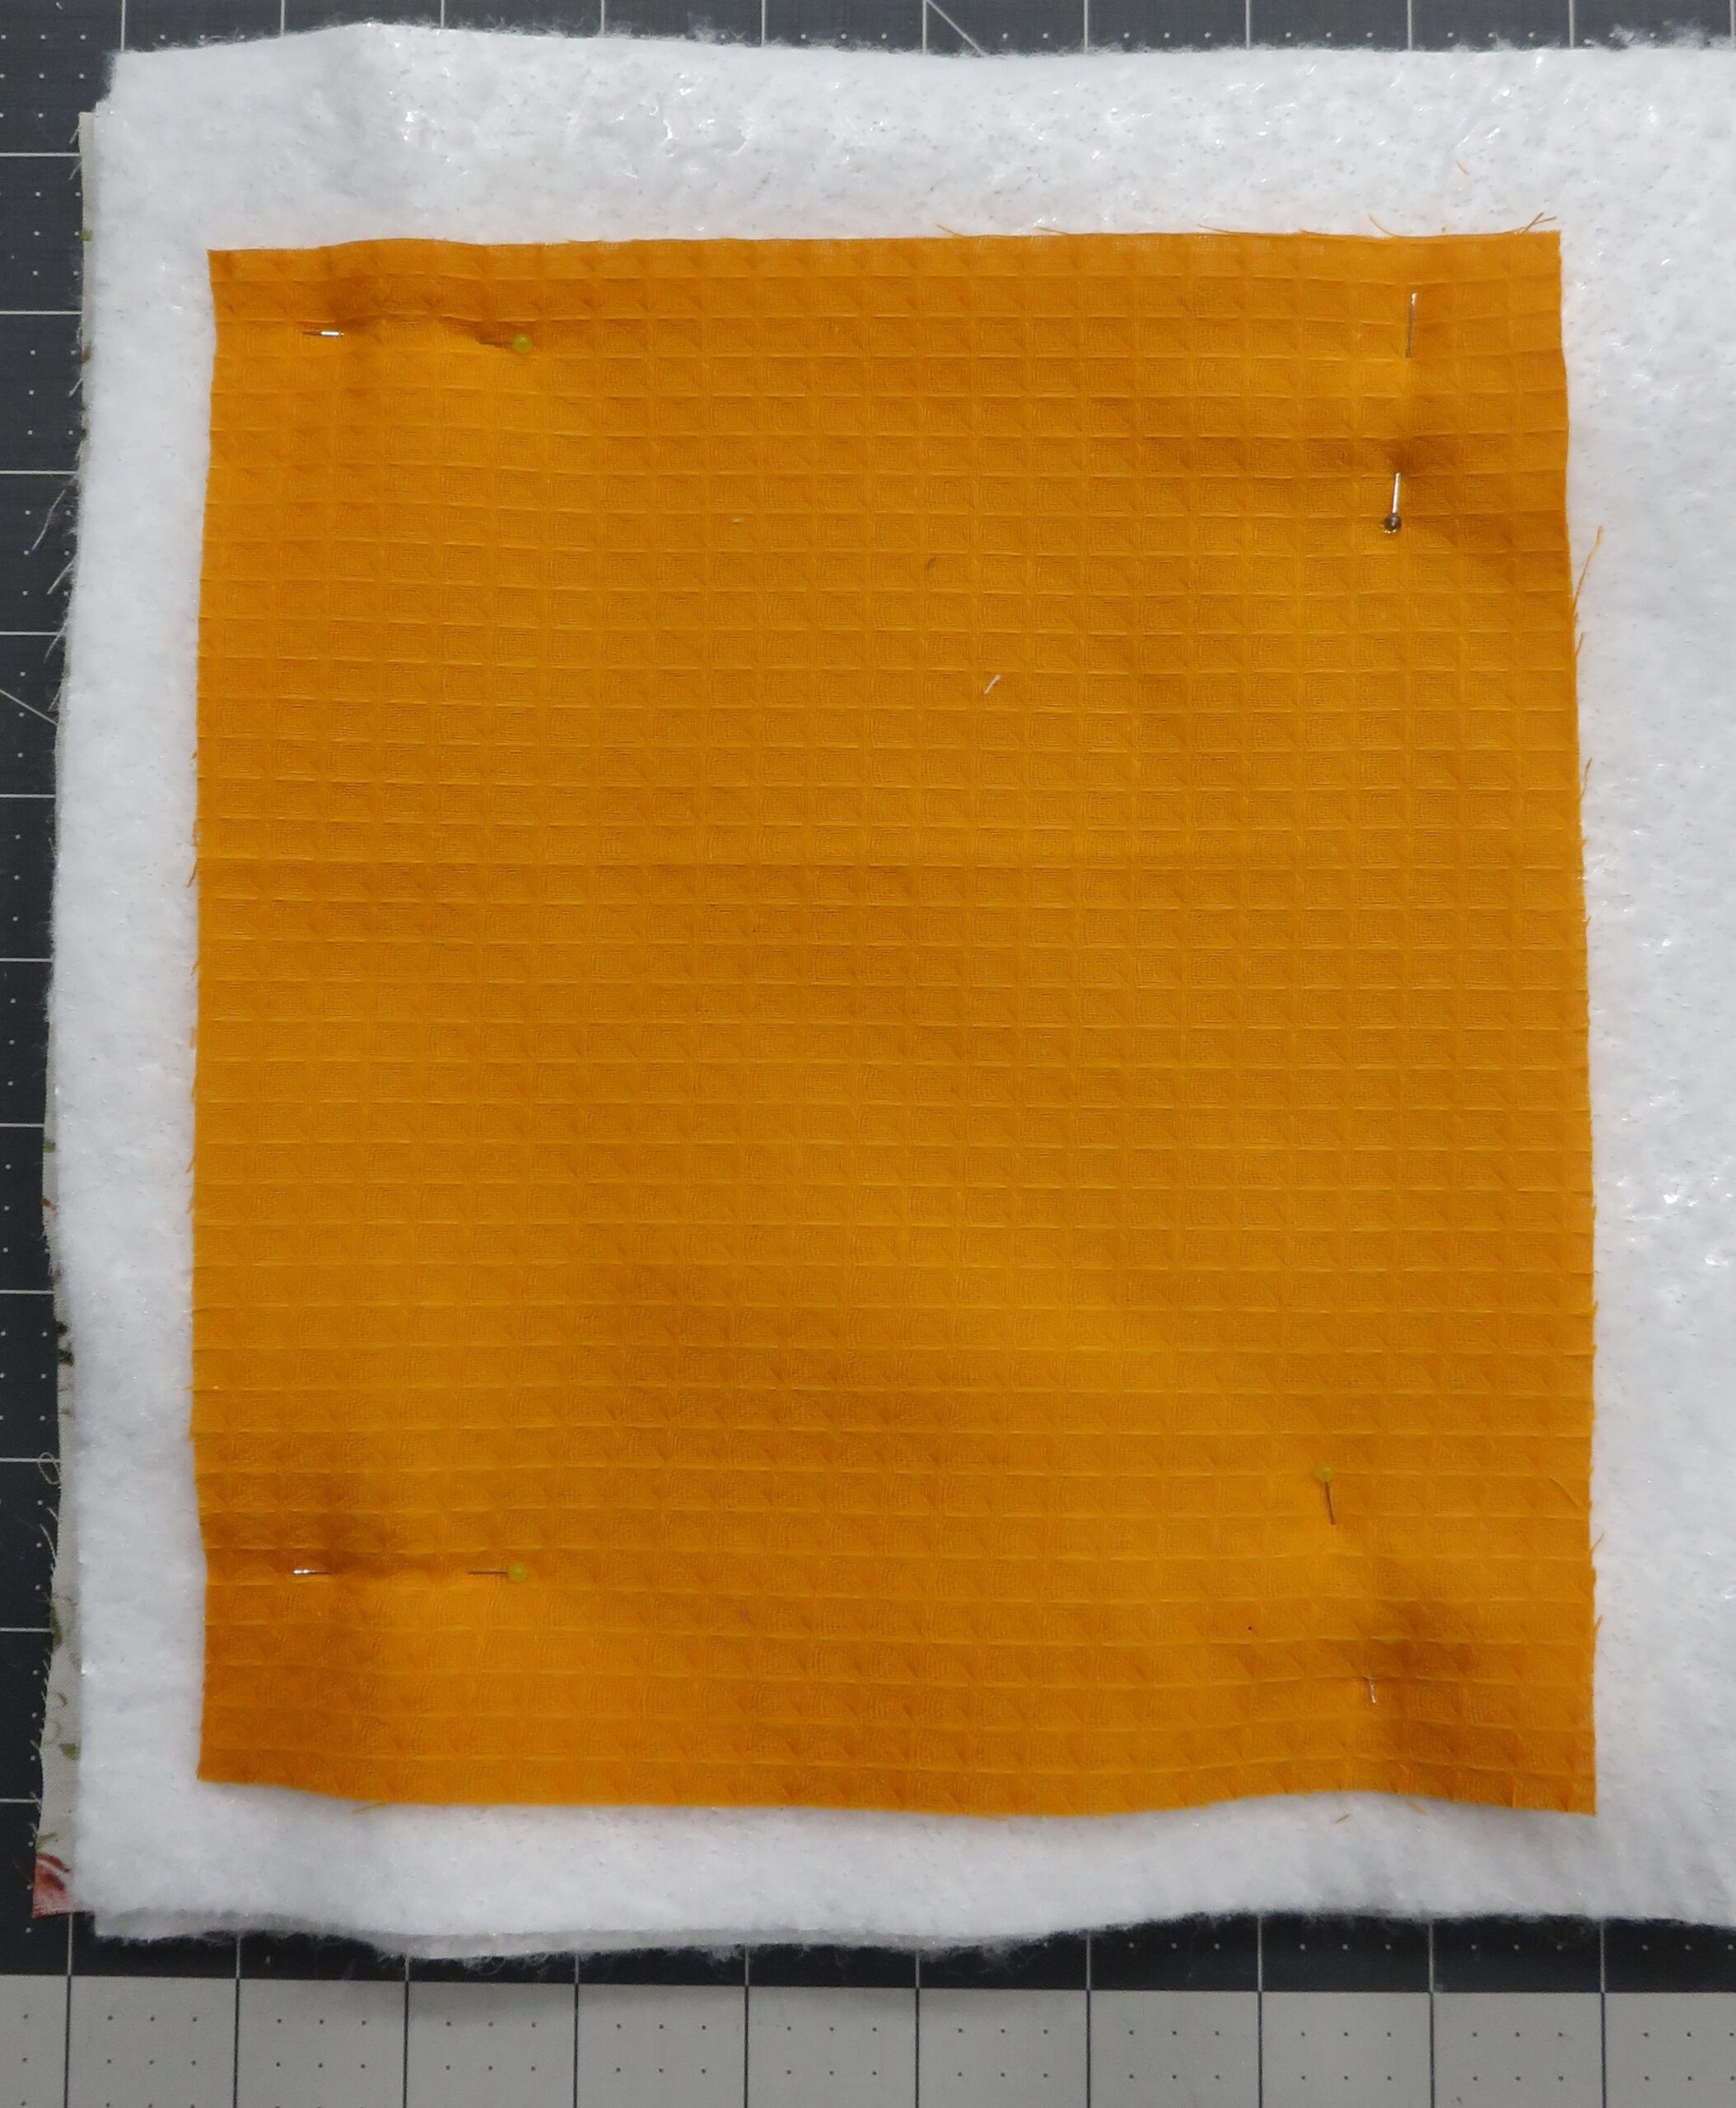
- Take the 10” x 11” piece of focal fabric and place right side down on a flat surface. Place the 2 pieces of 10” x 11” of Insul-Bright on top of the wrong side of the focal fabric. Then place the 10” x 11” cut towel on top of the Insul-Bright, right side up. Baste or pin in place, smoothing wrinkles as you pin.
- Take the 9” x 7” contrasting print, place right side down on a smooth surface. Place the remaining 9” x 7” piece of Insul-Bright (just one piece this time) on top of the wrong side. Place the 9” x 7” piece of focal fabric right side up on top of the Insul-Bright. Smooth wrinkles and baste or pin in place.

- Attach QBS foot for free motion. Lower the feed dogs. Adjust the presser foot pressure to 5 and set the machine to D4 D4S.
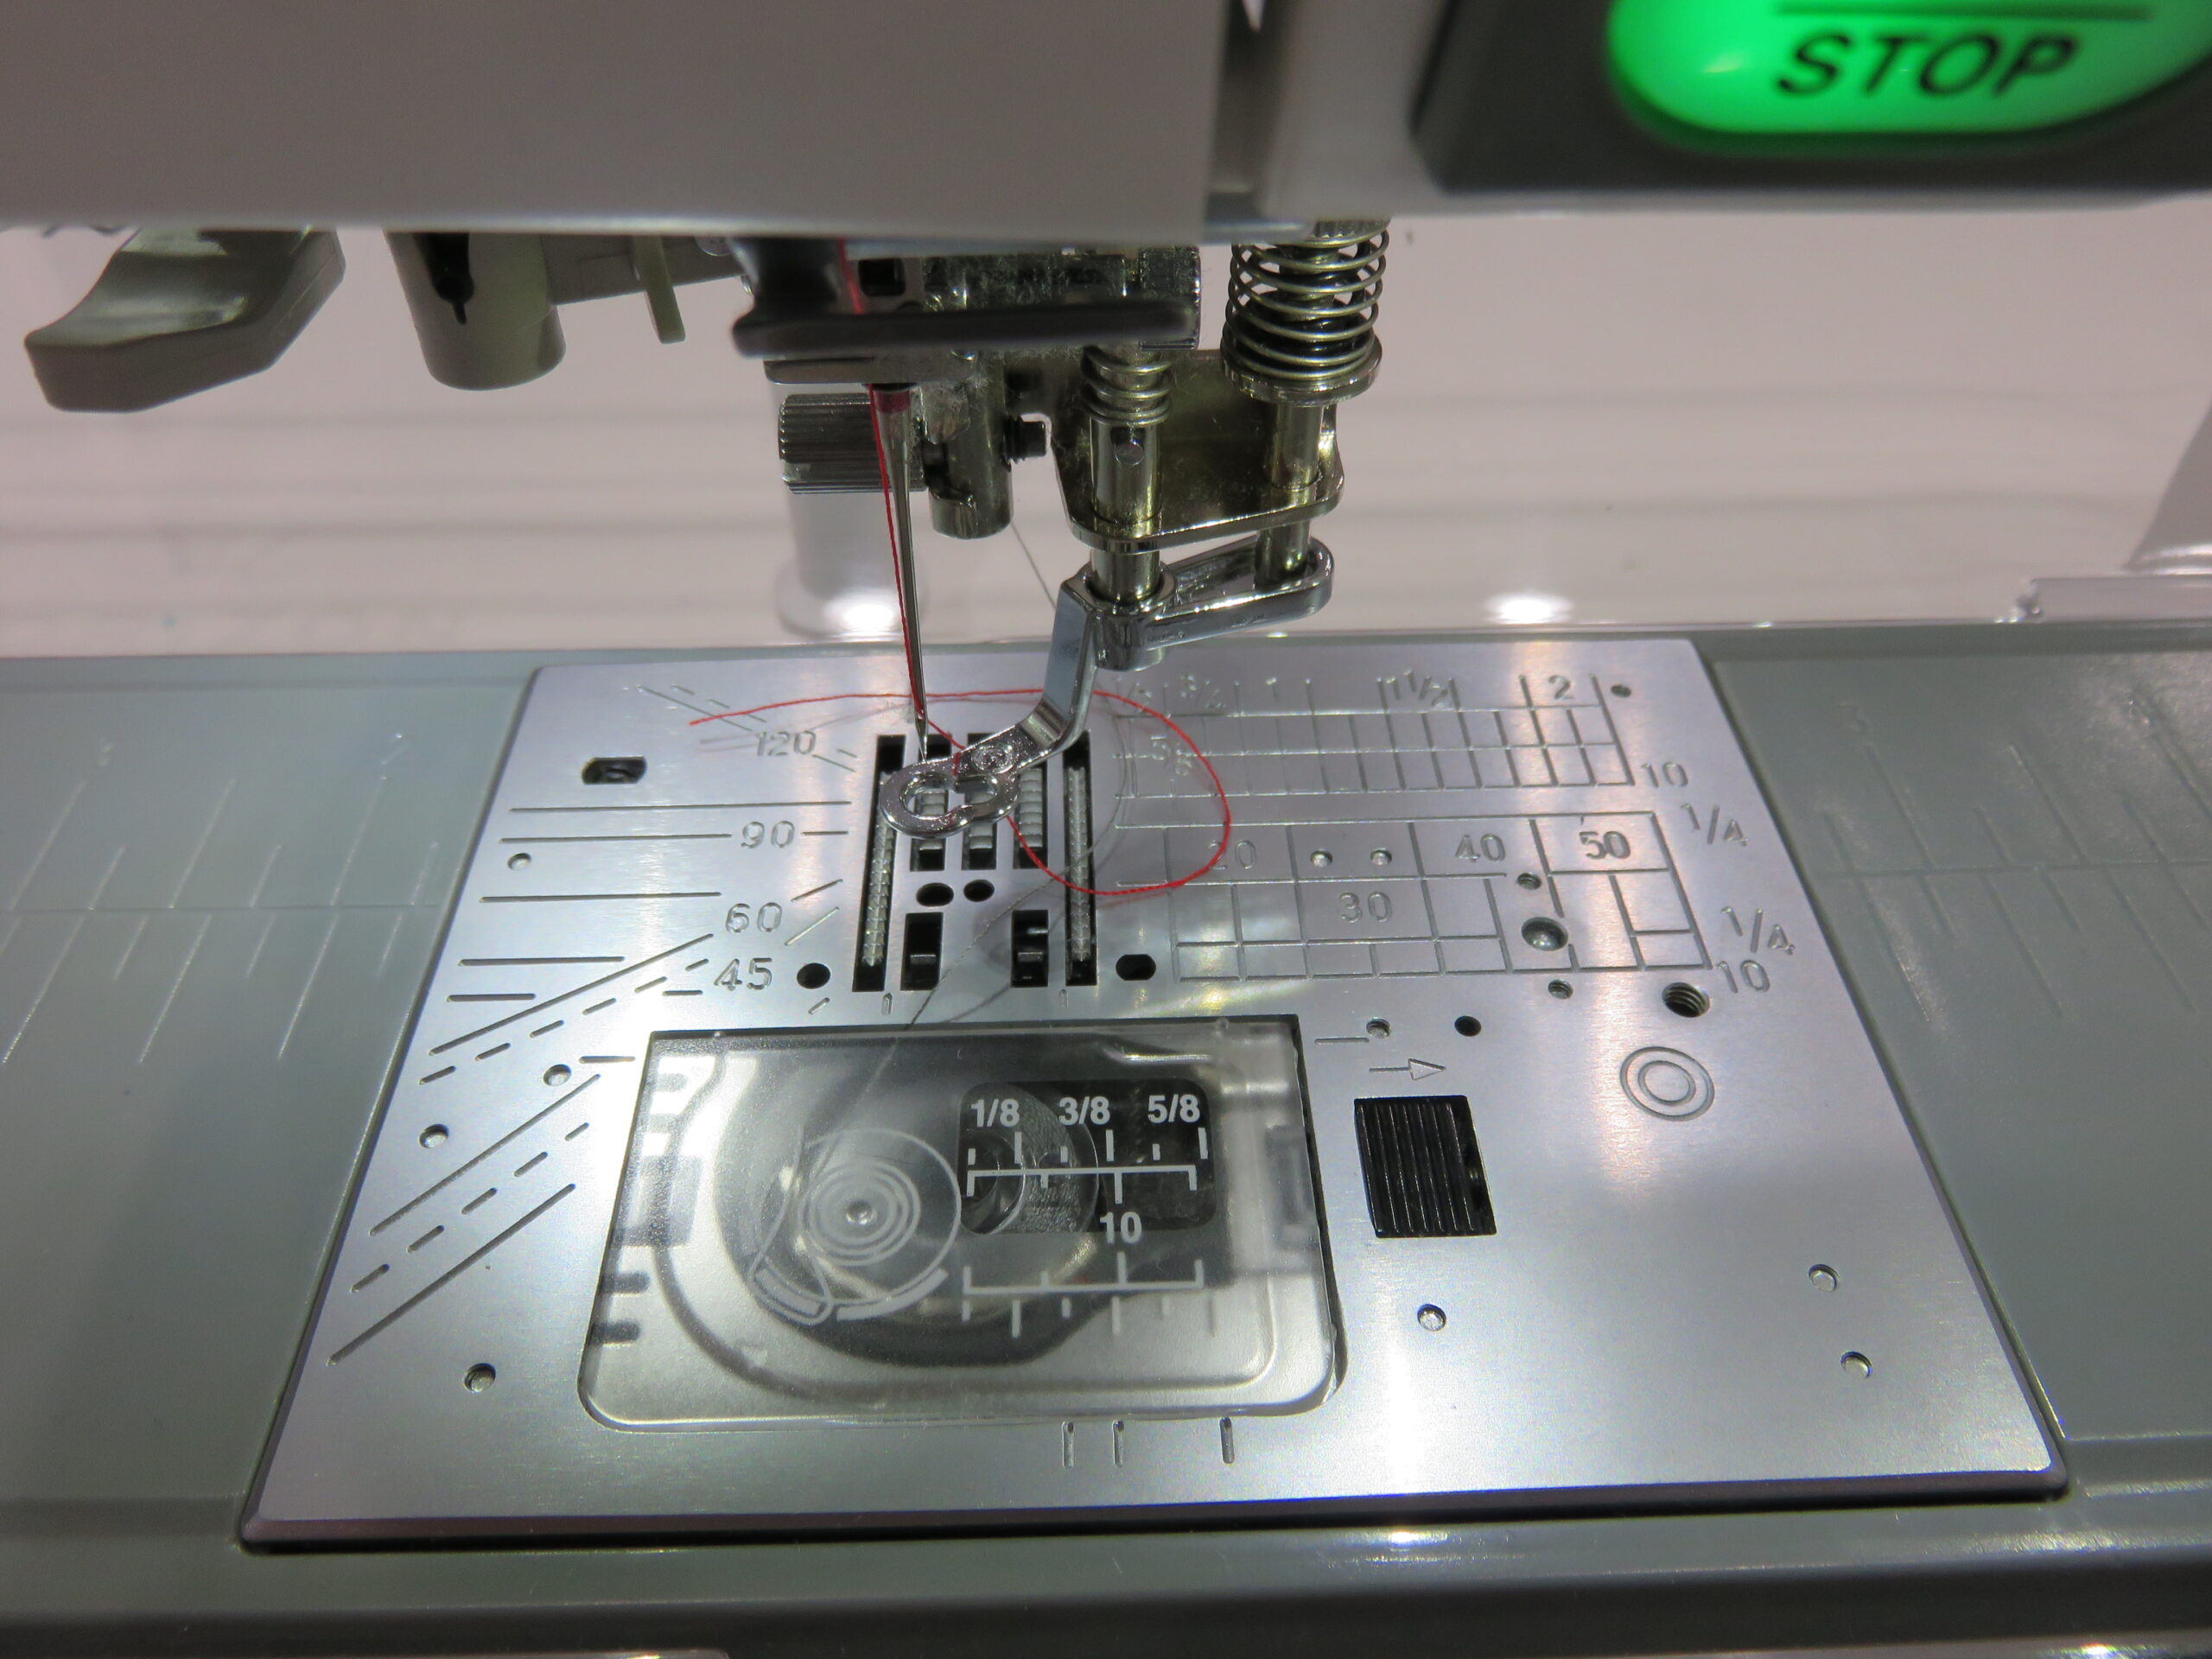
- Wind bobbin with quilting thread that highly contrasts (or coordinates) with the fabrics you selected. Thread machine with matching thread.
- Quilt the sandwiches as desired. I chose to do a simple stipple for the quilting design in a cream colored thread.

- Take the larger quilted piece (with the focal fabric and towel) and trim/square up to measure 8” wide x 9” tall. Take the smaller piece and trim/square up to measure 8” wide x 6” tall.
Assemble the hot pad
- Remove the QBS foot for free motion and attach the standard sewing foot A. Raise feed dogs, and set the machine to D1S.

- Cut a 9” piece of prepared binding and bind the top edge of the 8” x 6” piece along the top 8” edge of quilted contrasting fabric. Place the binding strip so there is a little excess at the beginning and end of the 8” edge.

- Use a decorative stitch to finish the binding. I selected the leaf stitch #213 to coordinate with the fall fabrics used for the hot pad.

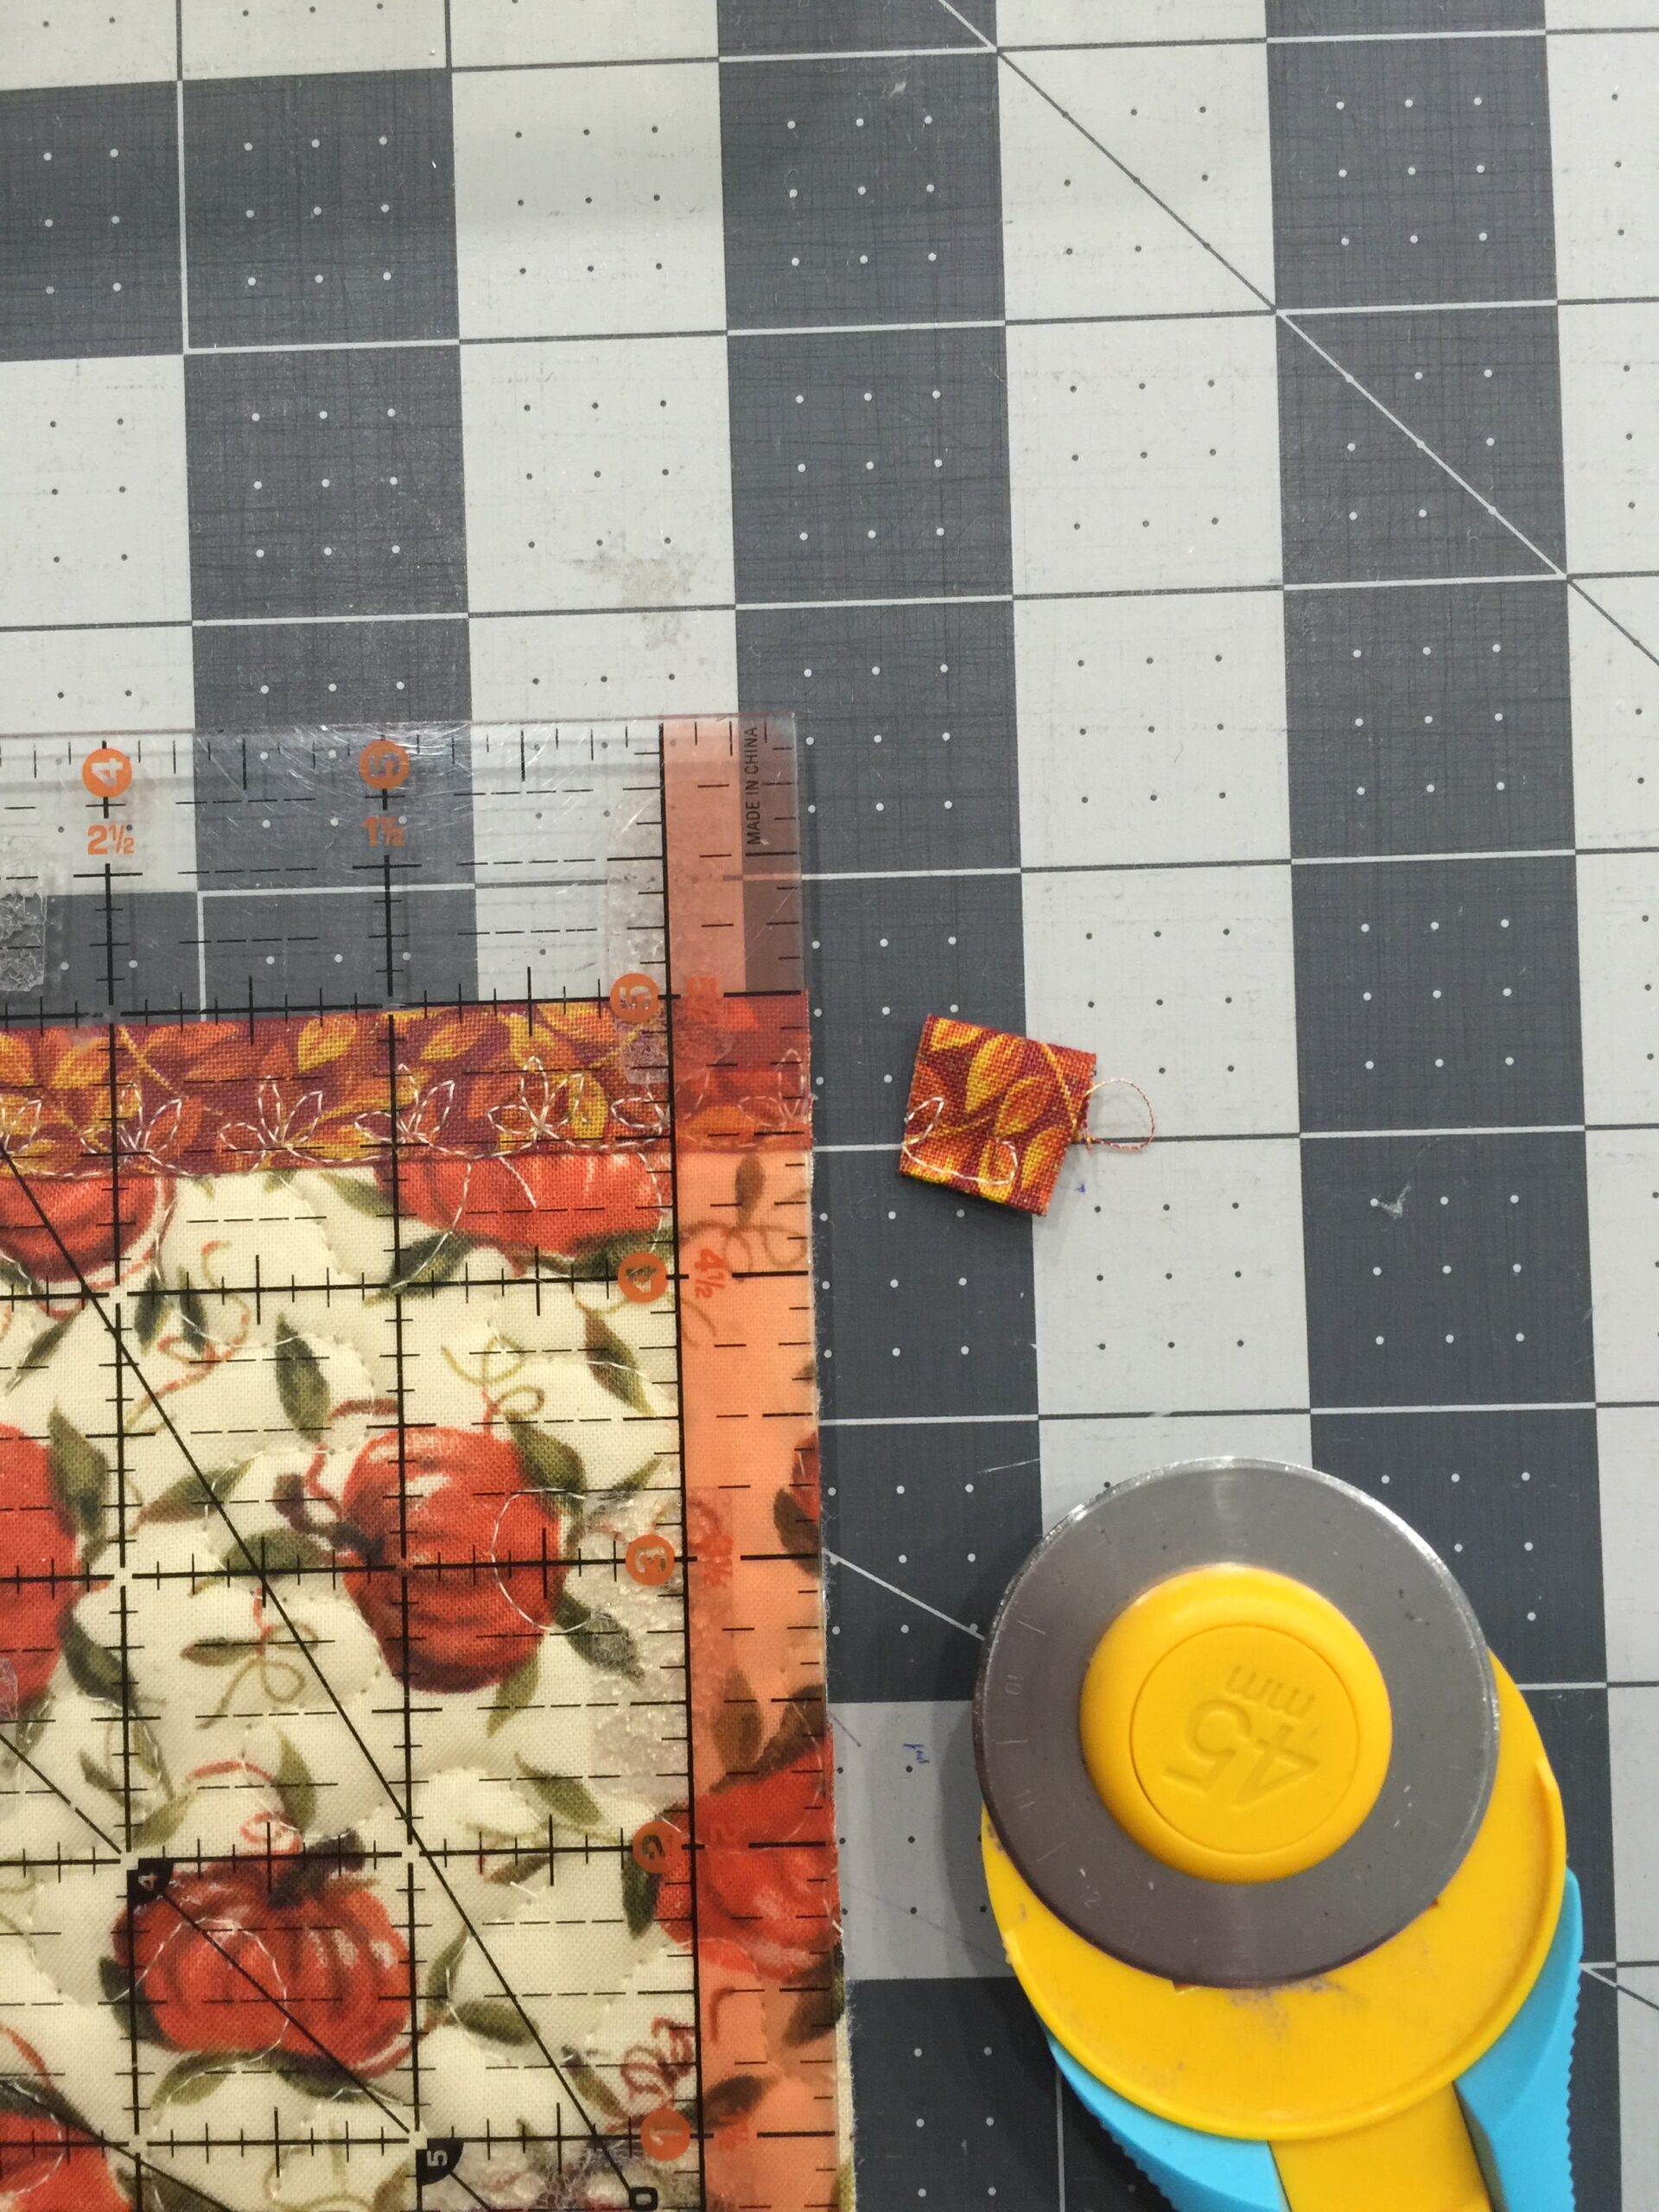
- Using a ruler and rotary cutter, trim the edges of the binding so they’re flush with the quilted piece.
- Take the larger quilted piece with the quilted towel side right side up.
- Align the 8” bottom edge of the small piece with the large piece, placing the smaller focal fabric quilted piece right side up on top of the towel. Pin in place.

- Turn the pinned unit over so the towel side is face down and attach the binding to the solid large quilted piece, mitering the corners as you attach the binding with a ¼” seam allowance.

- Fold the folded edge of the binding to the front of the hot pad and pin or use binding clips to secure.

- Secure the binding with the finishing method you prefer-a decorative stitch, hand stitching, or straight topstitch.

- Enjoy gifting your great handmade host/hostess gifts that will be functional for years to come. Keep in mind that even though these are made with seasonal fabrics, this is a great project for any occasion!

Optional: From the remaining piece of binding, make double fold tape by folding the long raw edges into the center of the fold and pressing. Then use a decorative stitch to secure the edges. Use the ribbon you just made to tie a bow around the folded hot pad after you put some cute kitchen gadgets or recipe cards in the pocket!


 eBook A Black & White Garden