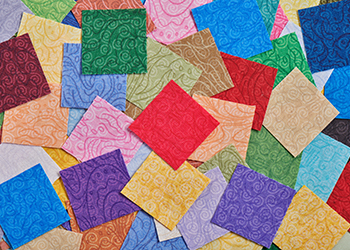
Do you ever see a semi-lonely charm pack (those 5″ precut squares all wrapped up together) sitting on a shelf at your local quilt shop and think, “Oh, you beautiful sweet charm pack. You need a good home. I could make you into something amazing (never mind I have no idea what). Why don’t you come home with me?” Before you know it, you’re leaving the shop with a bag full of adopted charm packs.
Upon arriving at home, you introduce your new charm packs to your growing family of precuts who have long since outgrown their dedicated bookshelf…and basket…and three totes.
It’s time to make something, but what? How? Where do we begin???
Let’s unravel the mystery of designing with charms.
Sorting
To begin, sort the charm packs into similar styles, designers, and colorways.
Next, sort the individual charms in a group to make an organized collection that will work great in a project.
Sort by color, then value. This will give you a good idea of what you have to work with for a quilt, table topper, or wall hanging.
Most of the sorting goes pretty easy, but eventually you will come across fabrics that don’t easily go along with the order of things.
Backgrounds
For difficult fabrics, consider the background color of a print. Some designers split the value by putting a darker motif on a light background, or visa versa. The same thing often happens with complementary colors such as green prints on red fabric.
Sort these prints according to background, ignoring the print for now.
Relationships
When sorting by background doesn’t help, try considering the relationships these fabrics share with the others in the group. Often, their subtle change in value or muddied colors achieve clarity with paired with a lighter or darker value fabric.
Audition the fabrics by putting them in the center of a group of similar fabrics. If they look better with one value than the other, add them to the group.
Layouts
It’s time to start designing.
Clear off your design wall, bed, table, or floor, anywhere you have space to lay out your charms. Begin by laying them out in rows or columns (your pick) by value.
When starting a design, I like to work with an odd number of blocks in the rows. It’s pleasing to the eye to have a center, as well as identical corners when creating an alternating design. I also it find it simplifies thing to begin with a square.
In the example below, the charms are arranged in columns from light to dark.

Take a picture.
Next, layout the charms alternating light and dark values between the rows to reveal their relationships. Start with the strongest contrast at the top and work to the most similar.

Take a picture.
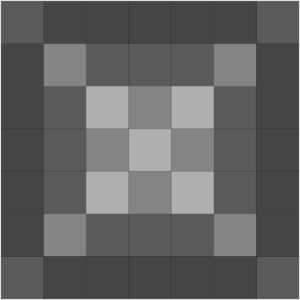
Now try working the values and colors in rounds like a Trip Around the World layout.

Take a picture.
Mix things up by pulling the previous rounds value or color into the next outer ring.
Continue to play with layouts, taking pictures after each, until an idea sparks.
When you find something you like, work with it to make it the size and shape you have in mind for your final project.
Construction
Once you’ve settled on a layout, think about what kind of units you want to play with.
Squares
You may be happy with squares. Five inch squares sewn together make 4 1/2″ finished squares.
Cutting a charm into quarters yields four 2 1/2″ squares that are 2″ when sewn together.
Half Square Triangles
By marking the back of one charm from corner to corner diagonally once, then laying it with another charm, right sides together, and sewing a 1/4″ on each side of the marked line, you make two Half Square Triangles when you cut them apart on the marked line.
These Half Square Triangles can then be sized to 4 1/2″ square. When sewn together, the Half Square Triangles are 4″ finished.
Put it all Together
Play with different units, mix and match or work with all the same type. Try different layouts with different combinations of color and value.
Most importantly, enjoy the process and enjoy the fabrics.
When you are happy with everything, start sewing your work of art together.
Be sure to share your results! Join our community of quilters on Facebook at the AQS Project Parade Group.