Join us for the Celebration Sampler Quilt Along! We are counting down to our Fall Paducah QuiltWeek Show & Contest and our 35th Anniversary celebration. We will be marking the days with fun 8″ quilt blocks.
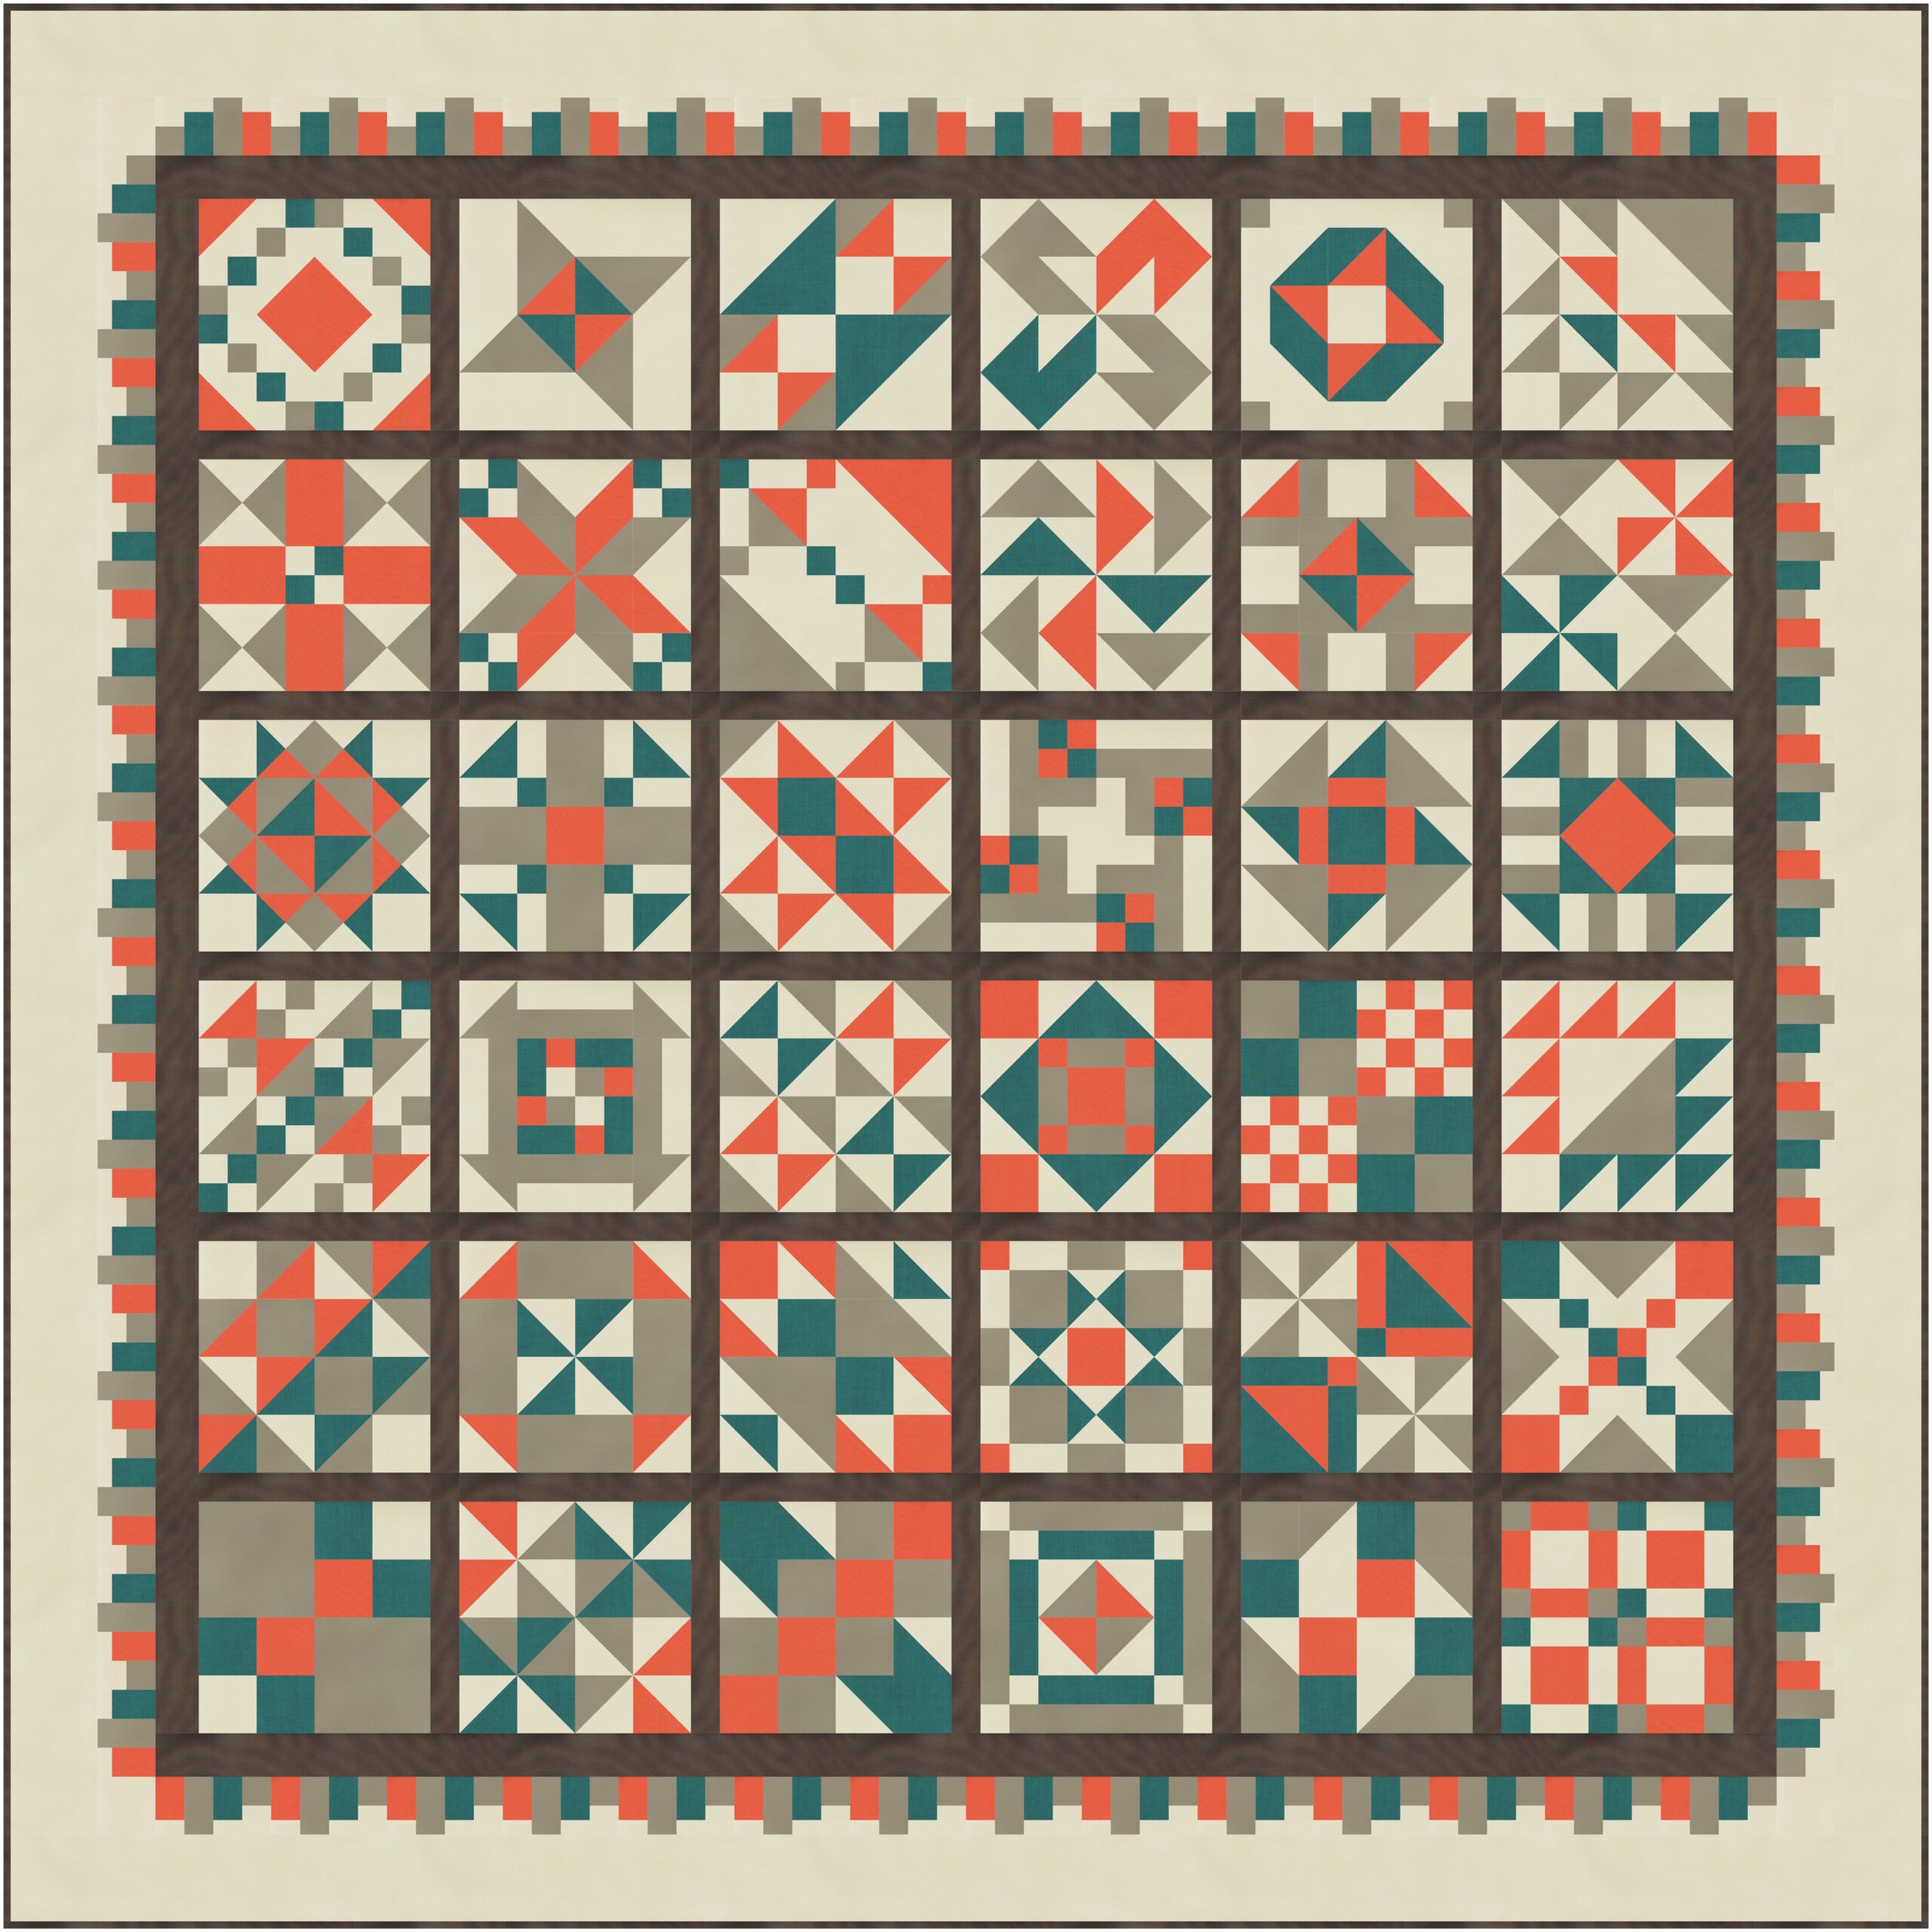
66″ x 66″
Want to make your quilt just like ours?

Thank you for joining us in this adventure. Be sure to share your progress, questions, and ideas with us in the AQS Project Parade Facebook Group. We do a monthly Show & Tell and want to be sure you’re included!
Setting & Border Instructions
Cutting Instructions
From the cream fabric, cut:
(5) 1″ x WOF strips
(3) 1 1/2″ x WOF strips
(7) 3 1/2″ x WOF strips
From the tan fabric, cut:
(7) 1 1/2″ x WOF strips
From the orange fabric, cut:
(3) 2″ x WOF strips
From the teal fabric, cut:
(3) 2″ x WOF strips
From the brown fabric, cut:
(15) 1 1/2″ x WOF strips
(6) 2″ x WOF strips
From the binding fabric, cut:
(7) 2 1/2″ x WOF strips
Setting Instructions
Block Rows
Measure the 36 sampler blocks. They should each be 8 ½” x 8 ½” unfinished. Size as needed.
Subcut 8 of the brown 1 ½” x WOF strips into (30) 1 ½” x 8 ½” rectangles.
Lay out the first six sampler blocks in a row with a brown 1 ½” x 8 ½” rectangle between each block as shown below. Sew them all together into a row, pressing towards the brown rectangles.

Repeat with the remaining rows. The rows measure 53 ½” long.
Sashing Rows
Sew the remaining 7 brown 1 ½” x WOF strips together into one long continuous piece using a diagonal seam as follows.
On a hard workspace, place a strip right side up horizontally with the tail (long ends) pointing towards your non-dominant hand. Lay another strip over the first strip at a 90-degree angle, right sides together, with the tail pointing towards you.

Place a ruler over the strips intersecting at a 45-degree angle as shown below and mark.

Pin the selvage ends and carefully fold the strip open following the marked line to check that the seam will create a long, continuous strip.

Once you have confirmed, replace the top strip over and secure with another pin. Sew on the marked line and trim a 1/4″ seam allowance. Repeat to sew all the 7 brown 1 ½” x WOF strips together into a continuous strip.

Next, from the continuous brown strip, cut (5) 1 ½” x 53 ½” strips.
Sew a brown 1 ½” strip to the bottom of the first row, and press towards the brown strip. With a ruler and marking tool, mark the brown strip on the unsewn side where the vertical sashing strips meet the blocks as shown below.

Pin the next row to the brown strip at these marks to line up the vertical sashing. Sew and press towards the brown. Repeat to complete the quilt center.

Quilt Center measures 53 ½” x 53 ½” unfinished.
Border Instructions
Brown Inner Border
Sew the brown 2” x WOF strips together into one continuous strip with diagonal seams using the same process as sewing together the long sashing strips.
Cut (2) 2” x 53 ½” strips for the side borders and (2) 2” x 56 ½” strips for the top and bottom borders.
Sew the left and right side borders on and press towards the Brown Inner Border. Next, sew on the top and bottom borders and press towards the Brown Inner Border.

Quilt center measures 56 ½” x 56 ½” unfinished.
Pieced Border Blocks
Using four of the tan 1 ½” x WOF strips, subcut (56) 1 ½” x 2 ½” rectangles and set aside.
Cut a cream 1” x WOF strip in half to make two strips approximately 20” in length.
Using two of the cream 1” x WOF strips, one of the cream 1” x 20” strips, and the three teal 2” x WOF strips, sew the cream and teal strips together along the long sides as shown below. Press towards the teal.

From the teal/cream strip sets, subcut (56) 1 ½” sections.
Repeat the above process with the remaining cream 1” strips and the three orange 2” x WOF strips.

From the orange/cream strip sets, subcut (56) 1 ½” sections.
Repeat the above process using three of the cream 1 ½” x WOF strips, and three of the tan 1 ½” x WOF strips.

From the tan/cream strip sets, subcut (56) 1 ½” sections.
Lay out the tan/cream sections, the teal/cream section, the tan 1 ½” x 2 ½” rectangles, and the orange/cream 1 ½” sections as shown below.

Sew the sections together into a Pieced Border Block. The block measures 4 ½” x 2 ½” unfinished. Make 56 Pieced Border Blocks.
Pieced Border Construction
Lay out 14 Pieced Border Blocks and sew them together as shown below to make a Pieced Side Border measuring 2 ½” x 56 ½” unfinished. Repeat to make 2.

From one of the cream 3 ½” x WOF strips, cut (4) 2 ½” squares.
Repeat the Pieced Border assembly process to make 2 more borders, but add a cream 2 ½” square to each end of the borders to make a Pieced Top and Bottom Border as shown below.

Sew the Pieced Left & Right Borders to the side of the quilt center and press towards the Brown Inner Border. Sew the Pieced Top & Bottom Borders to the quilt center and press towards the Brown Inner Border.

Quilt center measures 60 ½” x 60 ½” unfinished.
Outer Border
Sew the cream 3 ½” x WOF strips together into one continuous strip with diagonal seams using the same process as sewing together the long sashing strips.
Cut (2) 3 1/2” x 60 ½” strips for the side borders and (2) 2” x 66 ½” strips for the top and bottom borders.
Sew the left and right side borders on and press towards the Outer Border. Next, sew on the top and bottom borders and press towards the Outer Inner Border.

Quilt center measures 66 ½” x 66 ½” unfinished.
Finishing Touches
Layer the backing, batting and quilt top and baste using preferred method.
Once quilted, trim the edges even and square.
Bind using your preferred method. Click Here to review the technique for binding, mitered corners, and joining binding ends.
Show off your progress, connect with other quilters, get ideas, motivation and more!
Join us in the AQS Project Parade Facebook Group and piece along with us!
Members get even more…
AQS Members can access hundreds of patterns and digital issues of American Quilter at any time!
Find quilt along series like Forever & A Day, 30 Days of Birds and more.

Not a member? Join today!