Custom Sized Back to School Planner/Notebook Cover
It’s that time of year again! If you’re sending someone special back to school soon, take the time to make them a personalized cover for their school planner or even cover a notebook for them with this customizable tutorial that will fit any notebook!
The Horizon Memory Craft 8900QCP Special Edition is a powerhouse when it comes to free motion quilting, or really quilting of any kind. This project can be utilized to really help develop and push you to try different quilting designs! Try using solid fabrics with contrasting colored thread to really make the quilting pop.
Skill Level: Beginner to Intermediate
Sewing Time: 4 hours
Janome Supplies Required:
HMC8900QCP SE
Foot A
QBS foot for free motion quilting
Knee Lift
Blue Tip Needle
Pre-wound bobbin
Empty Bobbin
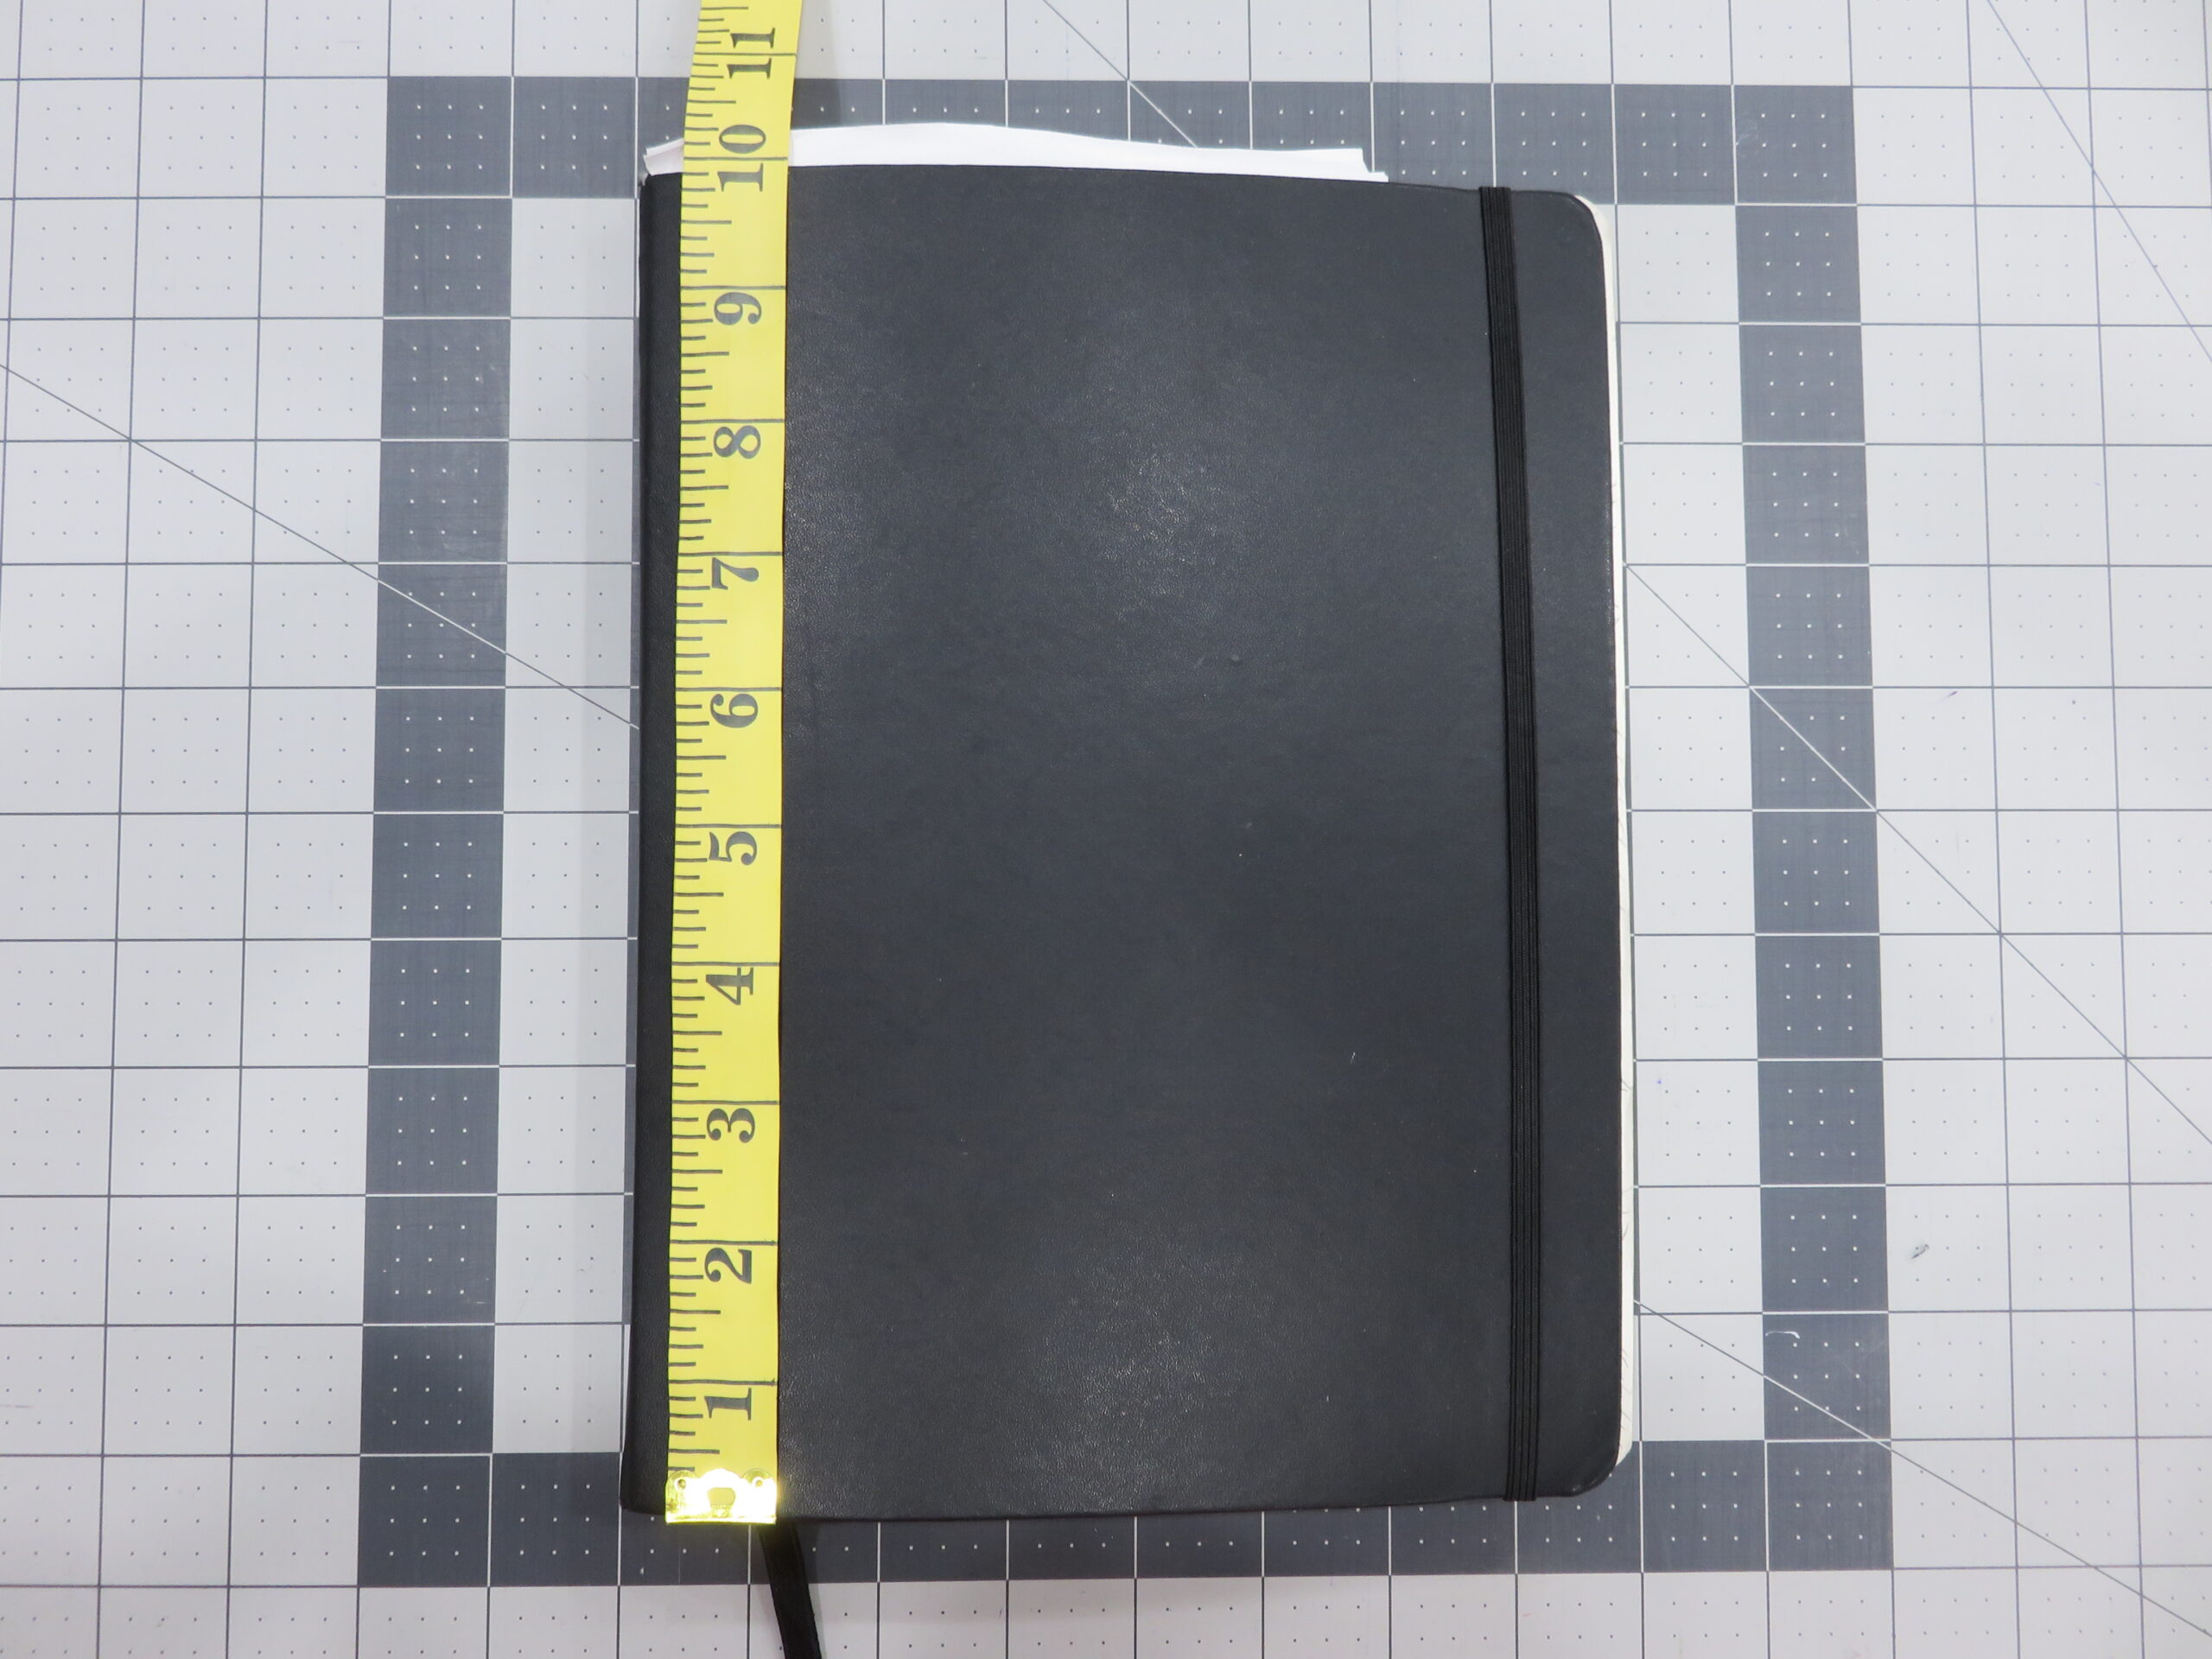
Dimensions listed below are to fit the 10” x 7-3/4” notebook used in sample. See Instructions below in “Finding your notebook’s custom measurements” to obtain your custom dimensions.
Fabrics/Notions Required:
1 yd. cotton fabric (A) sub cut into:
SEE STEPS 2-4 BELOW FOR YOUR CUSTOM DIMENSIONS
(2) 17-3/4” x 23” (exterior and lining of cover)
1 piece of batting cut in the same measurement as fabric A
(1) 17-3/4” x 23”
1 yd. coordinating cotton print (B) sub cut into:
SEE STEP 5 BELOW FOR CUSTOM DIMENSIONS
(2) 11-3/4” x 7-3/4” (cover flaps)
SEE STEP 6 BELOW FOR CUSTOM DIMENSIONS
(1) 11” x 7-3/4” (pen pocket)
SEE STEP 7 BELOW FOR CUSTOM DIMENSIONS
(2) 2.5” x WOF (binding)
1 yd. Pellon 809 Décor Bond sub cut into same dimensions and quantity as fabric B:
(2) 11-3/4” x 7-3/4” (for cover flaps)
(1) 11” x 7-3/4” (for pen pocket)
1” braided elastic (optional)
SEE STEP 8 FOR CUSTOM DIMENSIONS
(1) 12” x 1” wide
Coordinating all-purpose sewing thread
Coordinating quilting thread
Double fold bias tape
Student Supplies Required:
Marking pen/tailors chalk
Binding clips
Clover chalk pen
Rotary cutter/ruler/mat
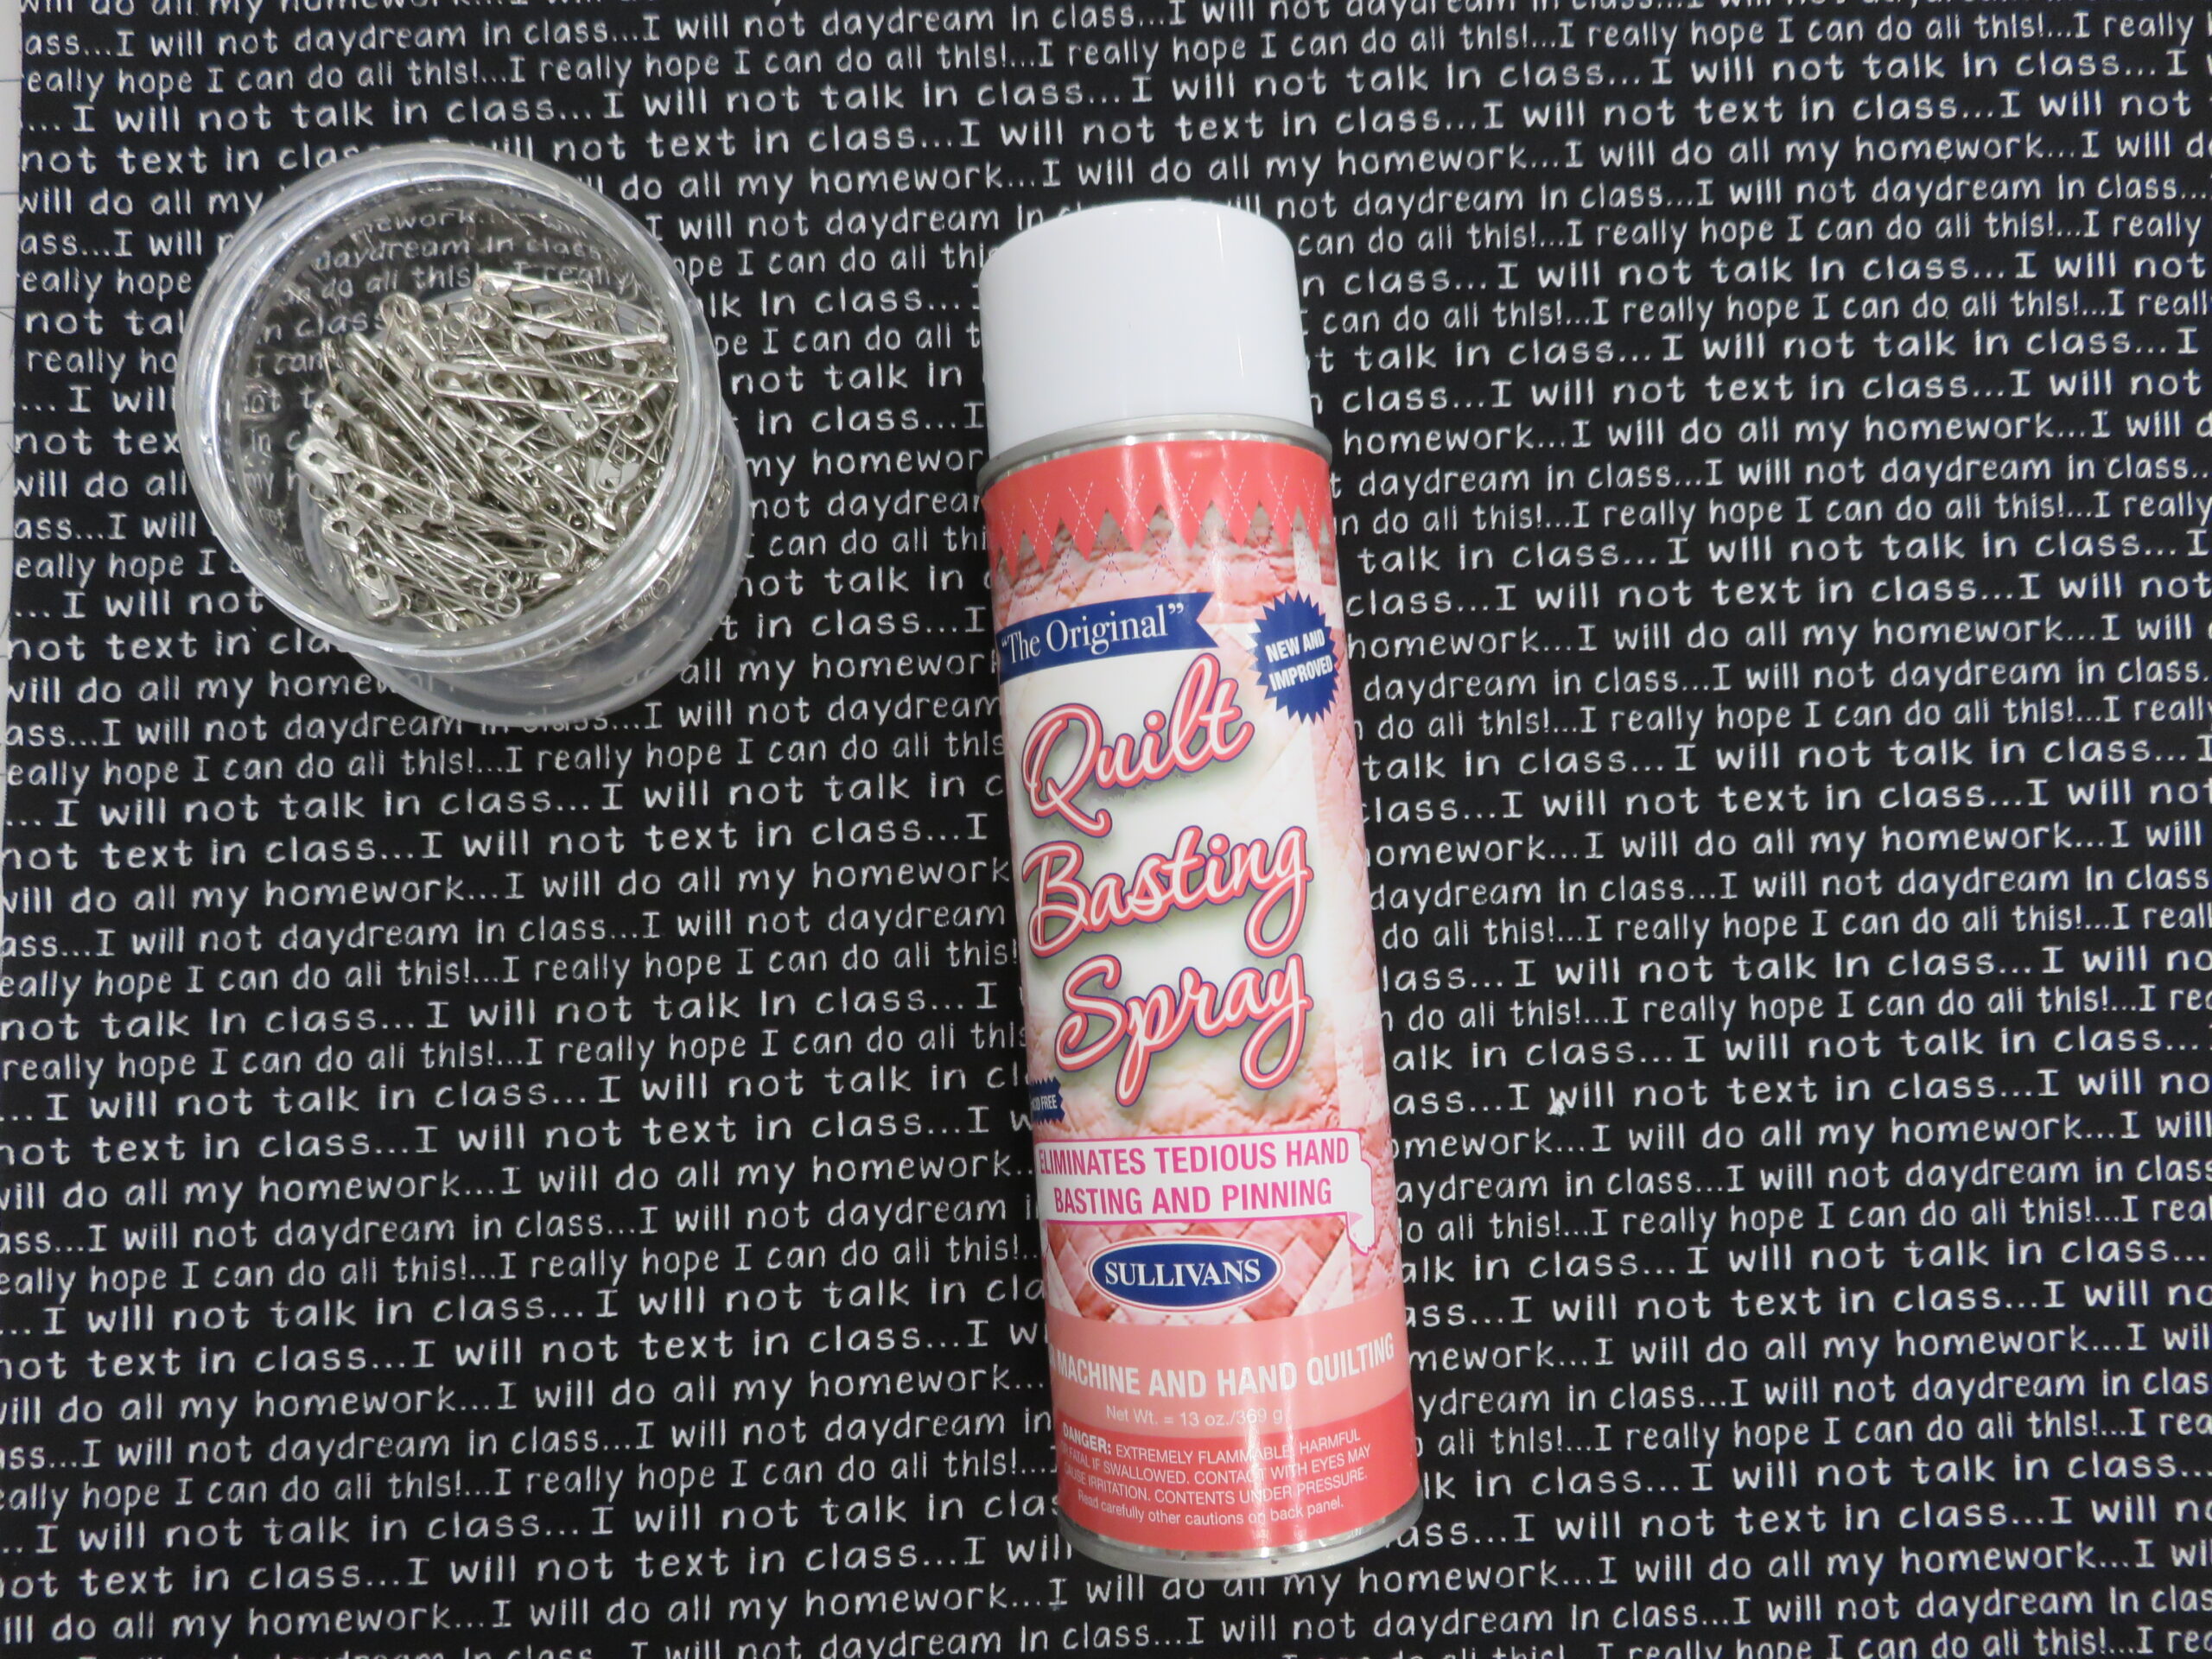
Spray baste, Safety Pins
Spray starch, if desired
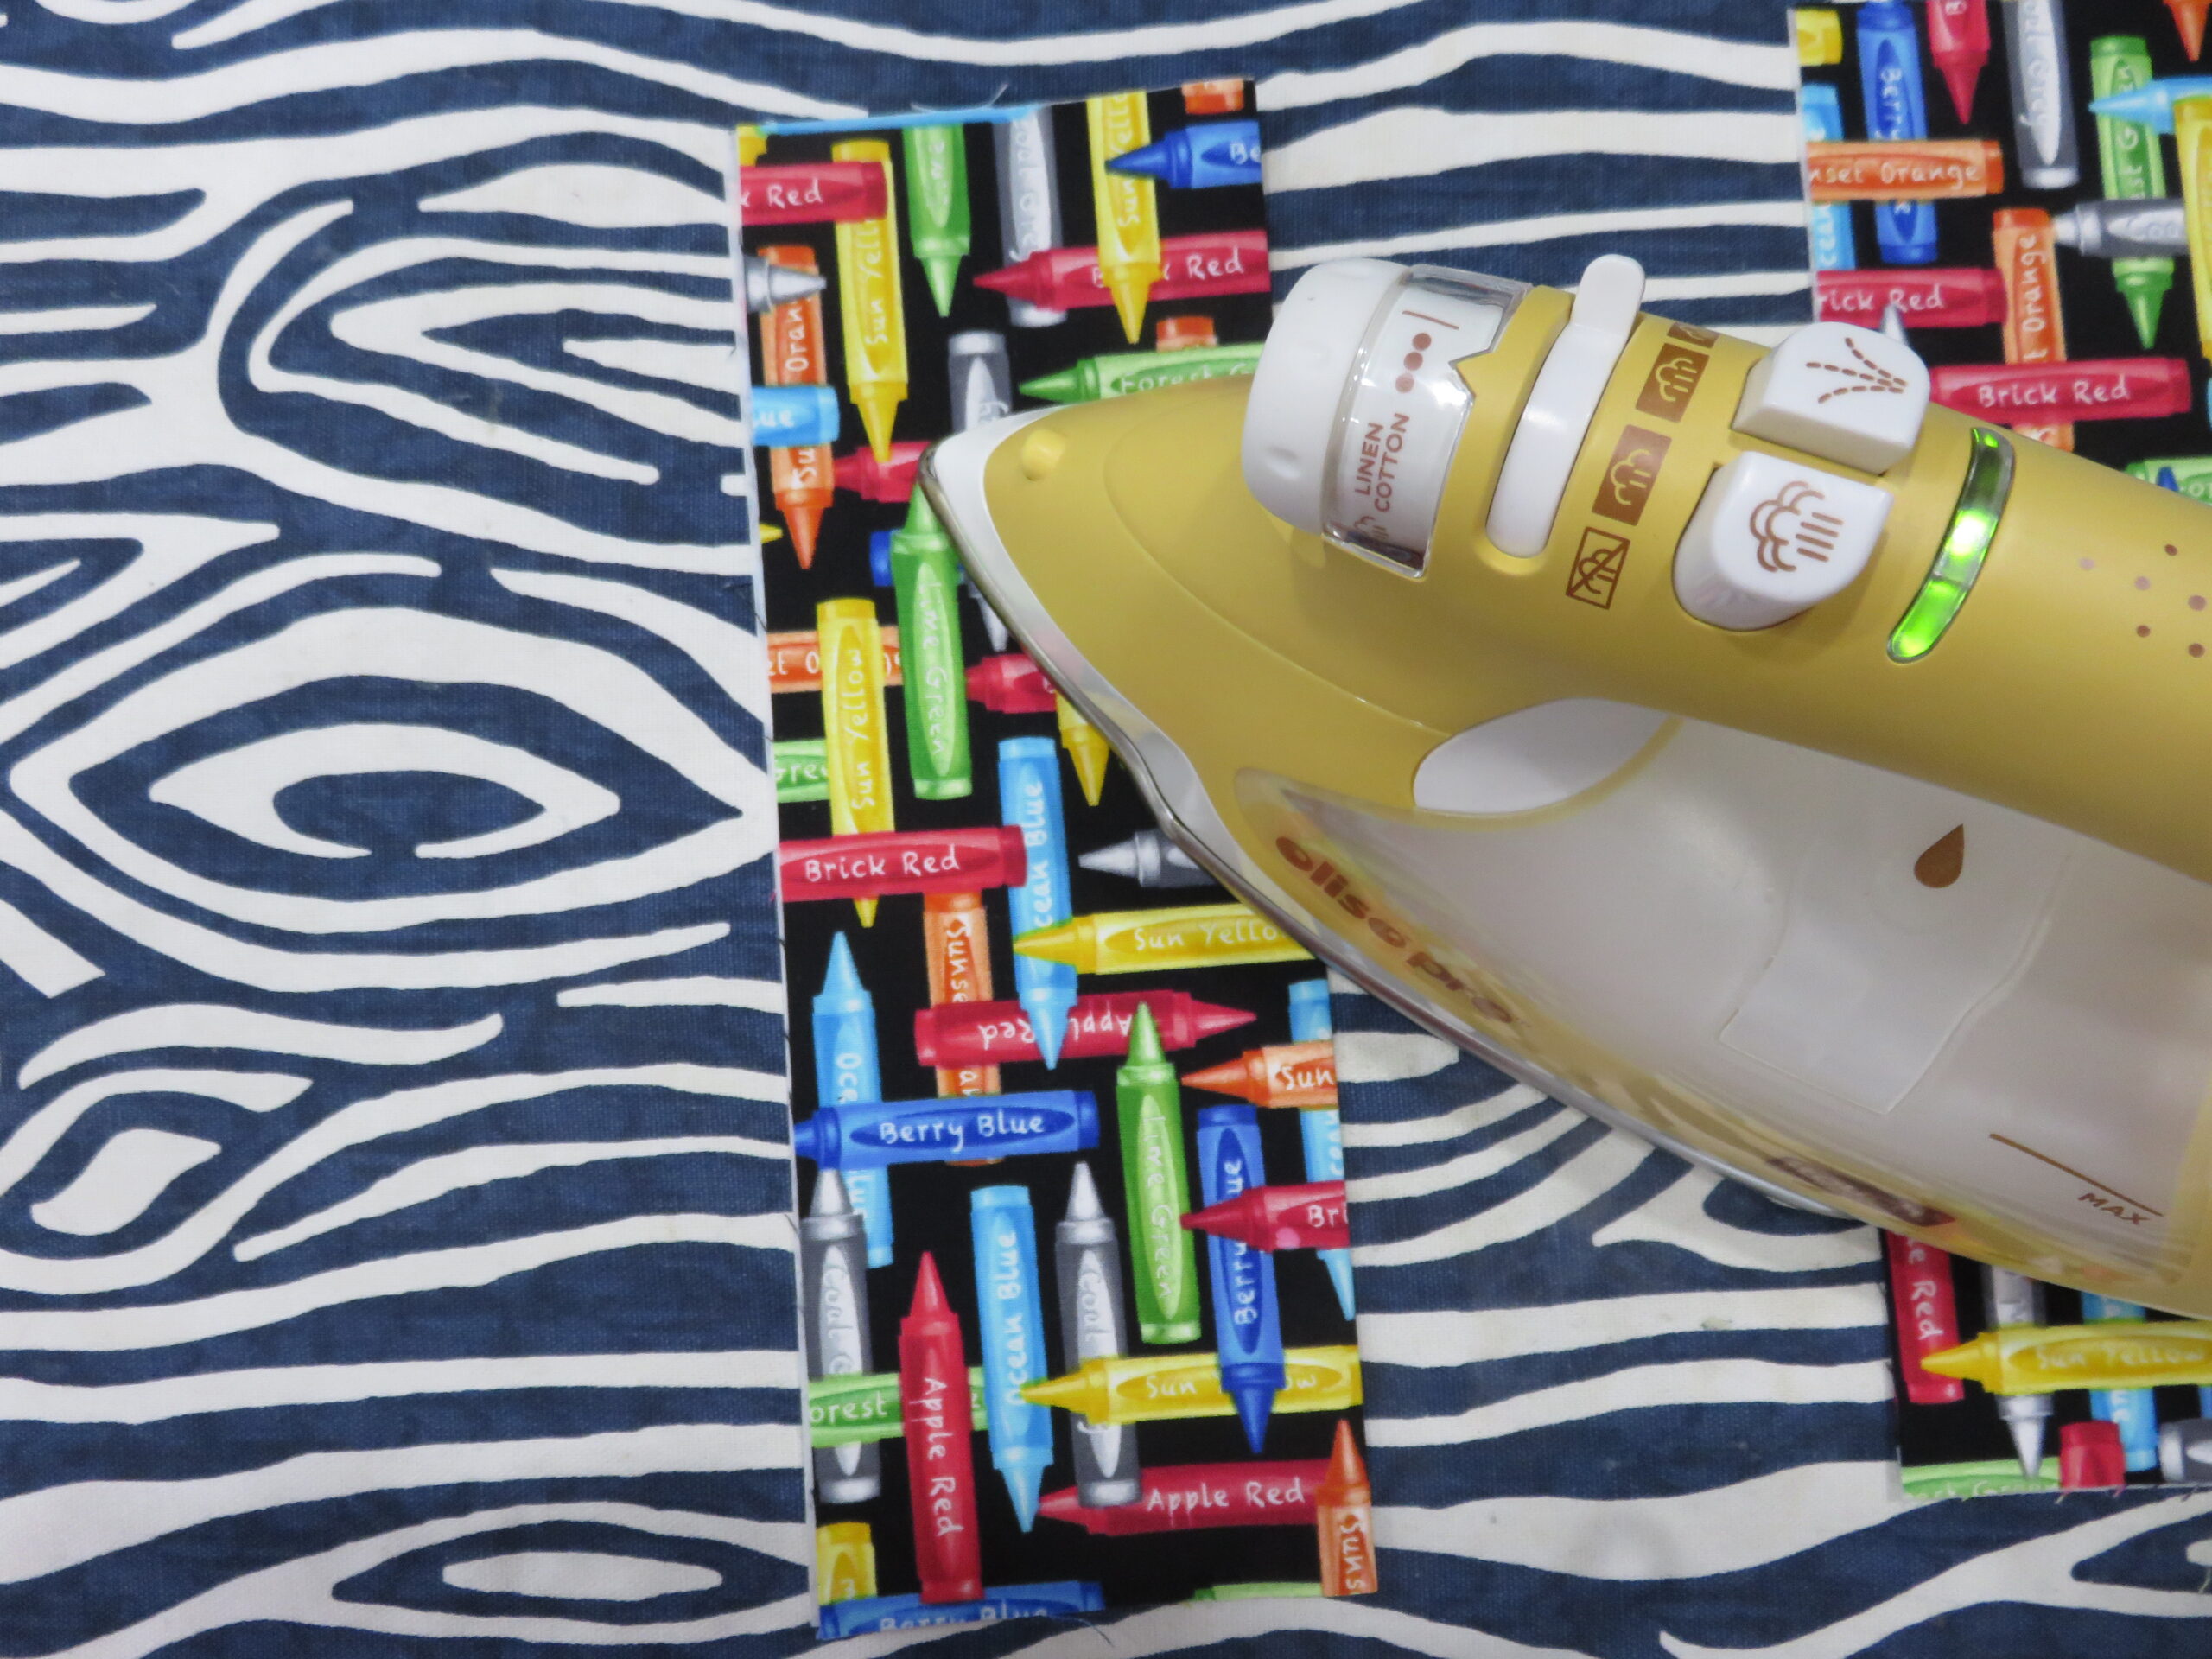
Iron
Finding your notebook’s custom measurements
- Measure the height and width of the notebook or planner you’ve selected to make a cover for. You will need to take the height, width, and width of the spine measurements. (Mine measures H: 10”, W: 7 3/4″, width of spine: 1”)

- Now, use the following formula to find your fabric width dimension:
Width of the Spine = 1” (my journal measurement)
+ (2 x width of the notebook) = 2(7 3/4) =15.5”
+ 1/2″ = 1/2″
17” (This is the width dimension)
- Take your height measurement and add 1-3/4″. My height measurement is 10”, plus 1-3/4″= 11 3/4″. 11-3/4” will be the width dimension.
- To determine the dimensions for the batting, front (exterior) and lining of your journal cover, add 6” to each dimension previously found in steps 2 and 3. This will give extra room for quilting.
(dimension from step 2) + 6” = 17” + 6” = 23” wide
(dimension from step 3) + 6” = 11-3/4” + 6” = 17-3/4” height
The 2 pieces of fabric cut for the exterior and lining of the cover will measure 17-3/4” tall x 23” wide. Also, cut the batting the same size.
- To determine the dimensions of the flaps for the notebook cover, use the formula below:
Width of the journal front will be the initial width measurement = 7-3/4” wide
Height measurement: height dimension of journal + 1-3/4” = 11-3/4” tall
The 2 pieces of fabric B cut for the cover claps will measure 11-3/4” tall x 7-3/4” wide. Also cut 2 pieces of Pellon 809 Décor Bond in the same dimensions.
- To determine the pen pocket dimensions for the front of the cover, use the following:
Height dimension for flaps – 3/4″ = 11-3/4” – 3/4” = 11”
Width measurement = initial width measurement of journal = 7-3/4”
Cut one piece of coordinating fabric B 11” x 7-3/4”. Also cut 1 piece of Pellon 809 Décor Bond in the same dimension.
- You will need enough binding to go around the entire perimeter of the journal. Use this formula to determine how much binding you need:
Take the dimensions you used to cut the 2 pieces for the exterior piece (Step 4, above), 23” wide x 17-3/4” height. Use these in the formula below:
2(H + W) = 2(23+17-3/4”) = 2(40-3/4”) = 81-1/2” of binding needed
Cut (2) WOF x 2.5” for binding. This number includes enough excess for mitering the corners.
- For the optional elastic closure, add 2” to the height of the journal. So for my sample, I would take 10” + 2” to get a total of 12” of elastic.
- Cut all pieces as directed above.
Quilting and prepping other pieces
- Place one of the fabric A pieces right side down. Layer the batting on top of that piece. Place the other fabric A piece right side up, on top of the batting. Baste using your desired method, being careful to keep all layers smooth and free of wrinkles. If using spray baste, be sure to follow the manufacturer’s safety precautions.

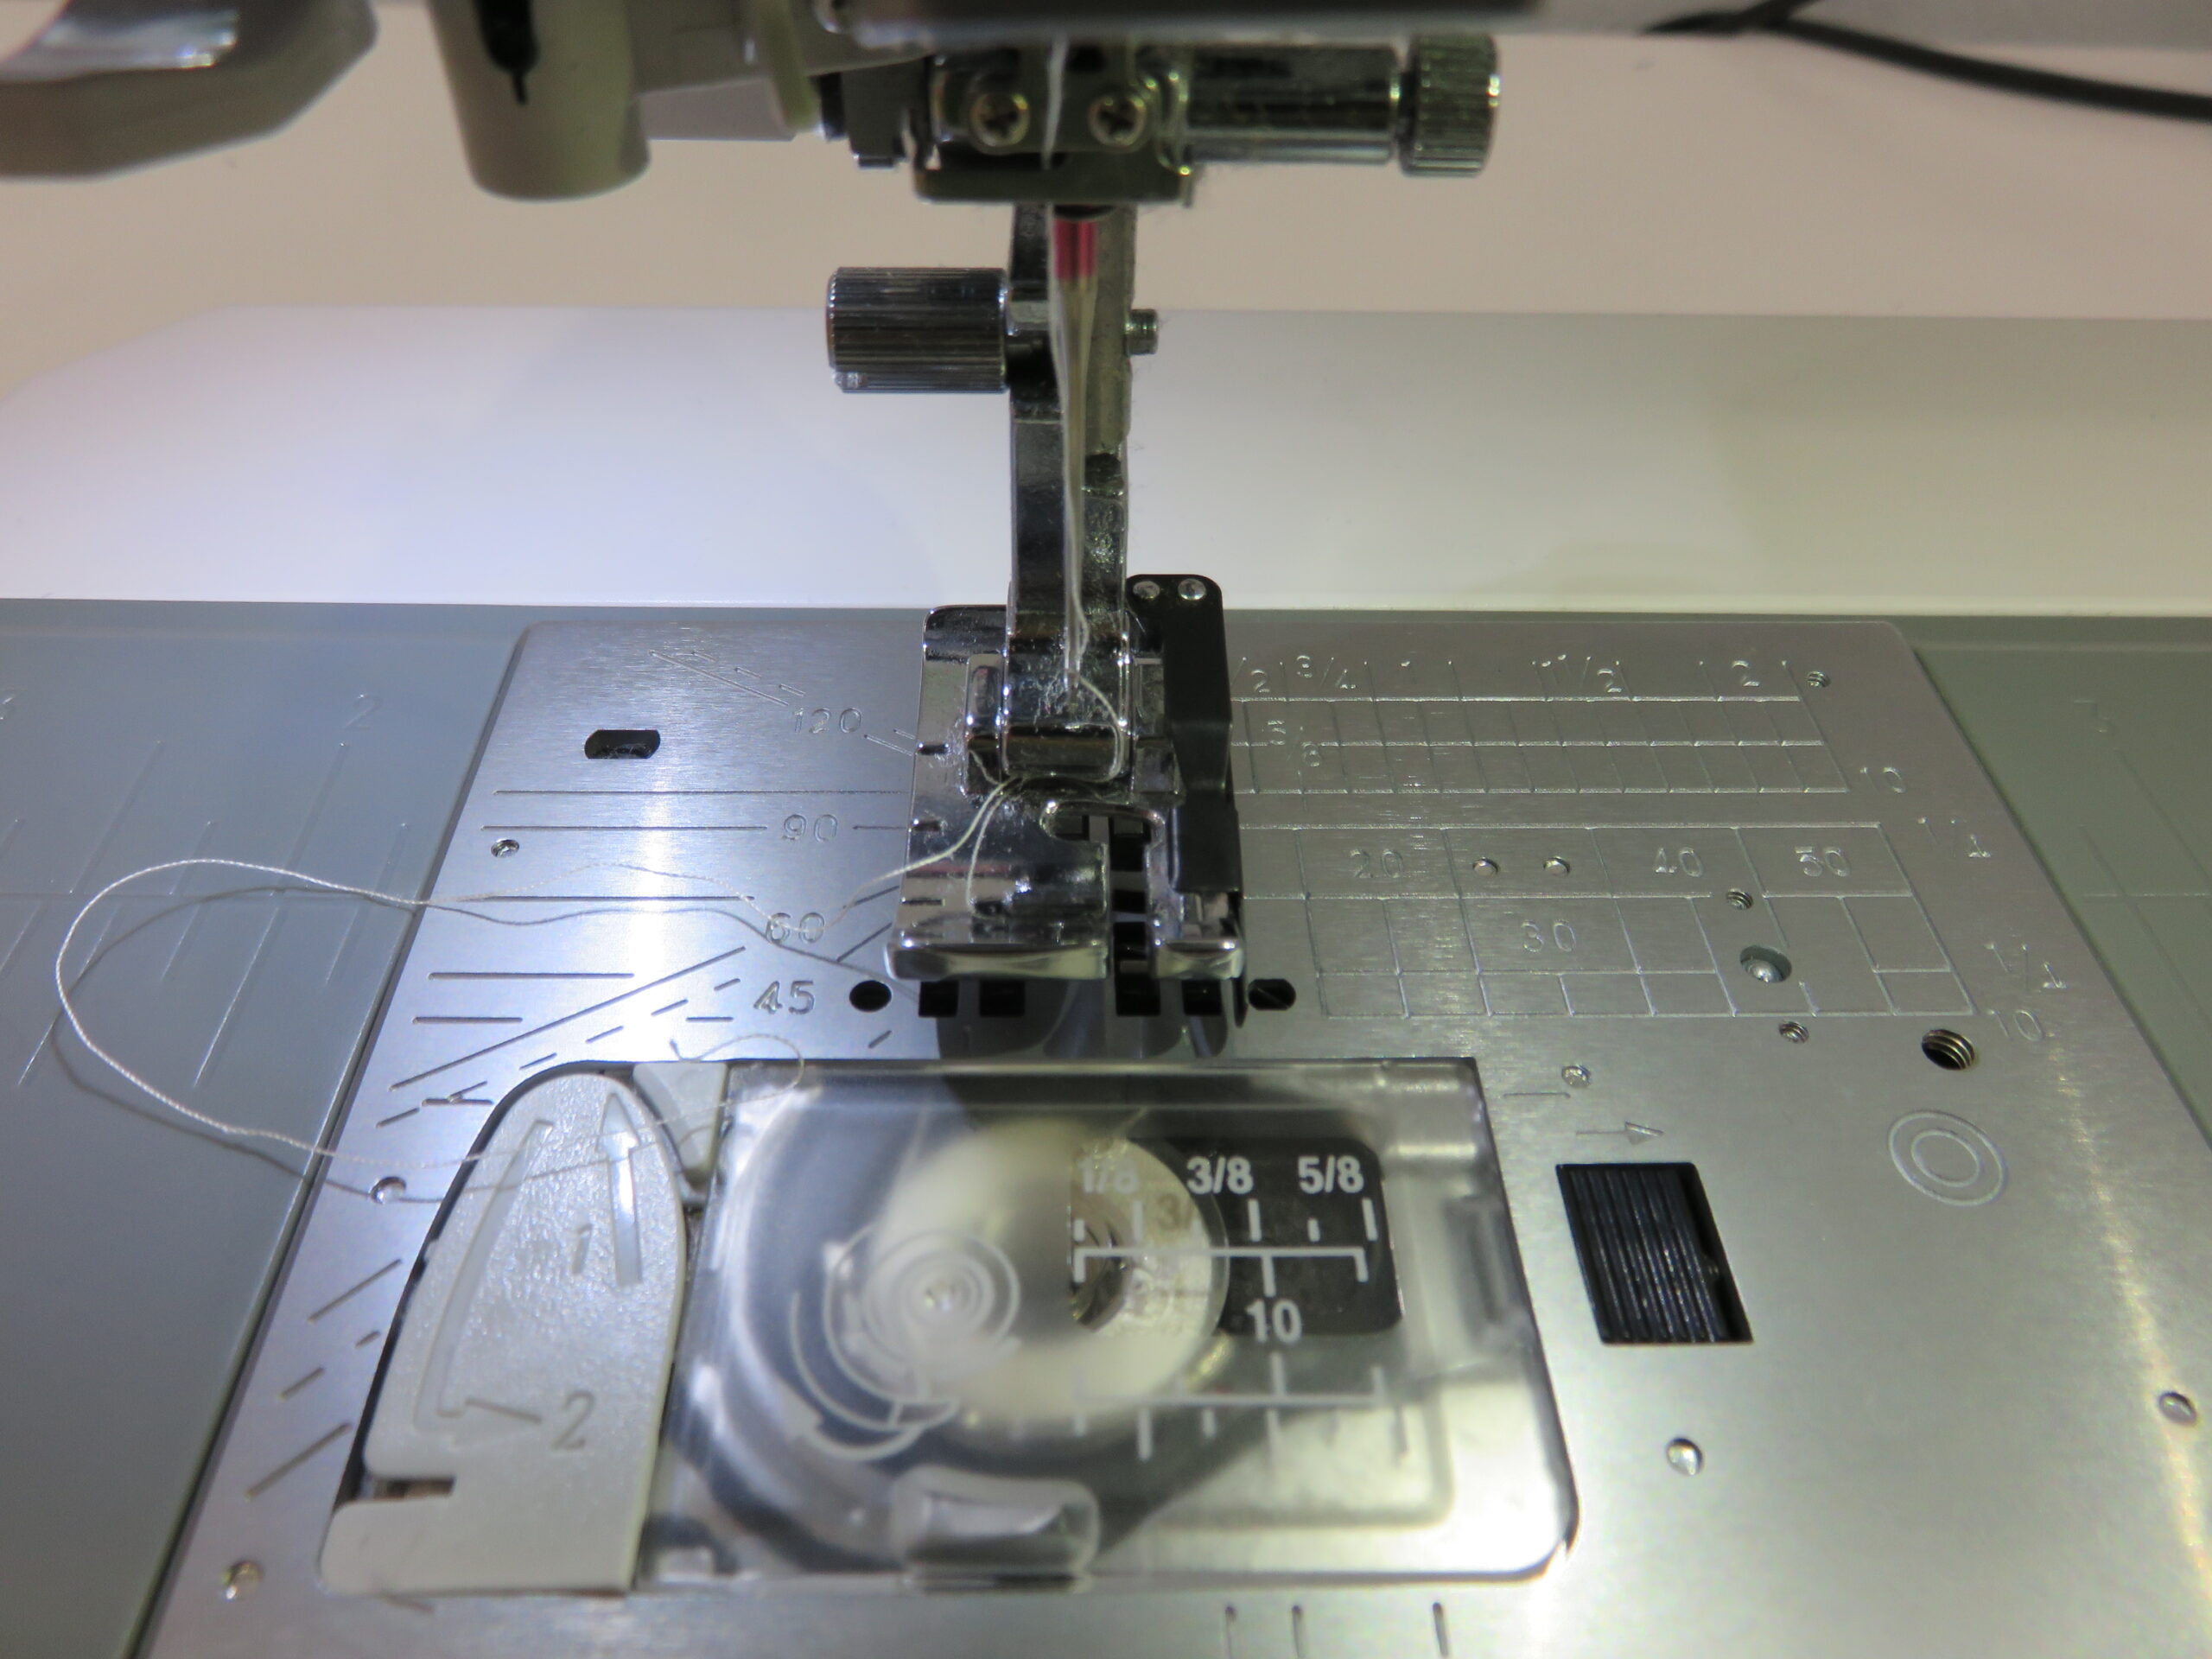
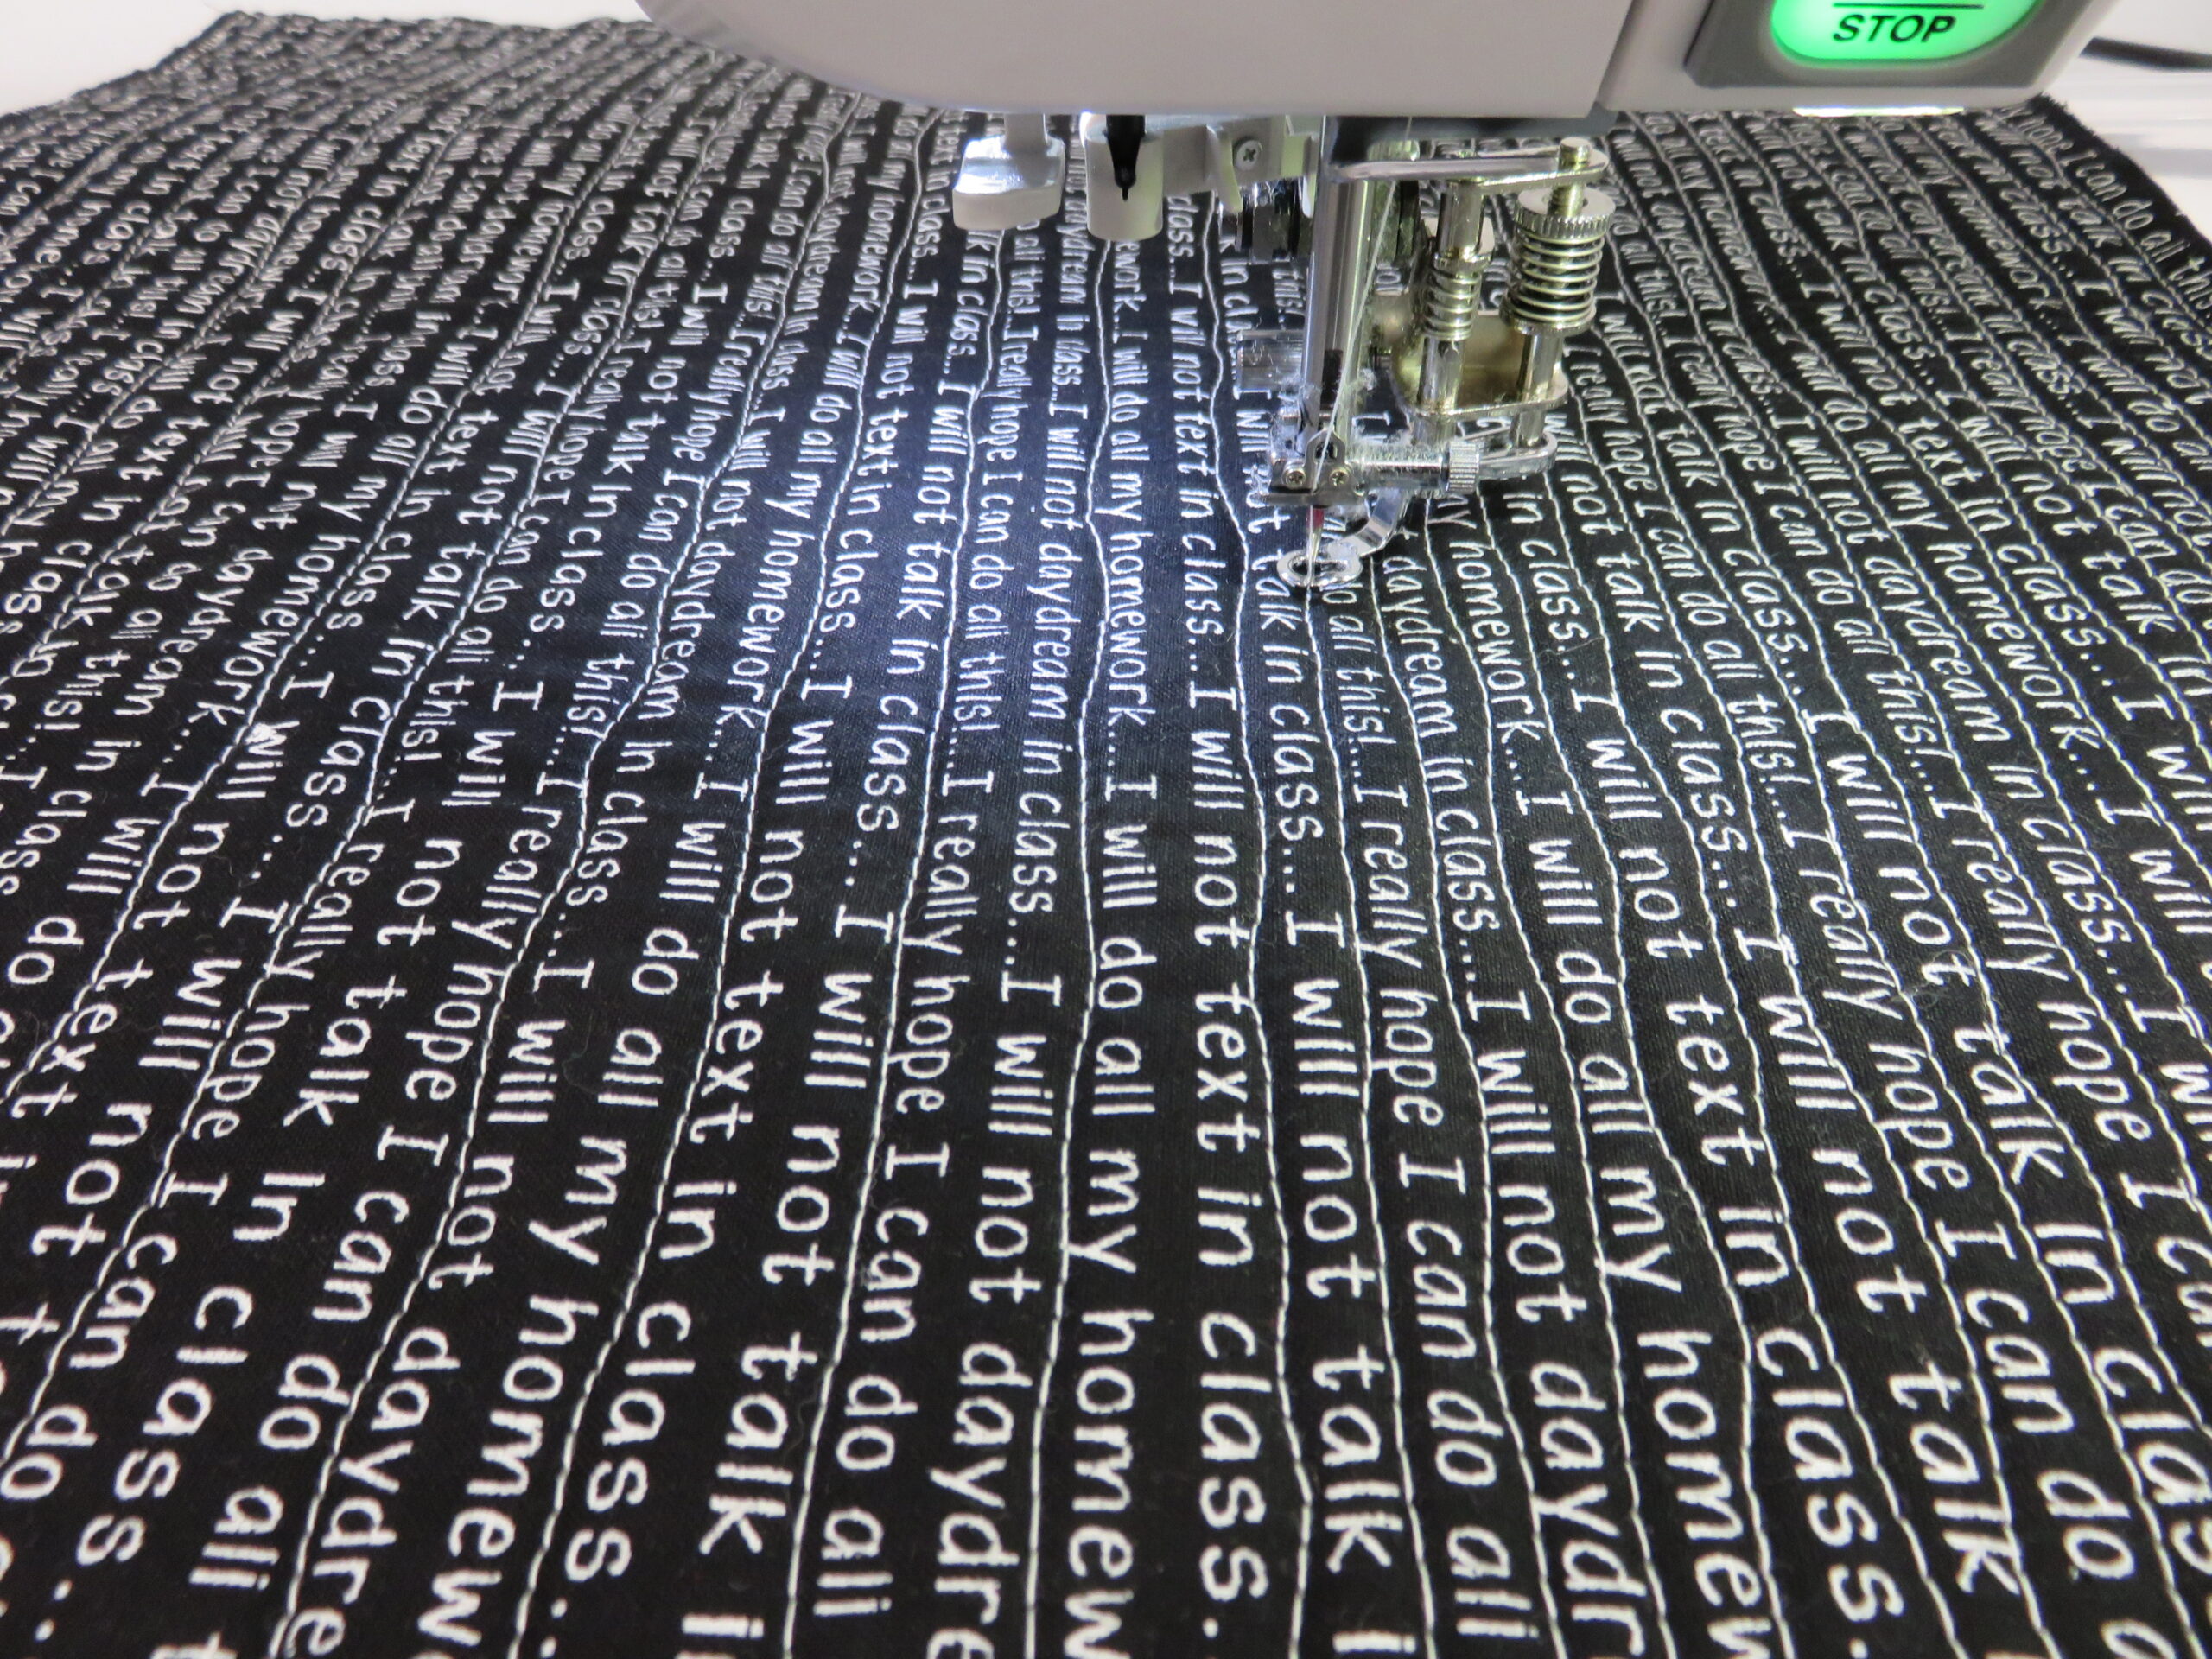
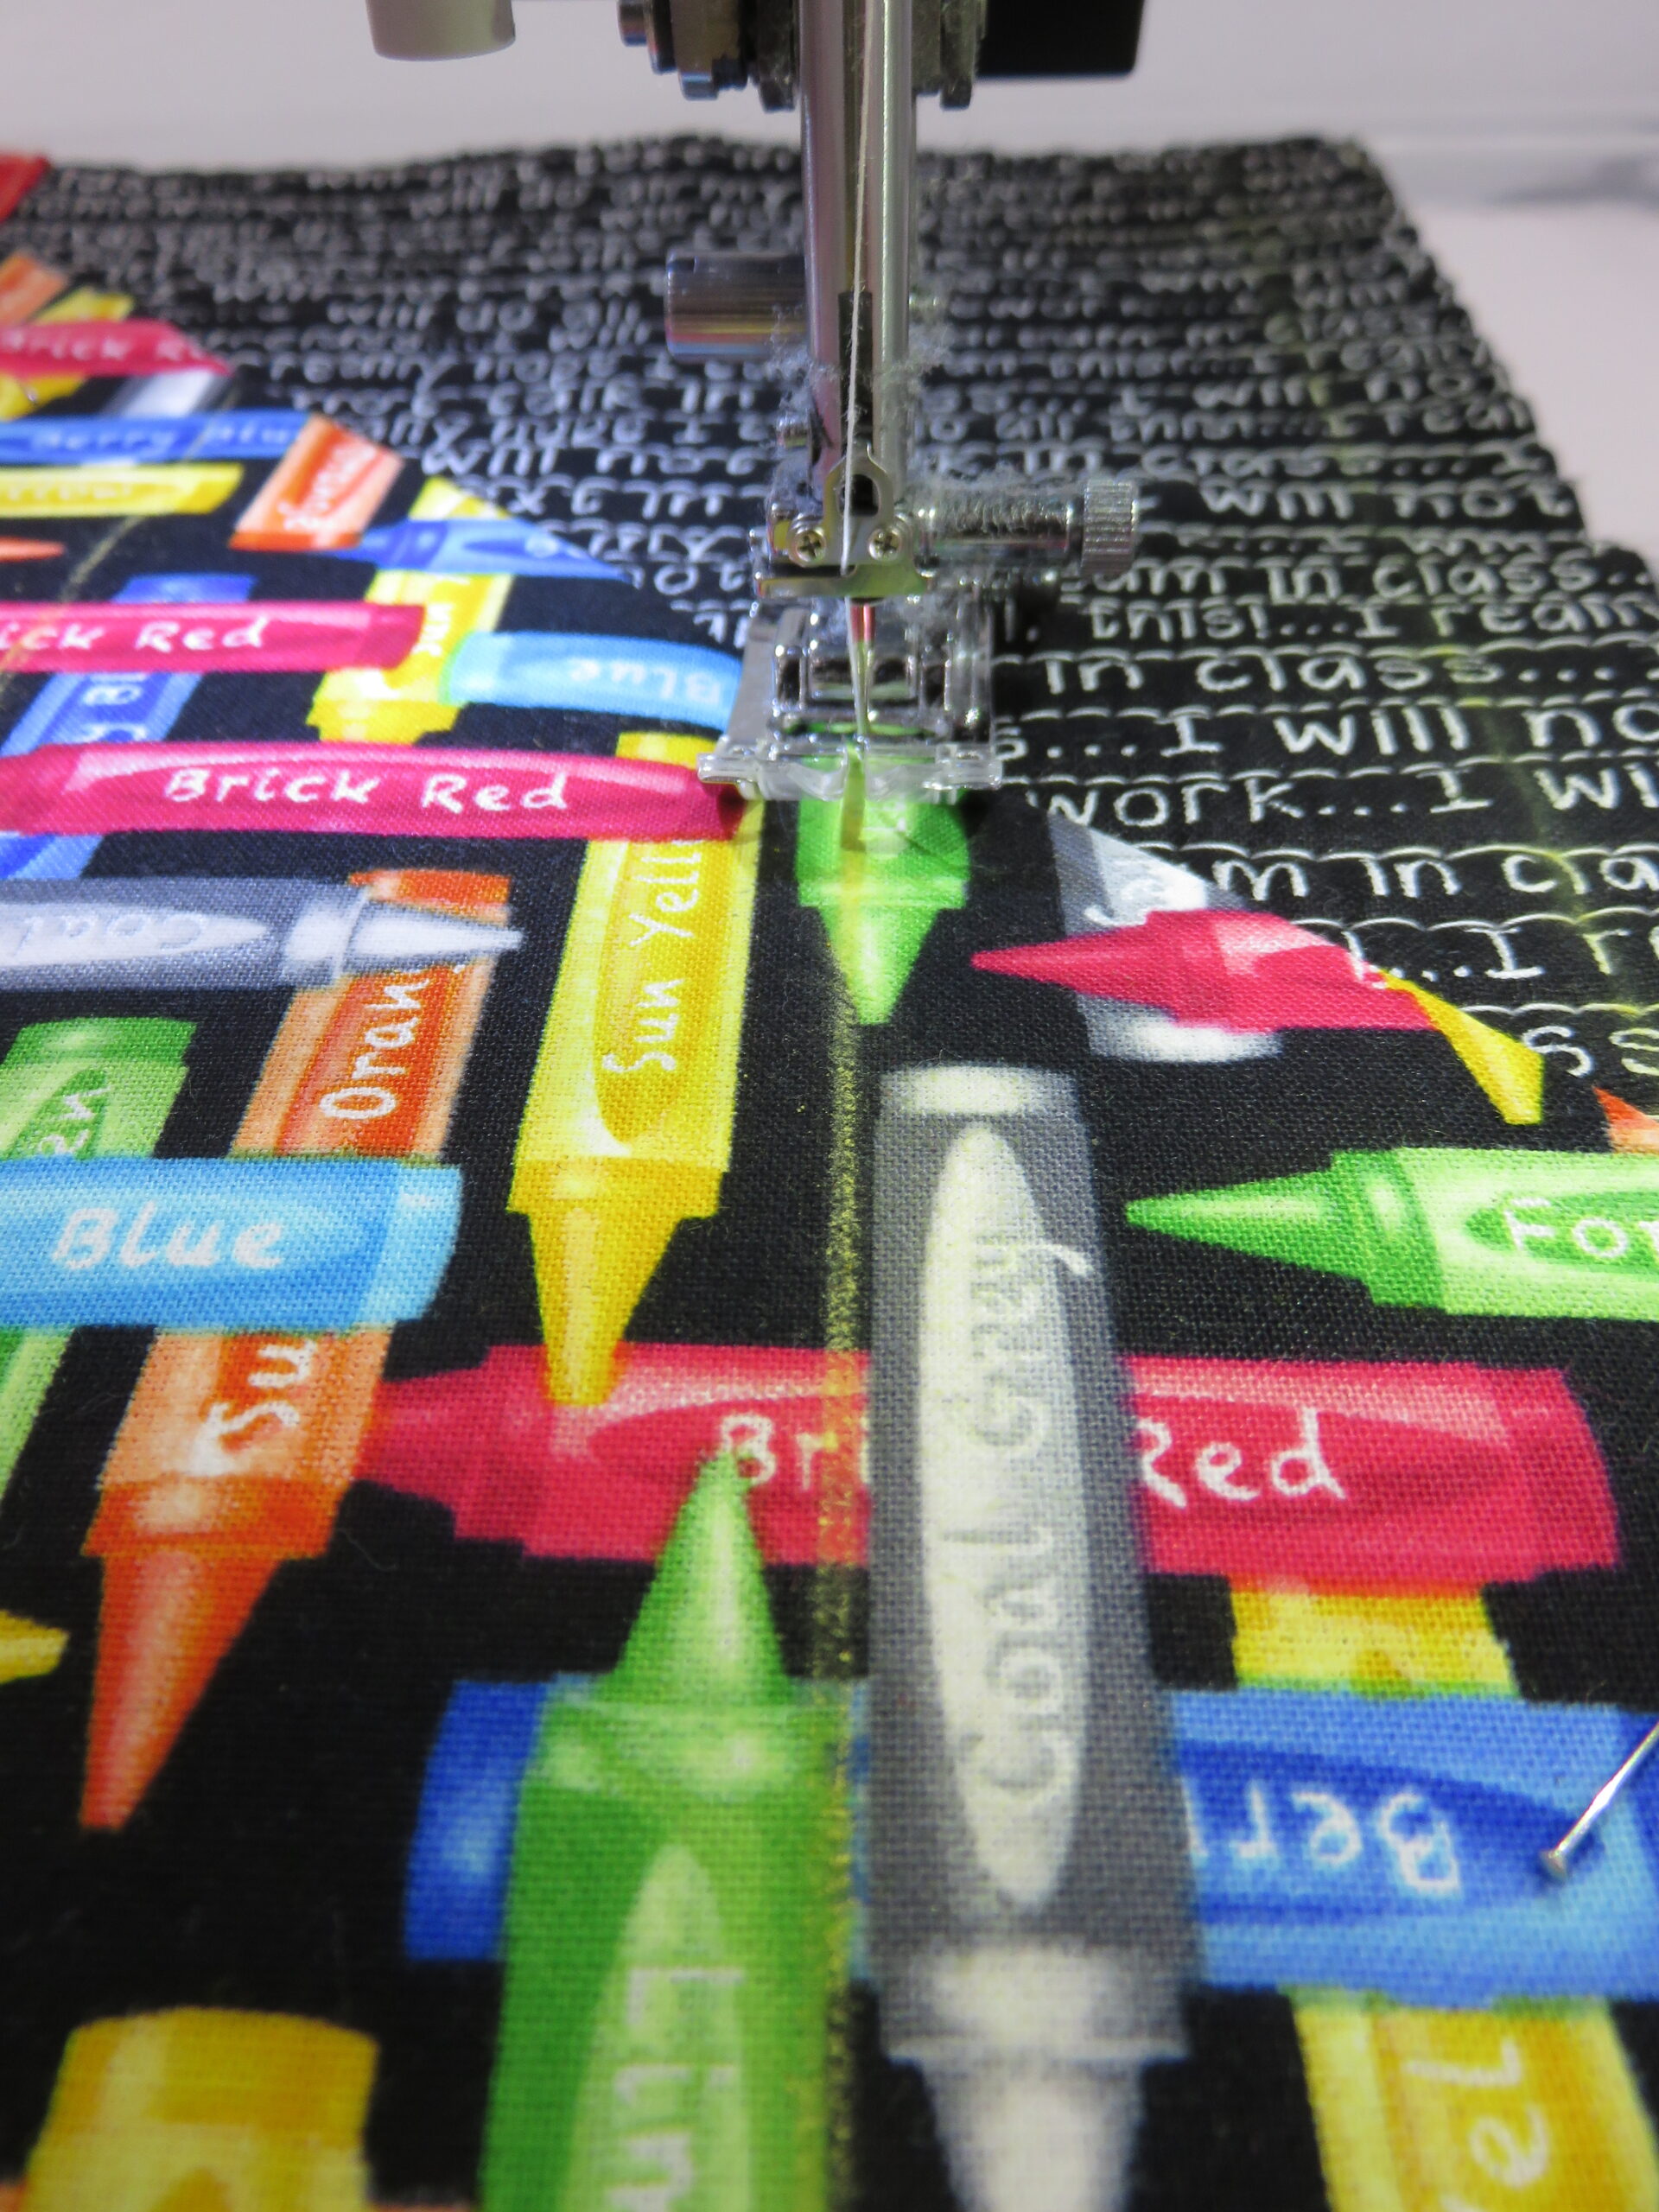
- Attach QBS foot for free motion. To attach this foot, you will need to remove the set screw and loosen the foot holder that held the quarter inch foot, and remove it. Then attach the convertible free motion foot to the presser bar and install the screw that will hold it in place. Lower the feed dogs. Adjust the presser foot pressure to “5” and set the machine to “D4S”.

- Wind bobbin with that quilting thread you’ve selected to quilt the main part of the journal cover. Thread machine with matching quilting thread.
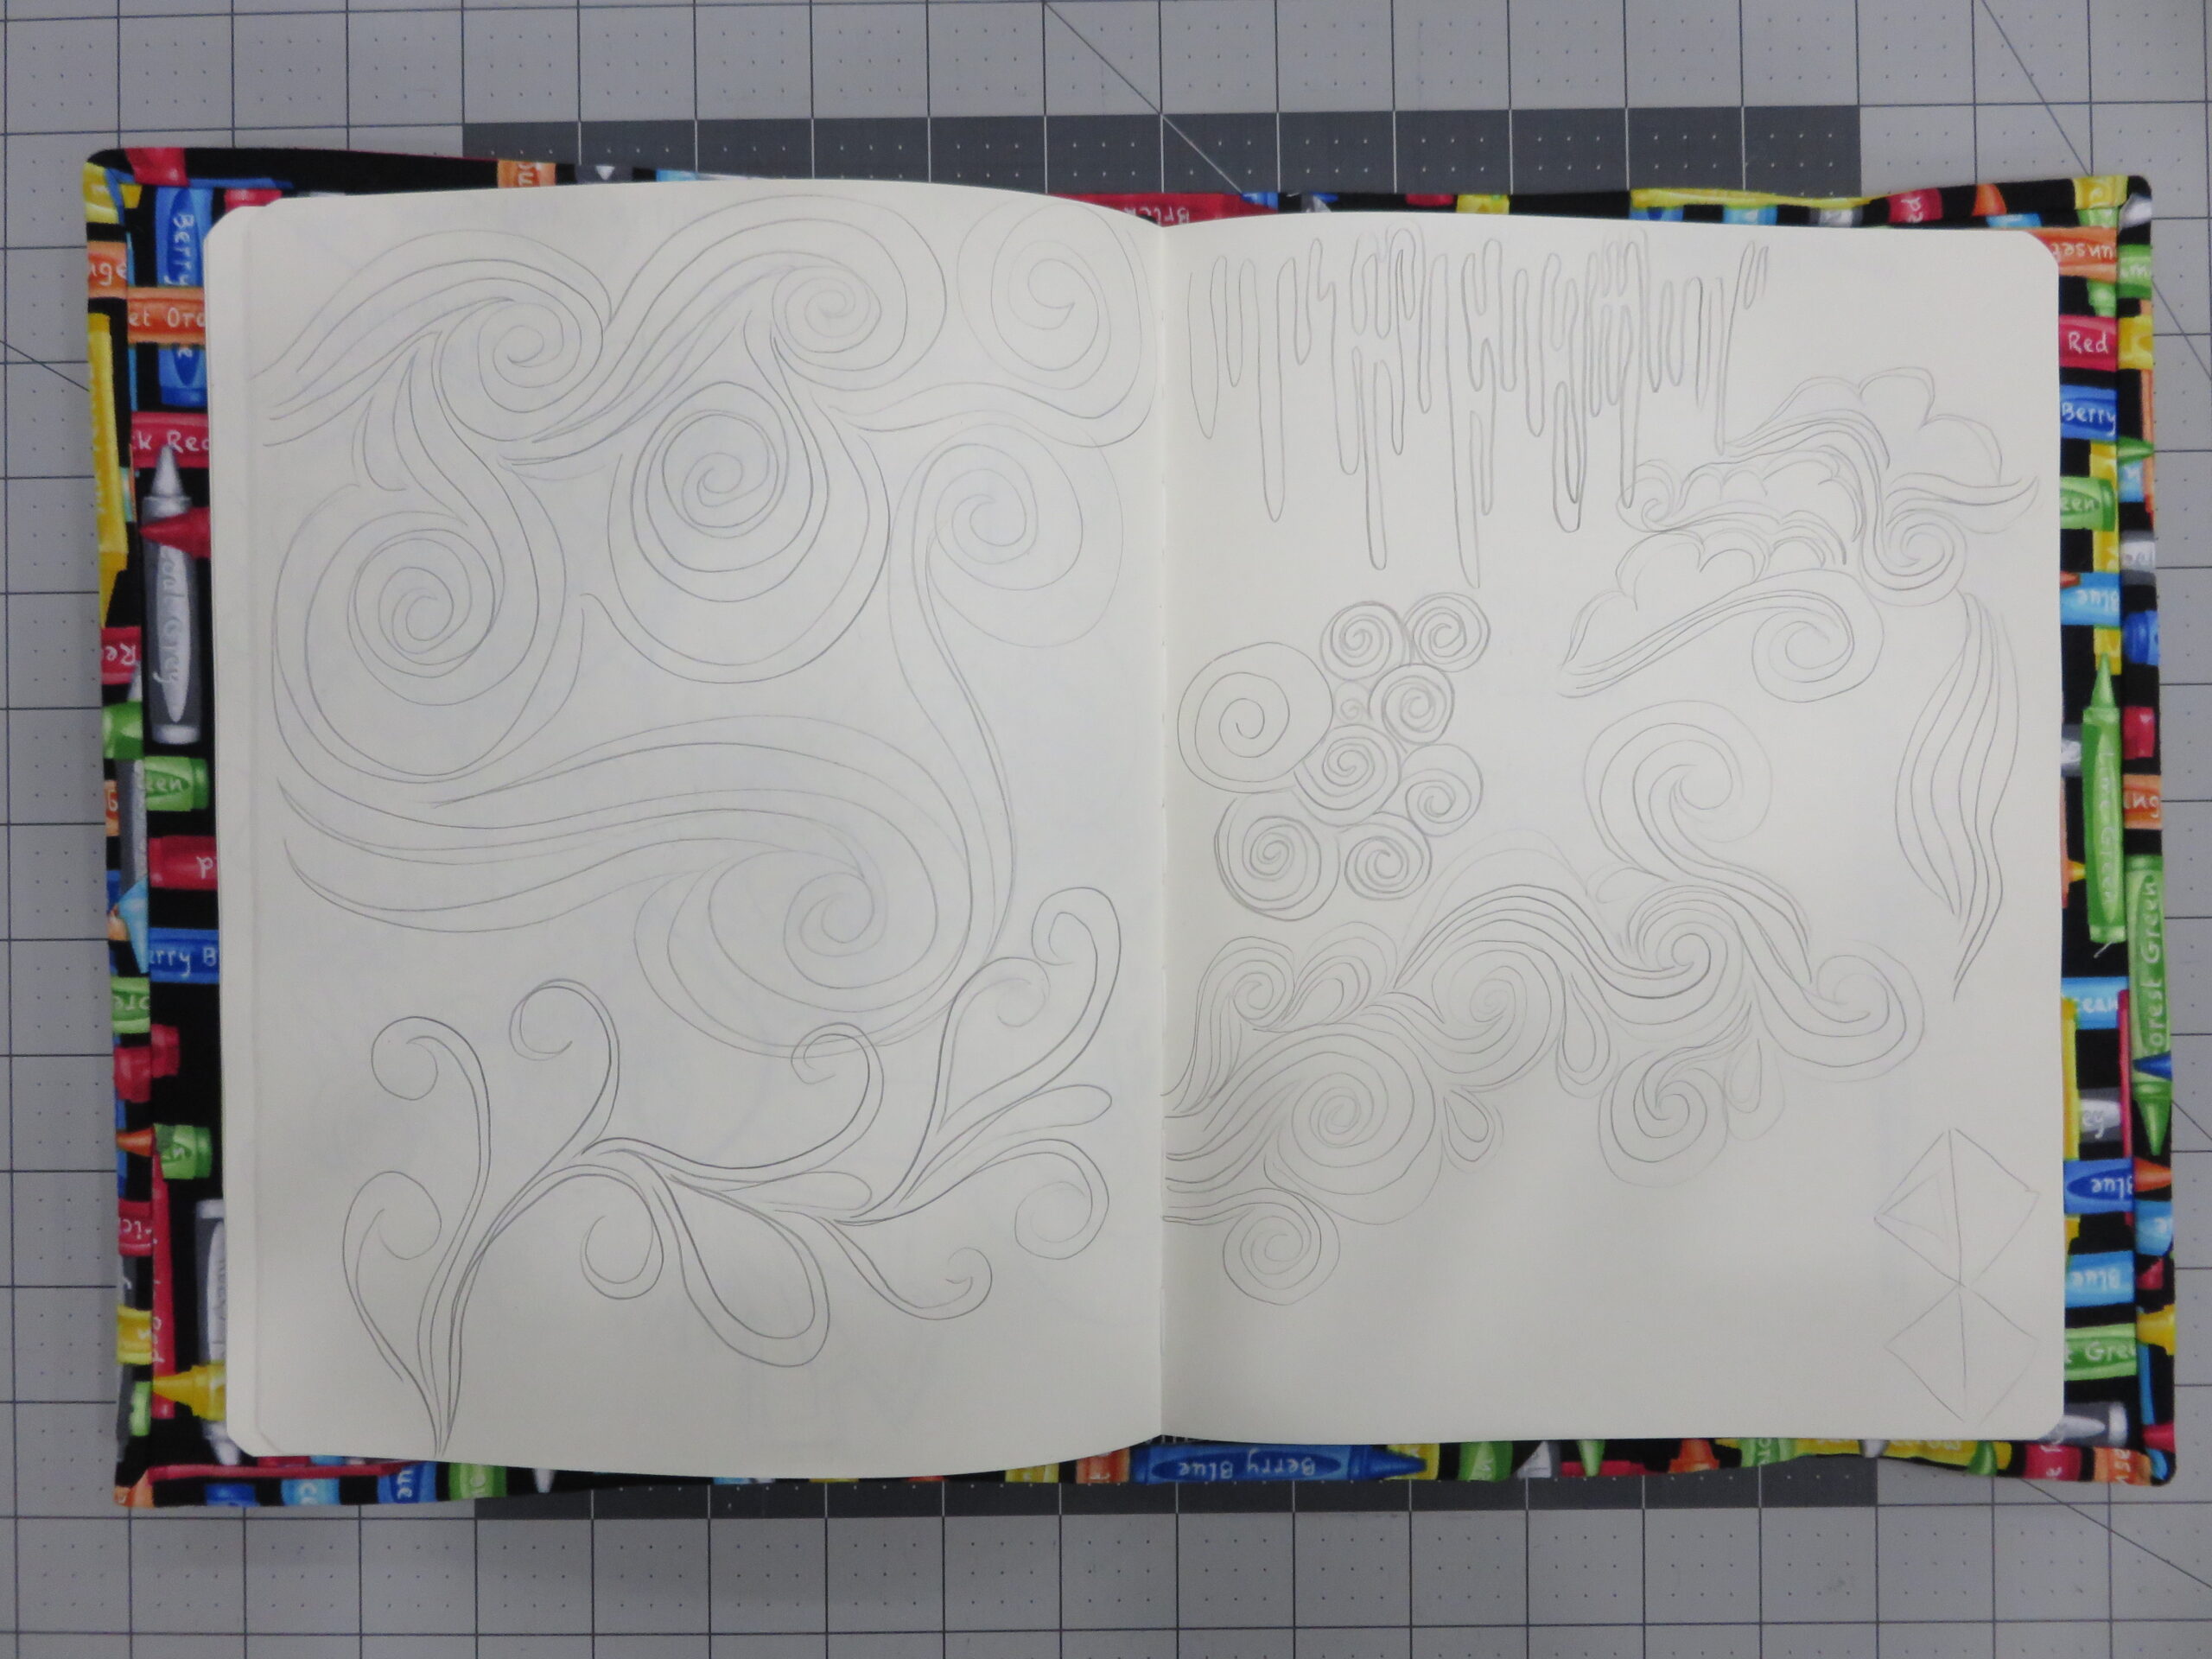
- Quilt the layers together with a fun design. The quilt in the images was quilted with organic straight lines to mimic the lines on a sheet of notebook paper. The exterior of my journal cover was already fairly busy with the text print, so I opted for a simple quilting motif. If using a solid, you can really show off your free motion quilting skills here.
Tip: When free motion quilting, try to keep your quilting stitches a uniform length—not too small, and not too large. You may want to practice the quilting motif before starting on the quilt. Be sure to check the manufacturer’s suggestion for quilting distance on the batting you use.
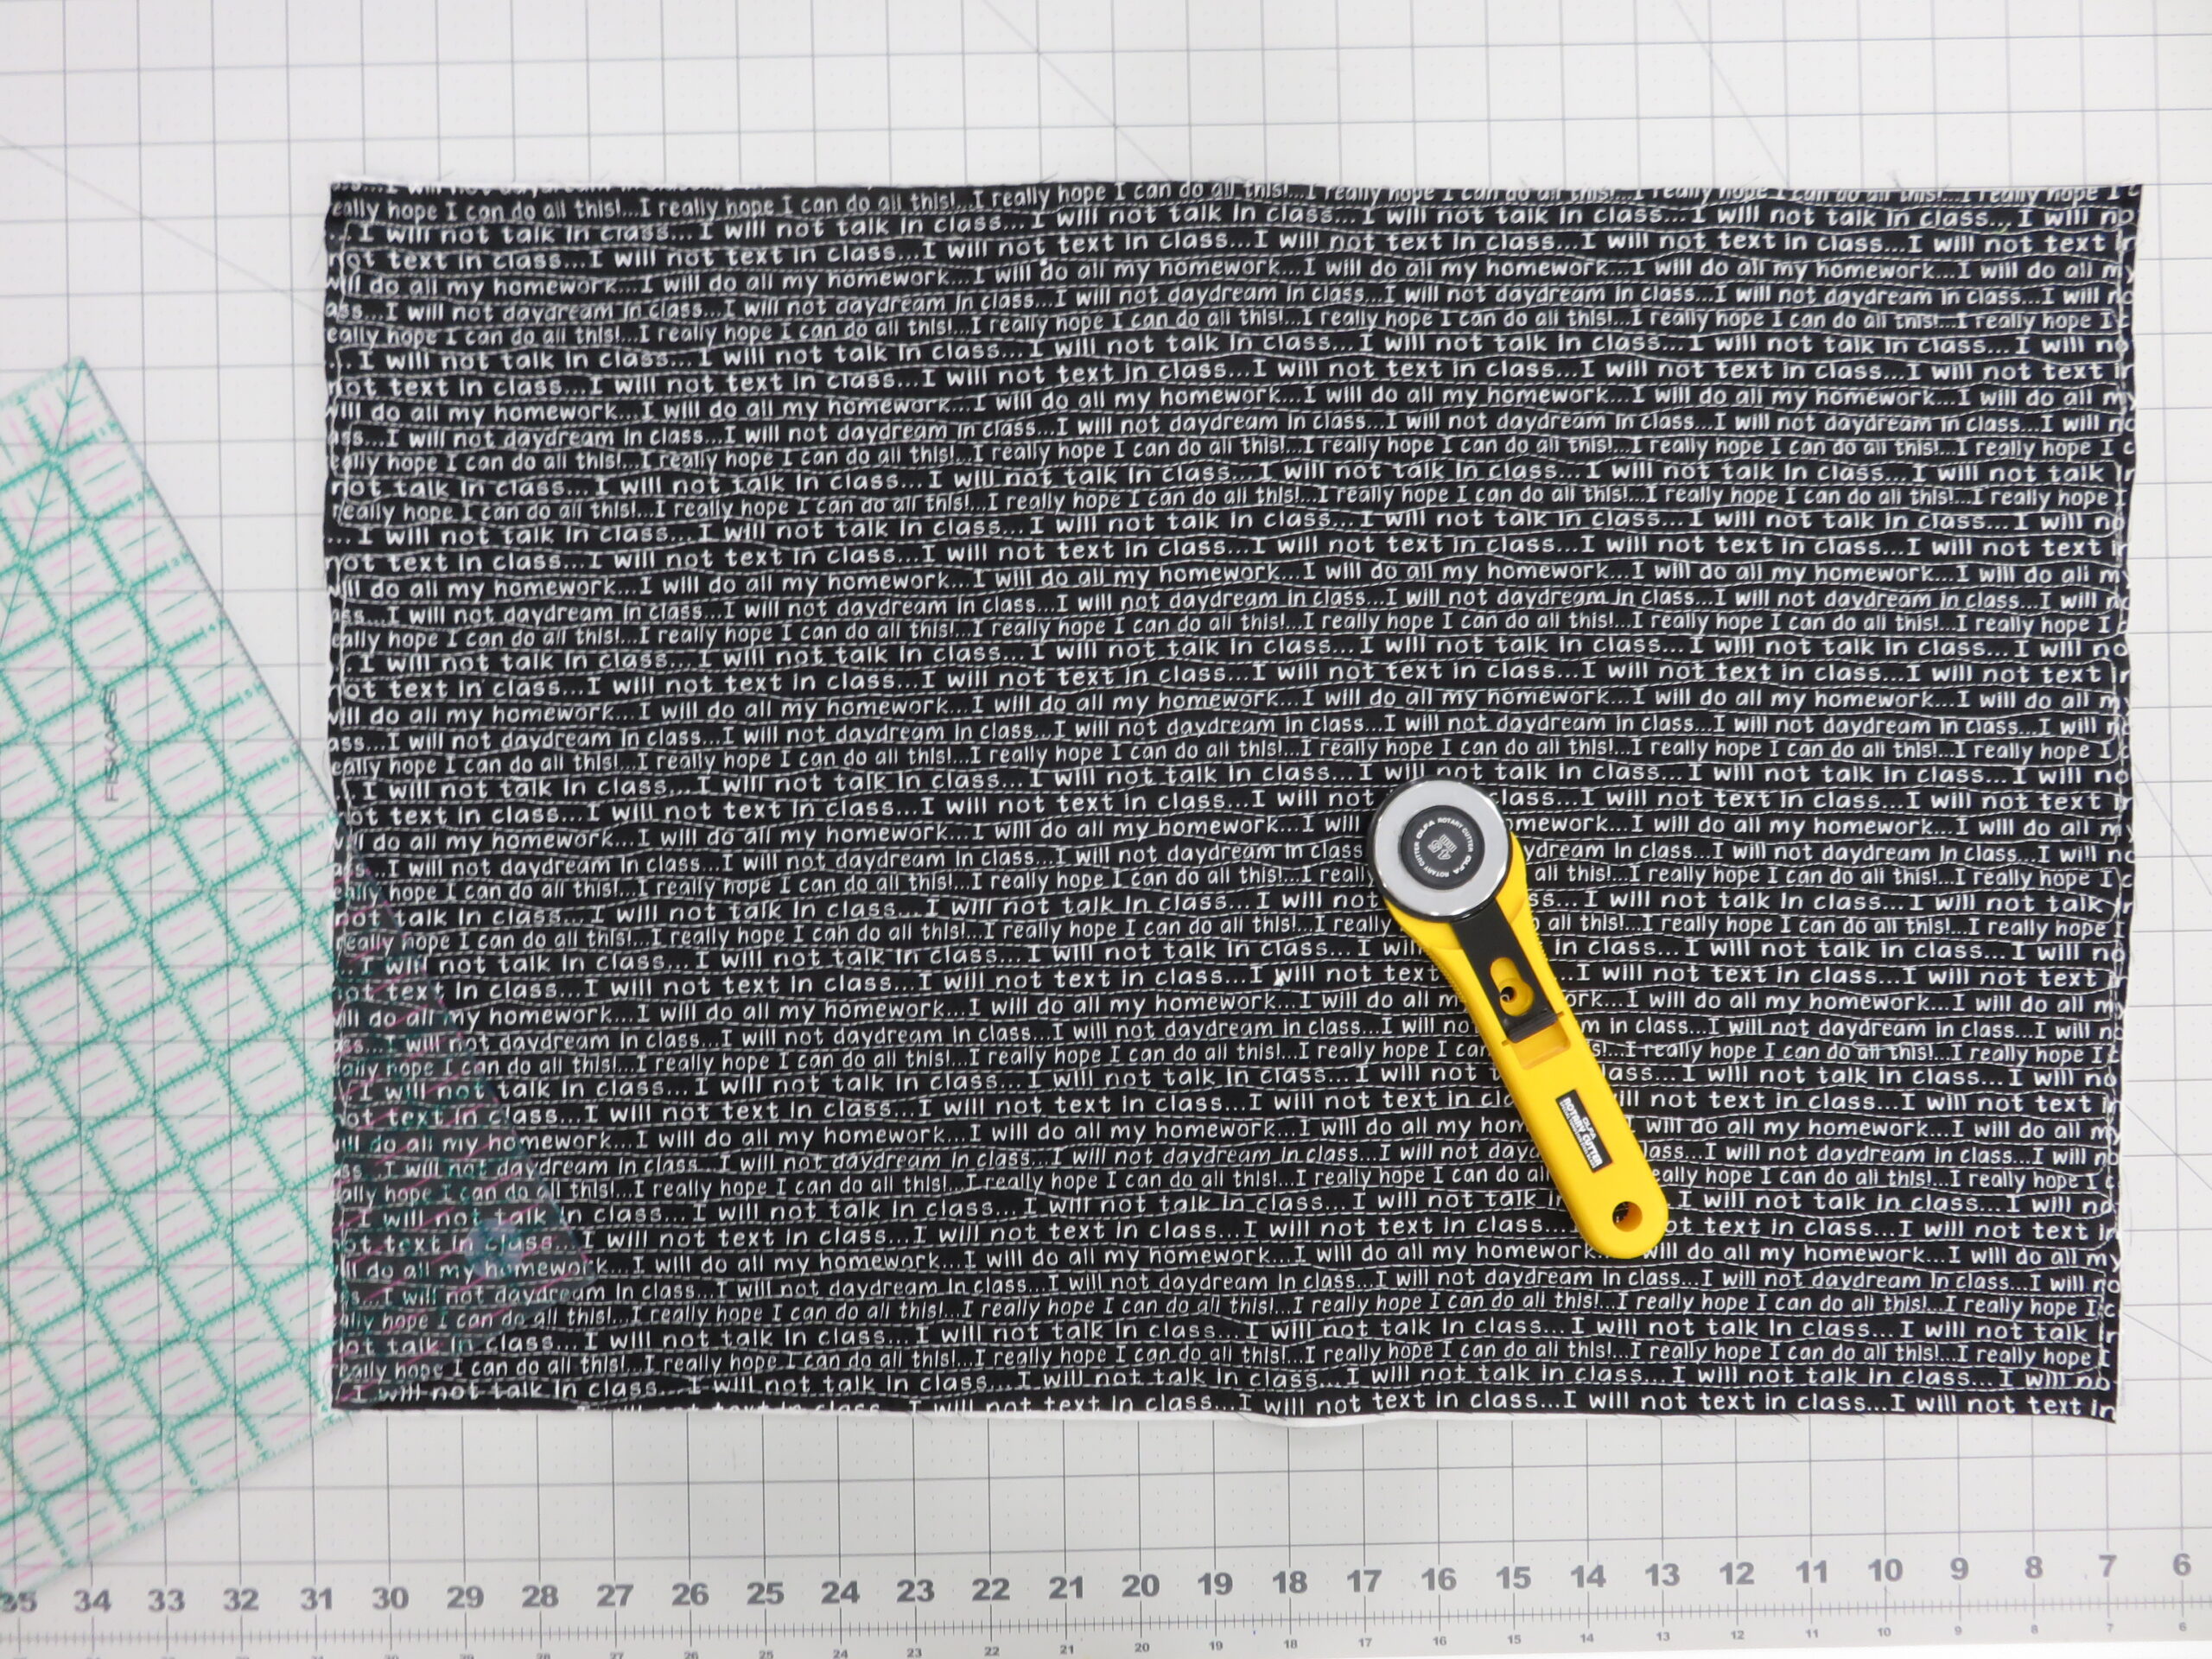
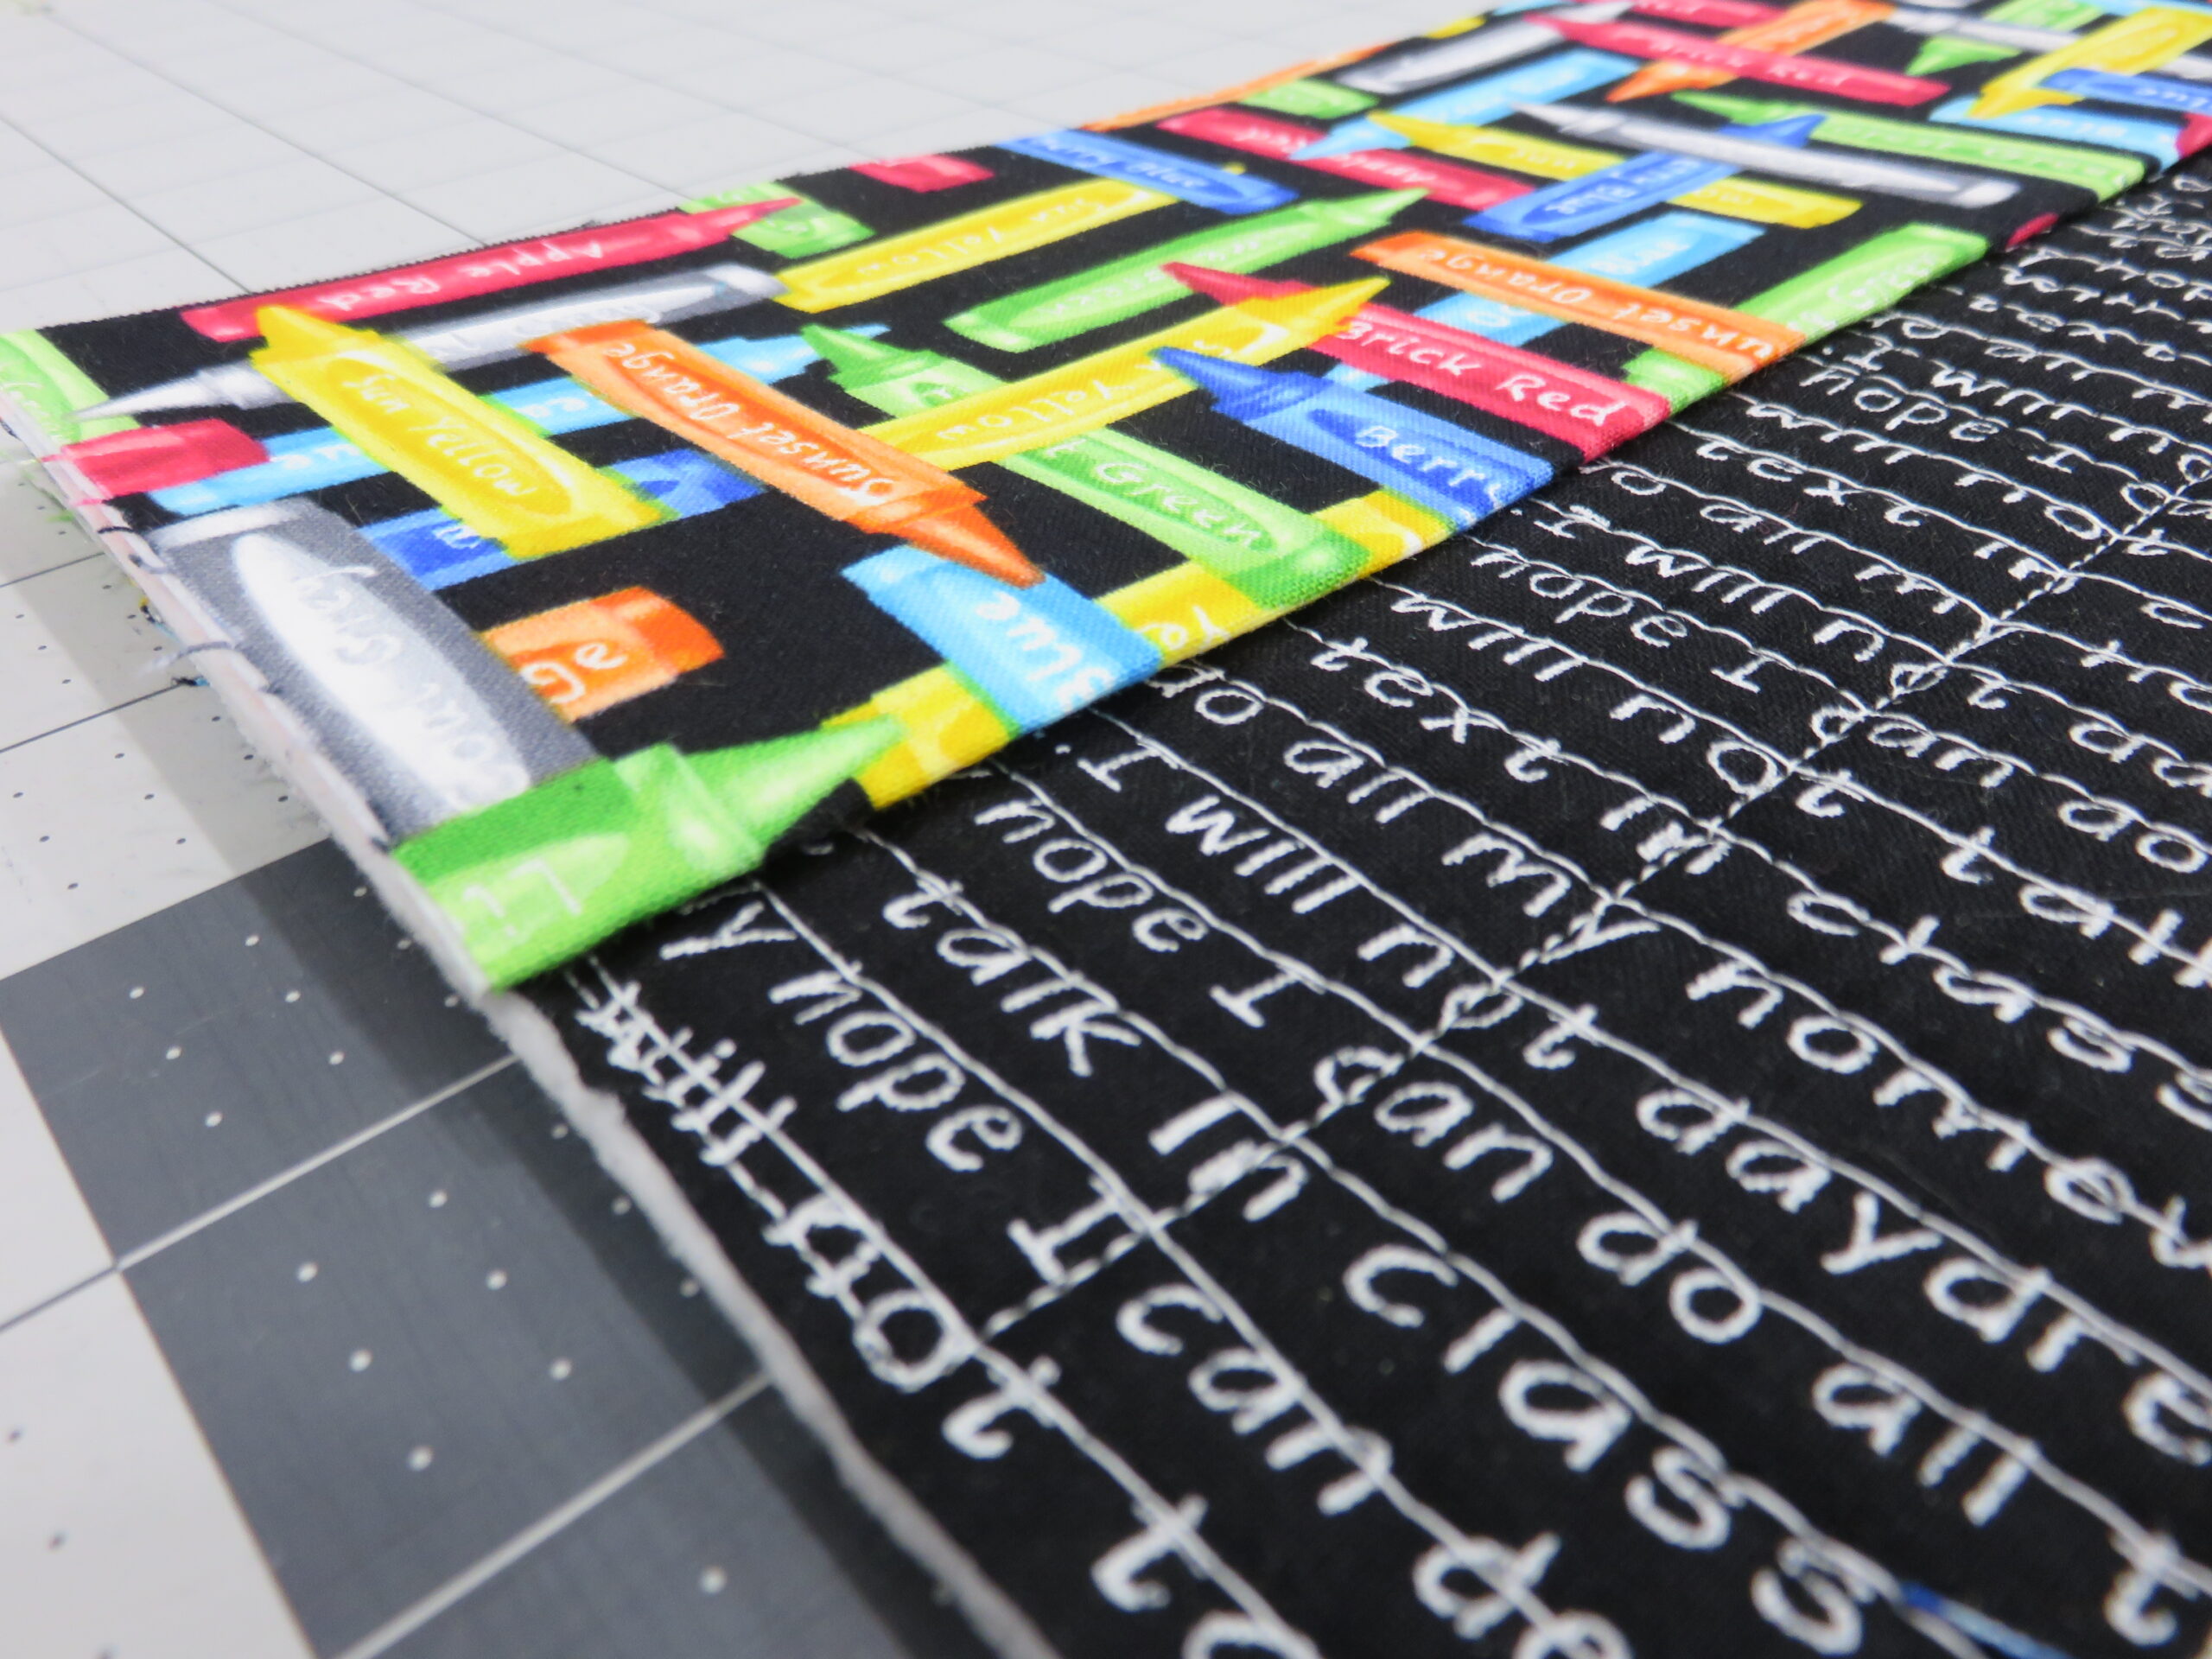
- Once the quilting is completed, trim the sides of the quilt sandwich to square up. Use the dimensions in STEP 4 from section “Finding your notebook’s custom measurements”, but subtract the extra 6” you added in to the height and width for quilting. In the sample, we will square up the quilted journal cover to be 17” wide x 11-3/4” tall. Set this aside for a moment.
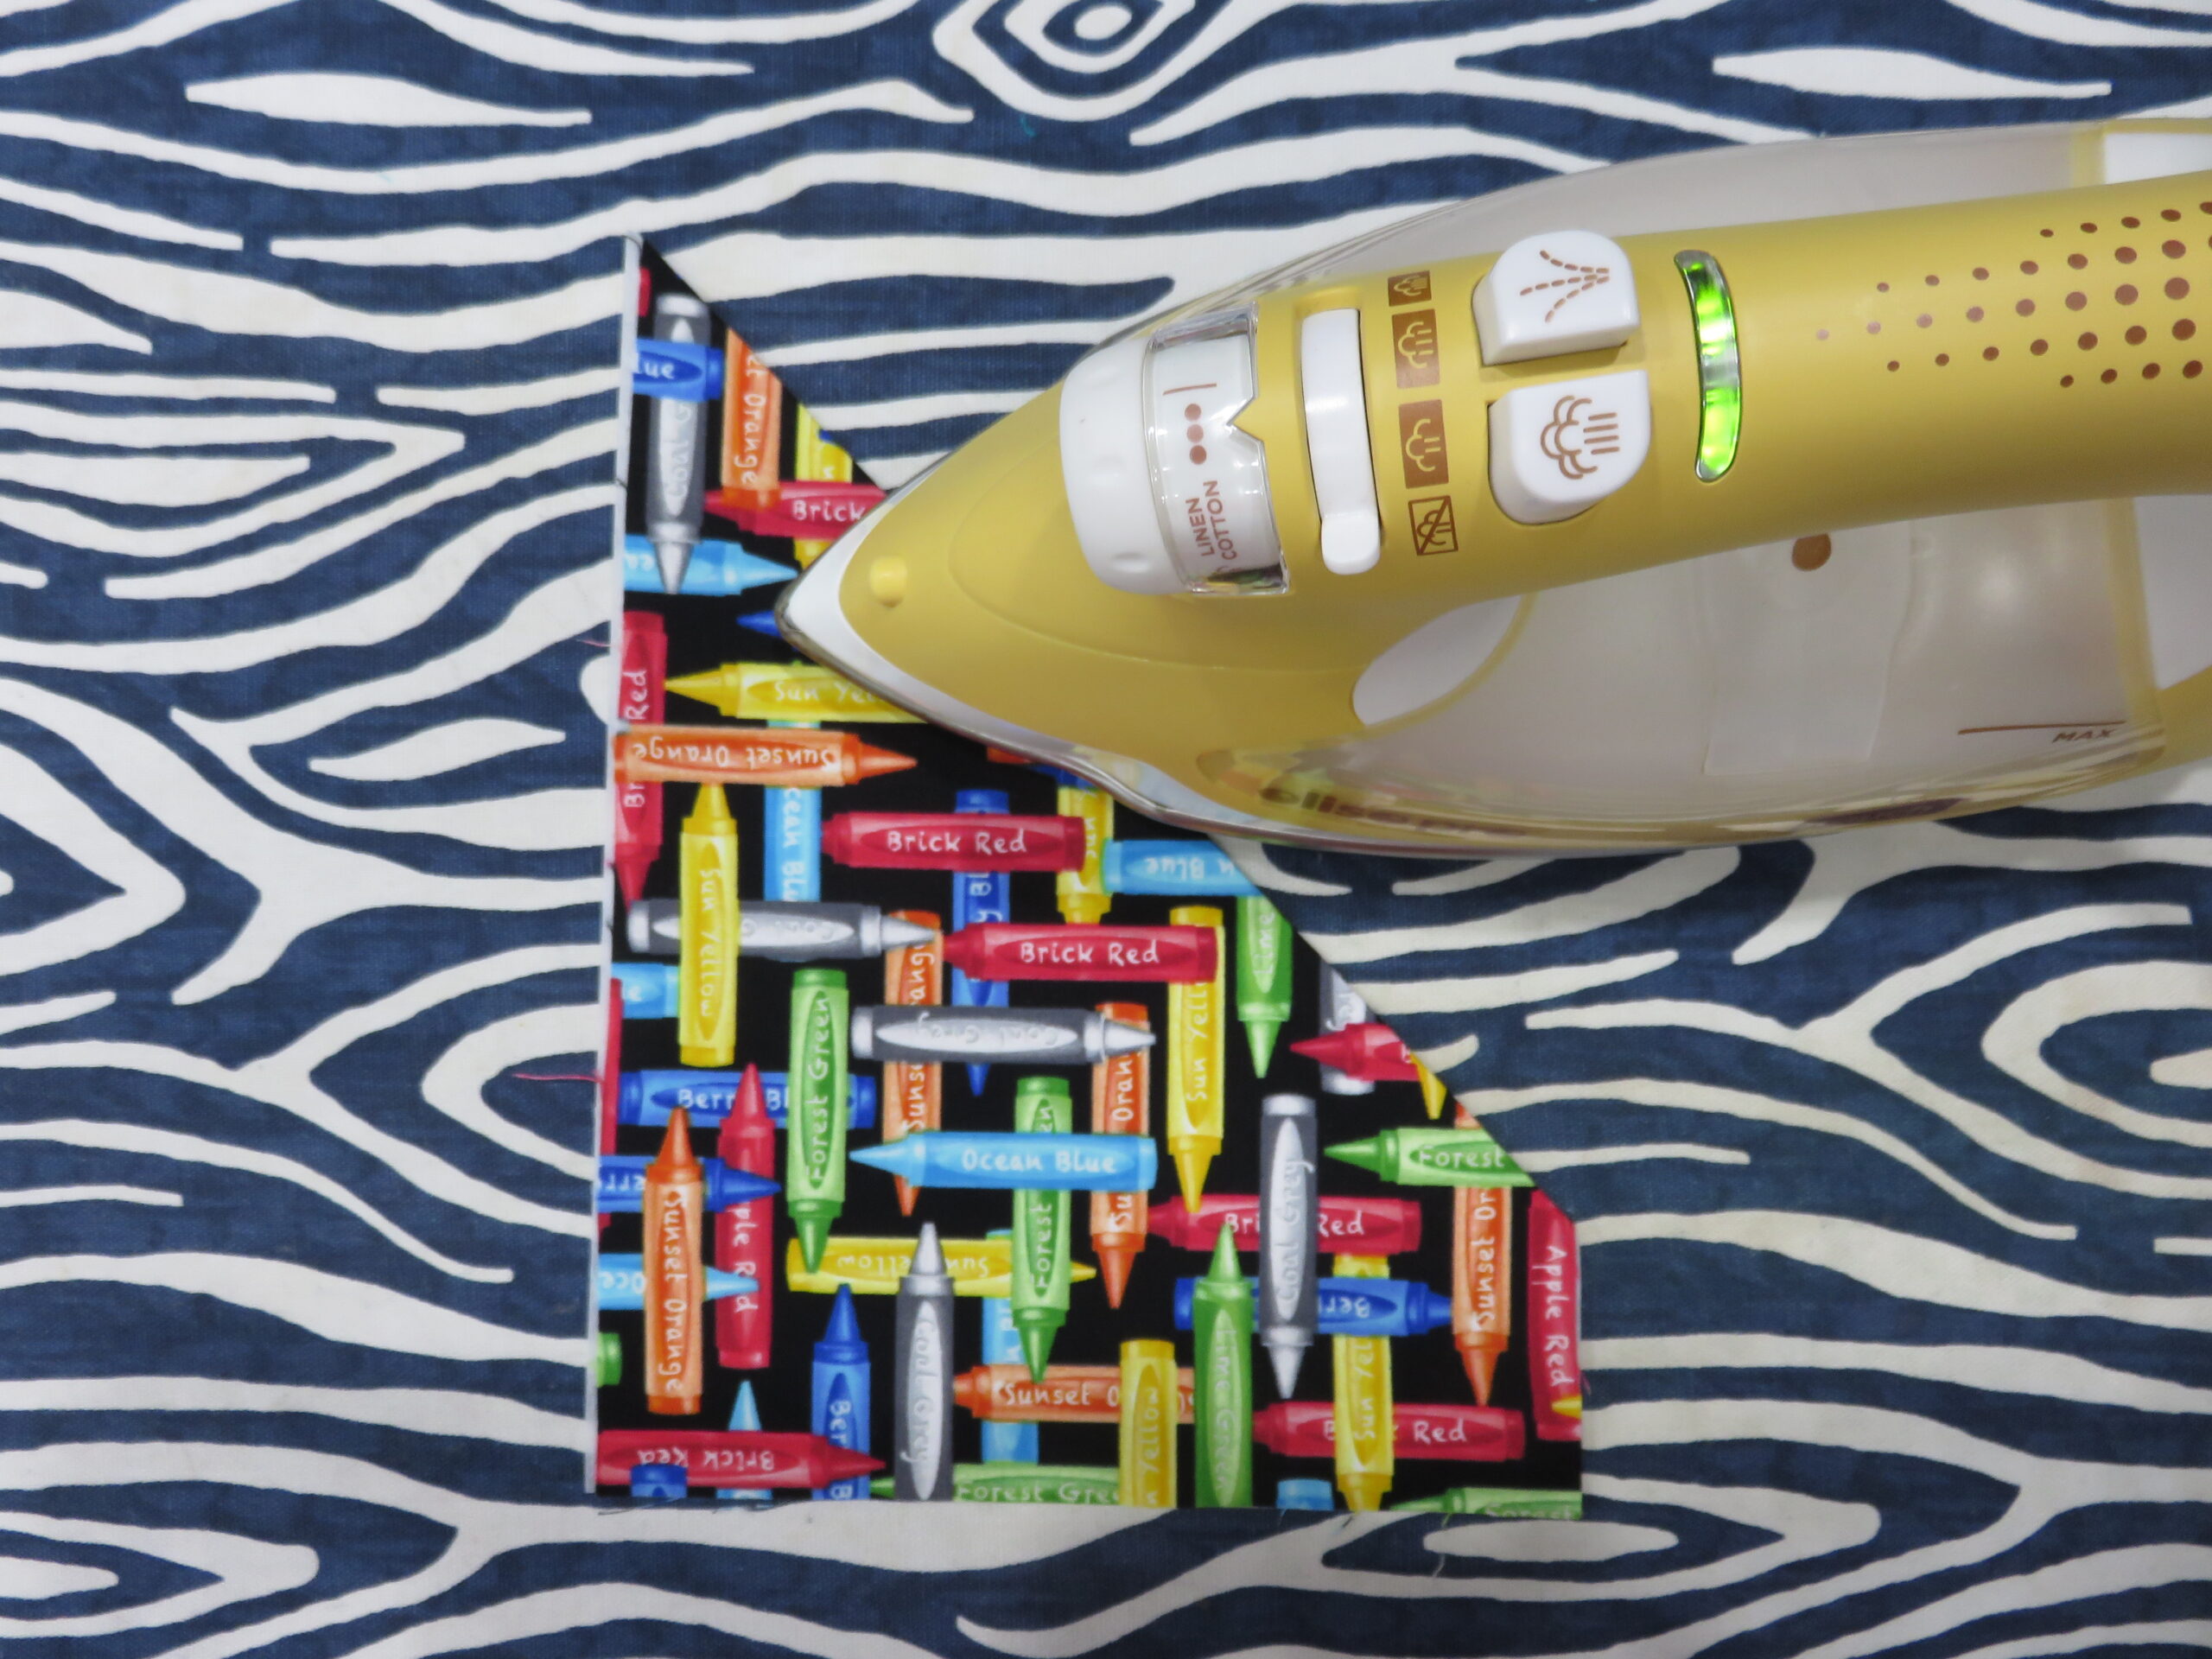
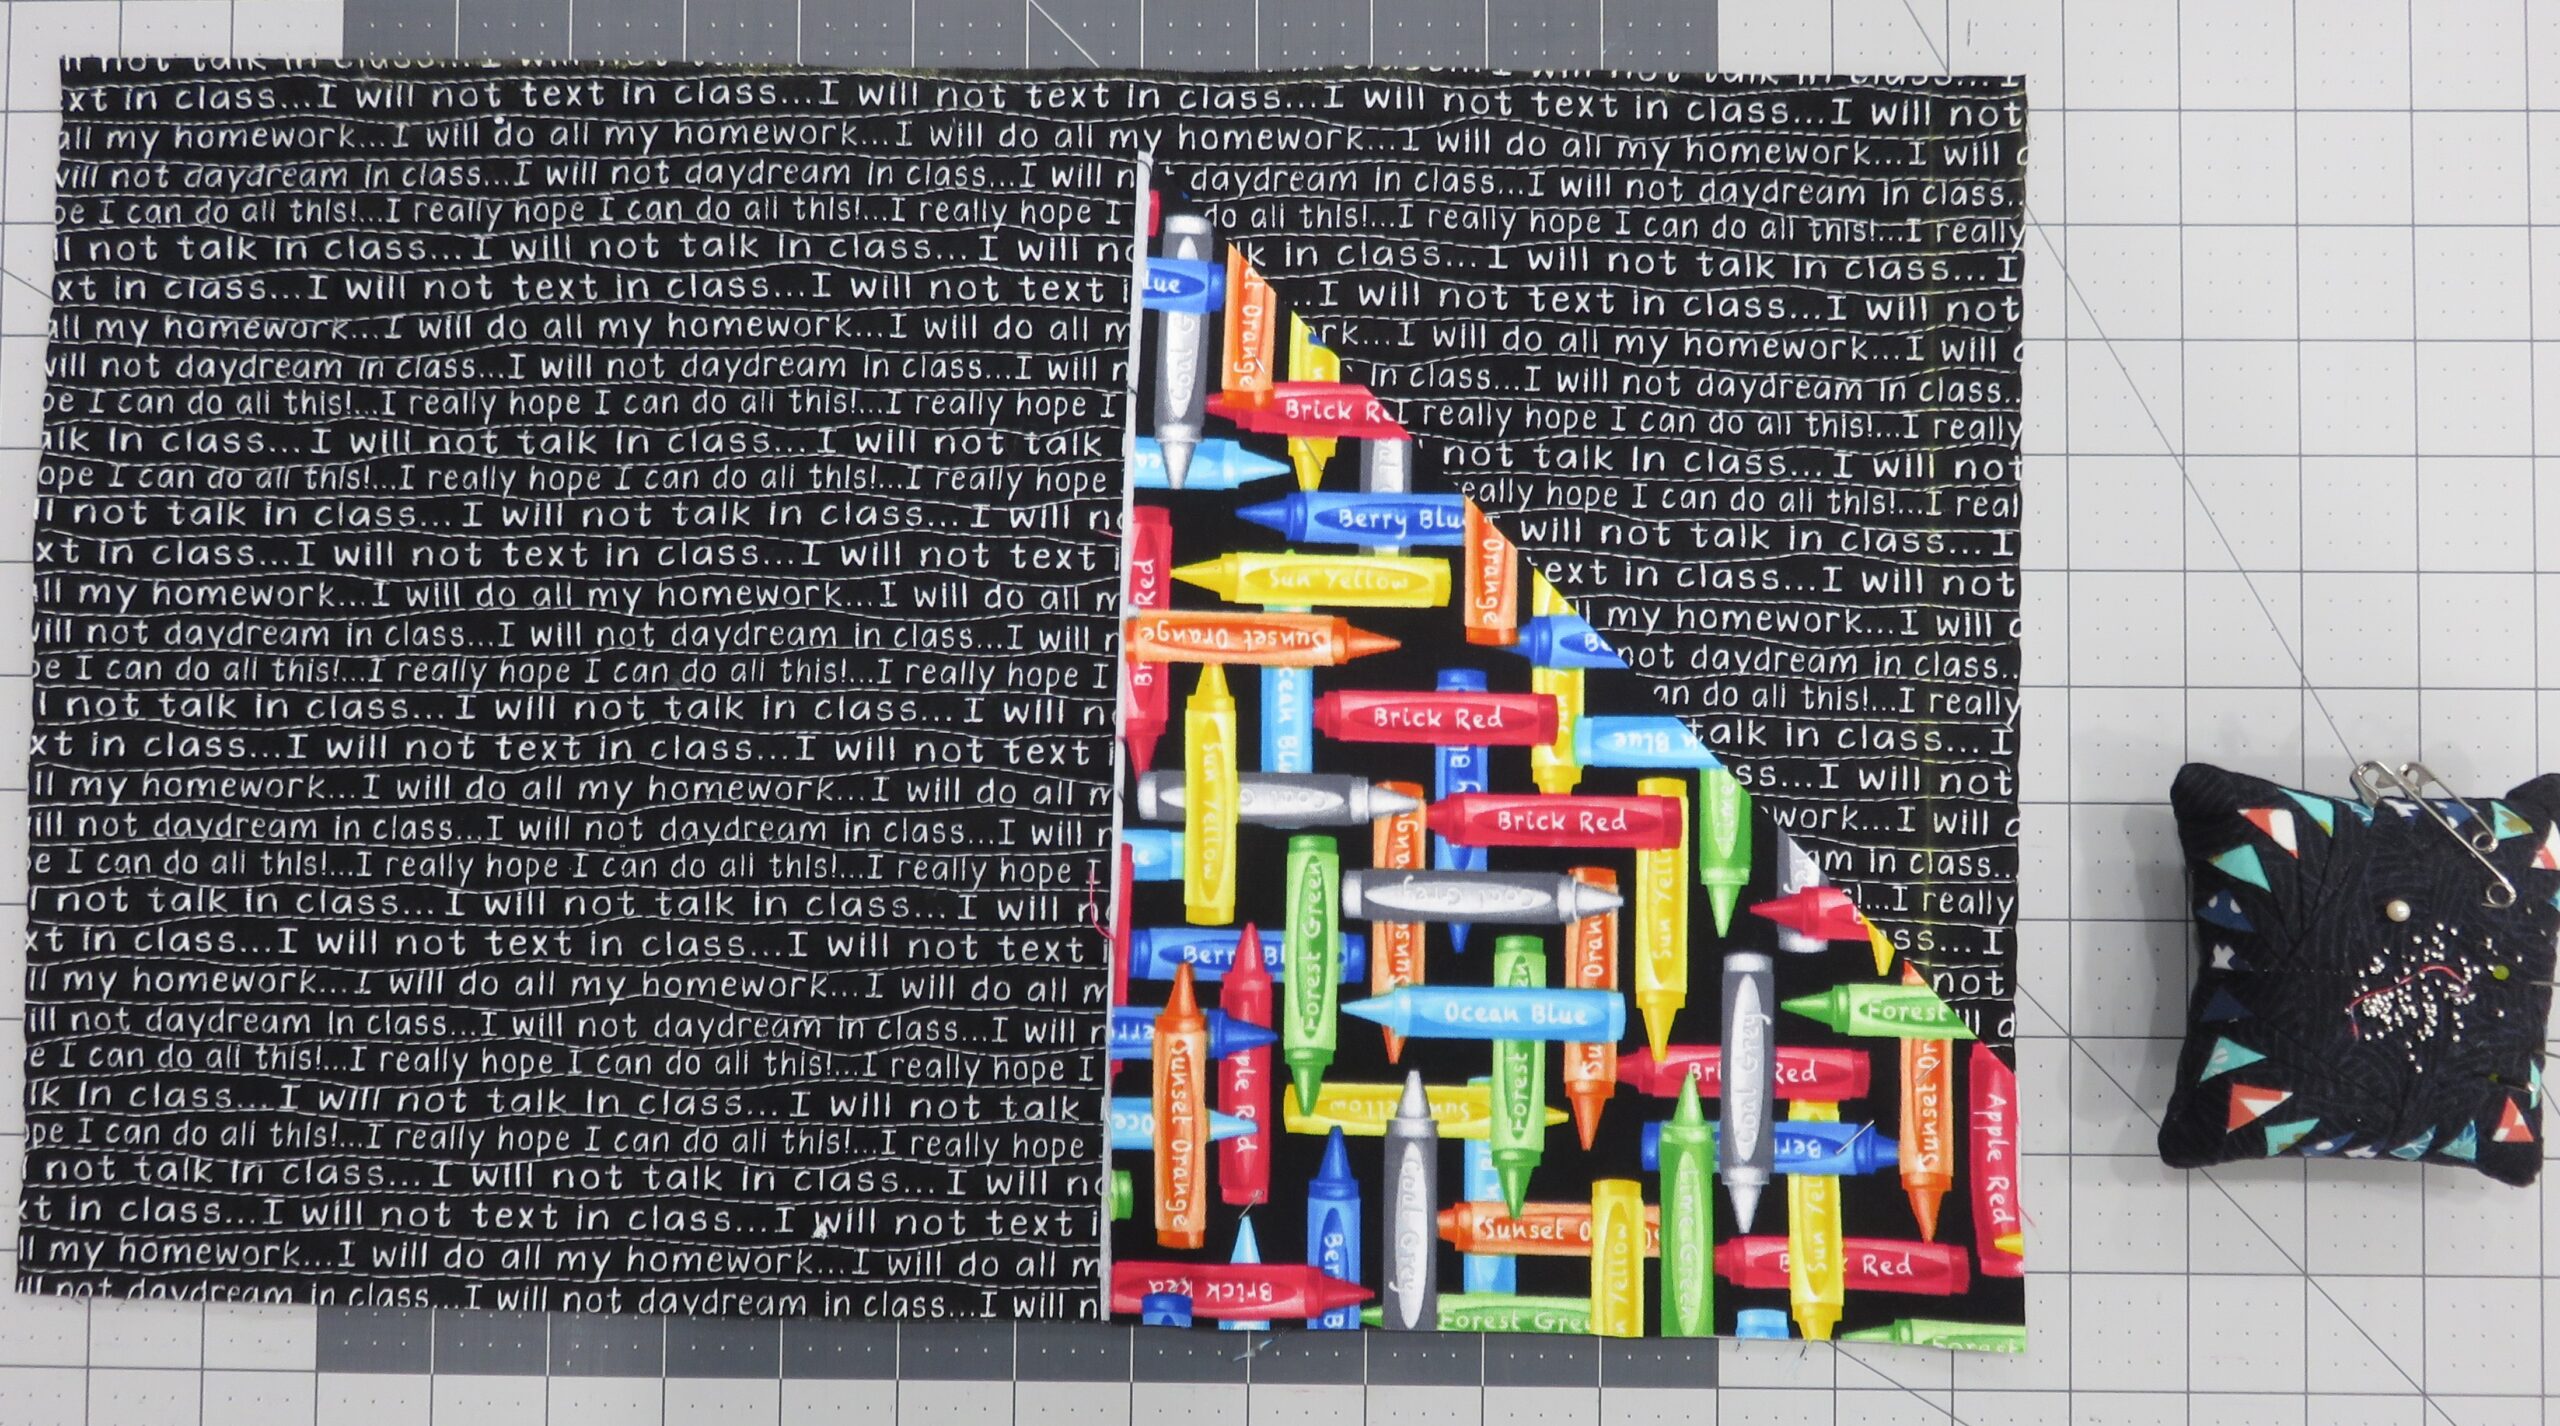
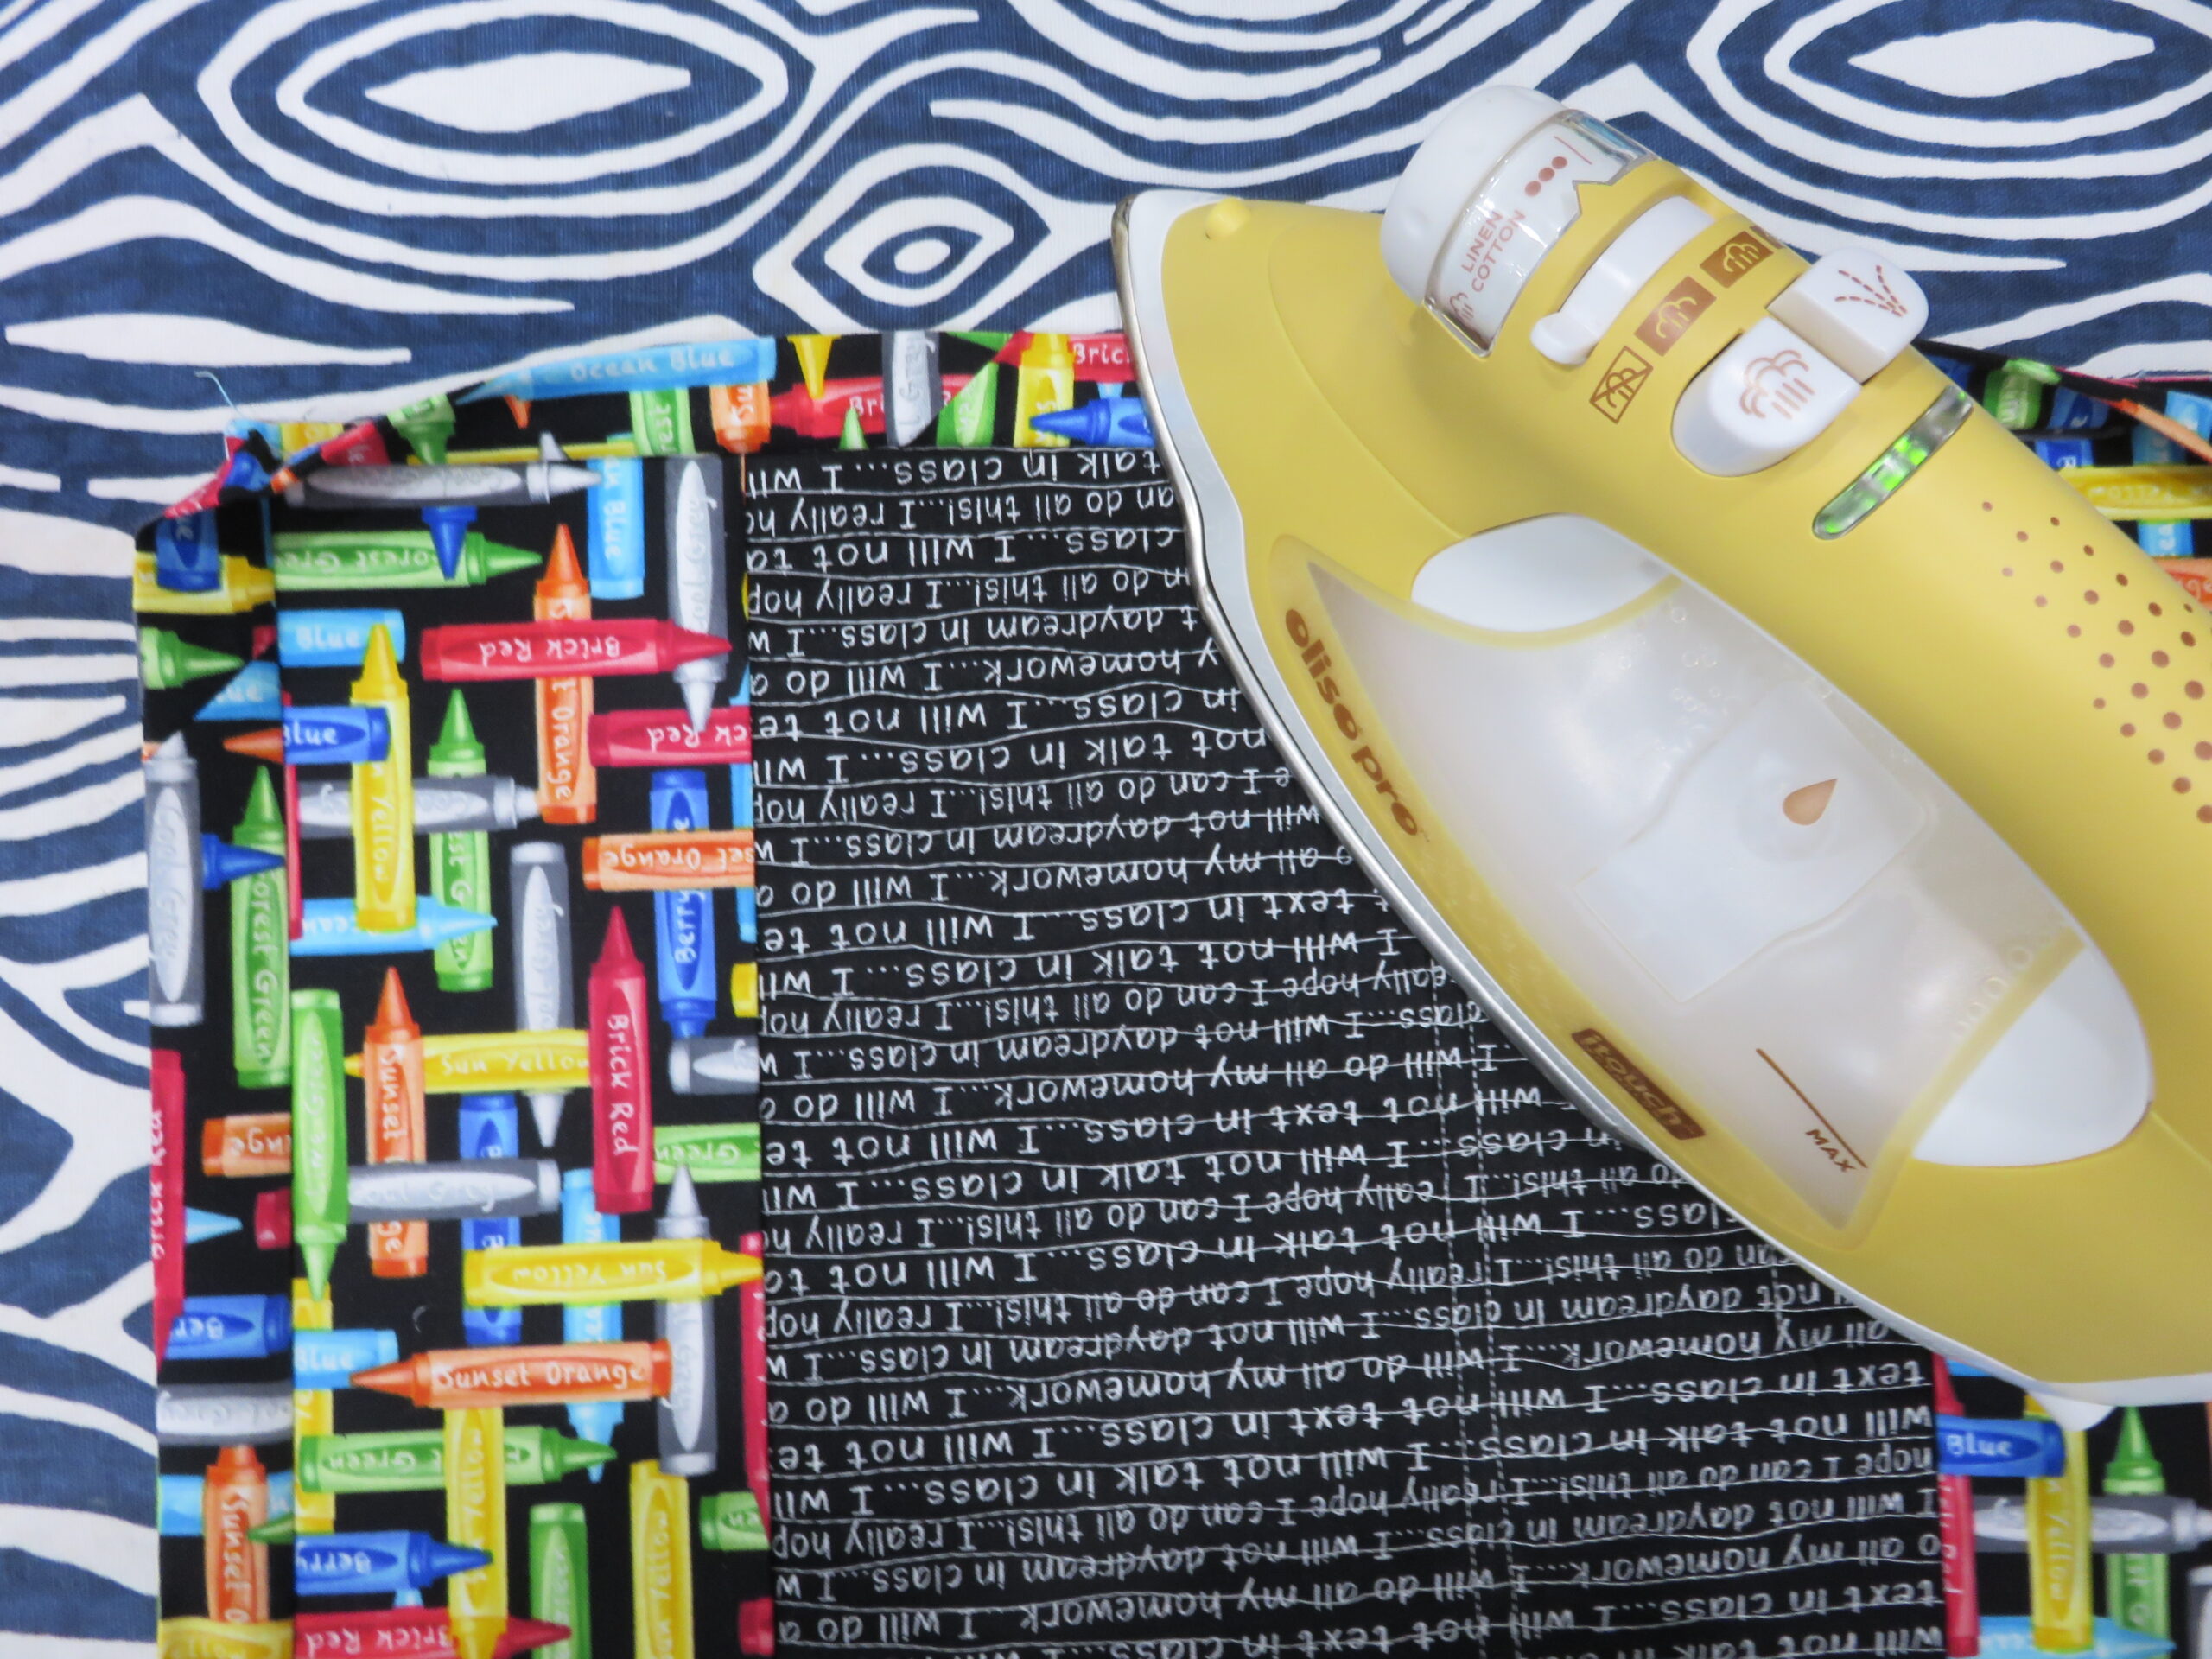
- Take the pieces cut for the cover flaps and the pen pocket, along with the coordinating Pellon 809 fusible pieces.
- Follow the manufacturer’s instructions for applying the Décor Bond, and fuse each piece to the wrong side of the coordinating fabric piece.

- Take the top right corner of the pen pocket and fold it behind at a 45 degree angle, so wrong sides are touching.
- Take the 2 flaps and fold the width in half, wrong sides together. Set aside.
Assembling the Journal Cover
- Remove the quilting foot and install the standard presser foot with foot A. Raise the feed dogs and select needle position “D1S”.

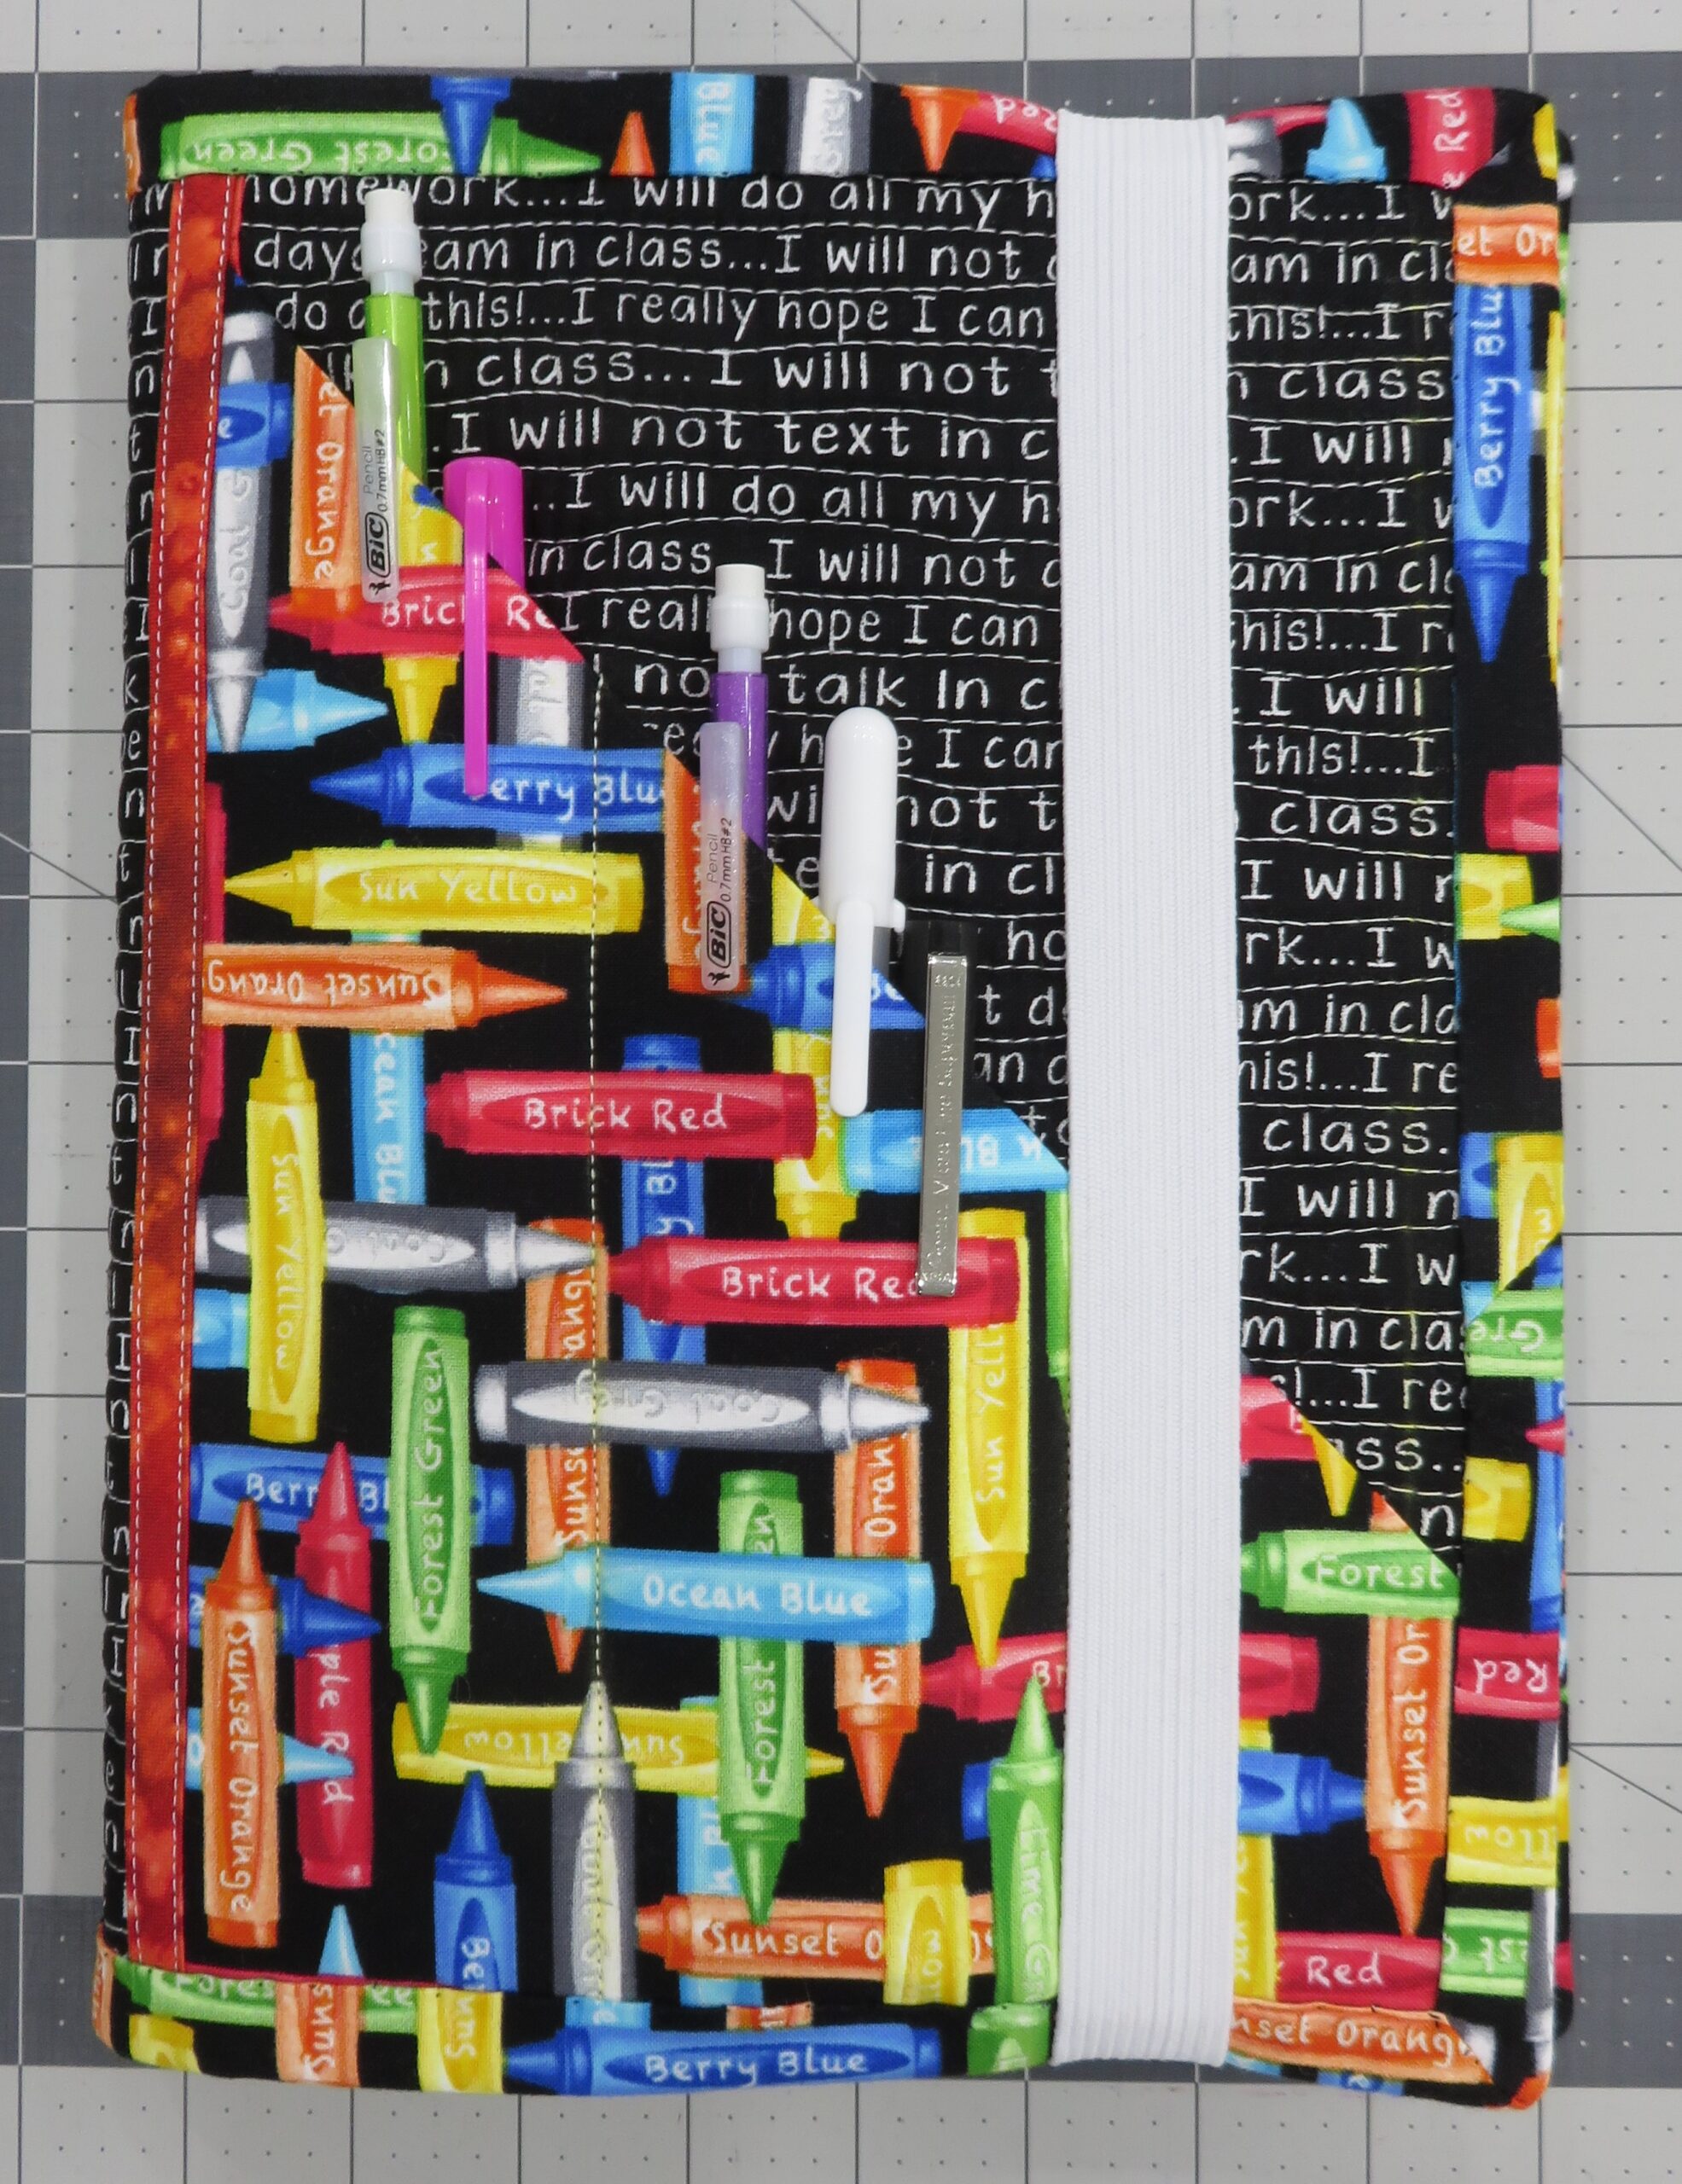
- Take the pen pocket and pin it to the bottom right corner of the front of the piece you quilted. Match the bottom right raw edges.
- Take the double fold bias tape and position the left raw edge of the pen pocket inside the fold of the bias tape with enough bias tape remaining at the top to run off the edge of the quilted panel. Pin in place.
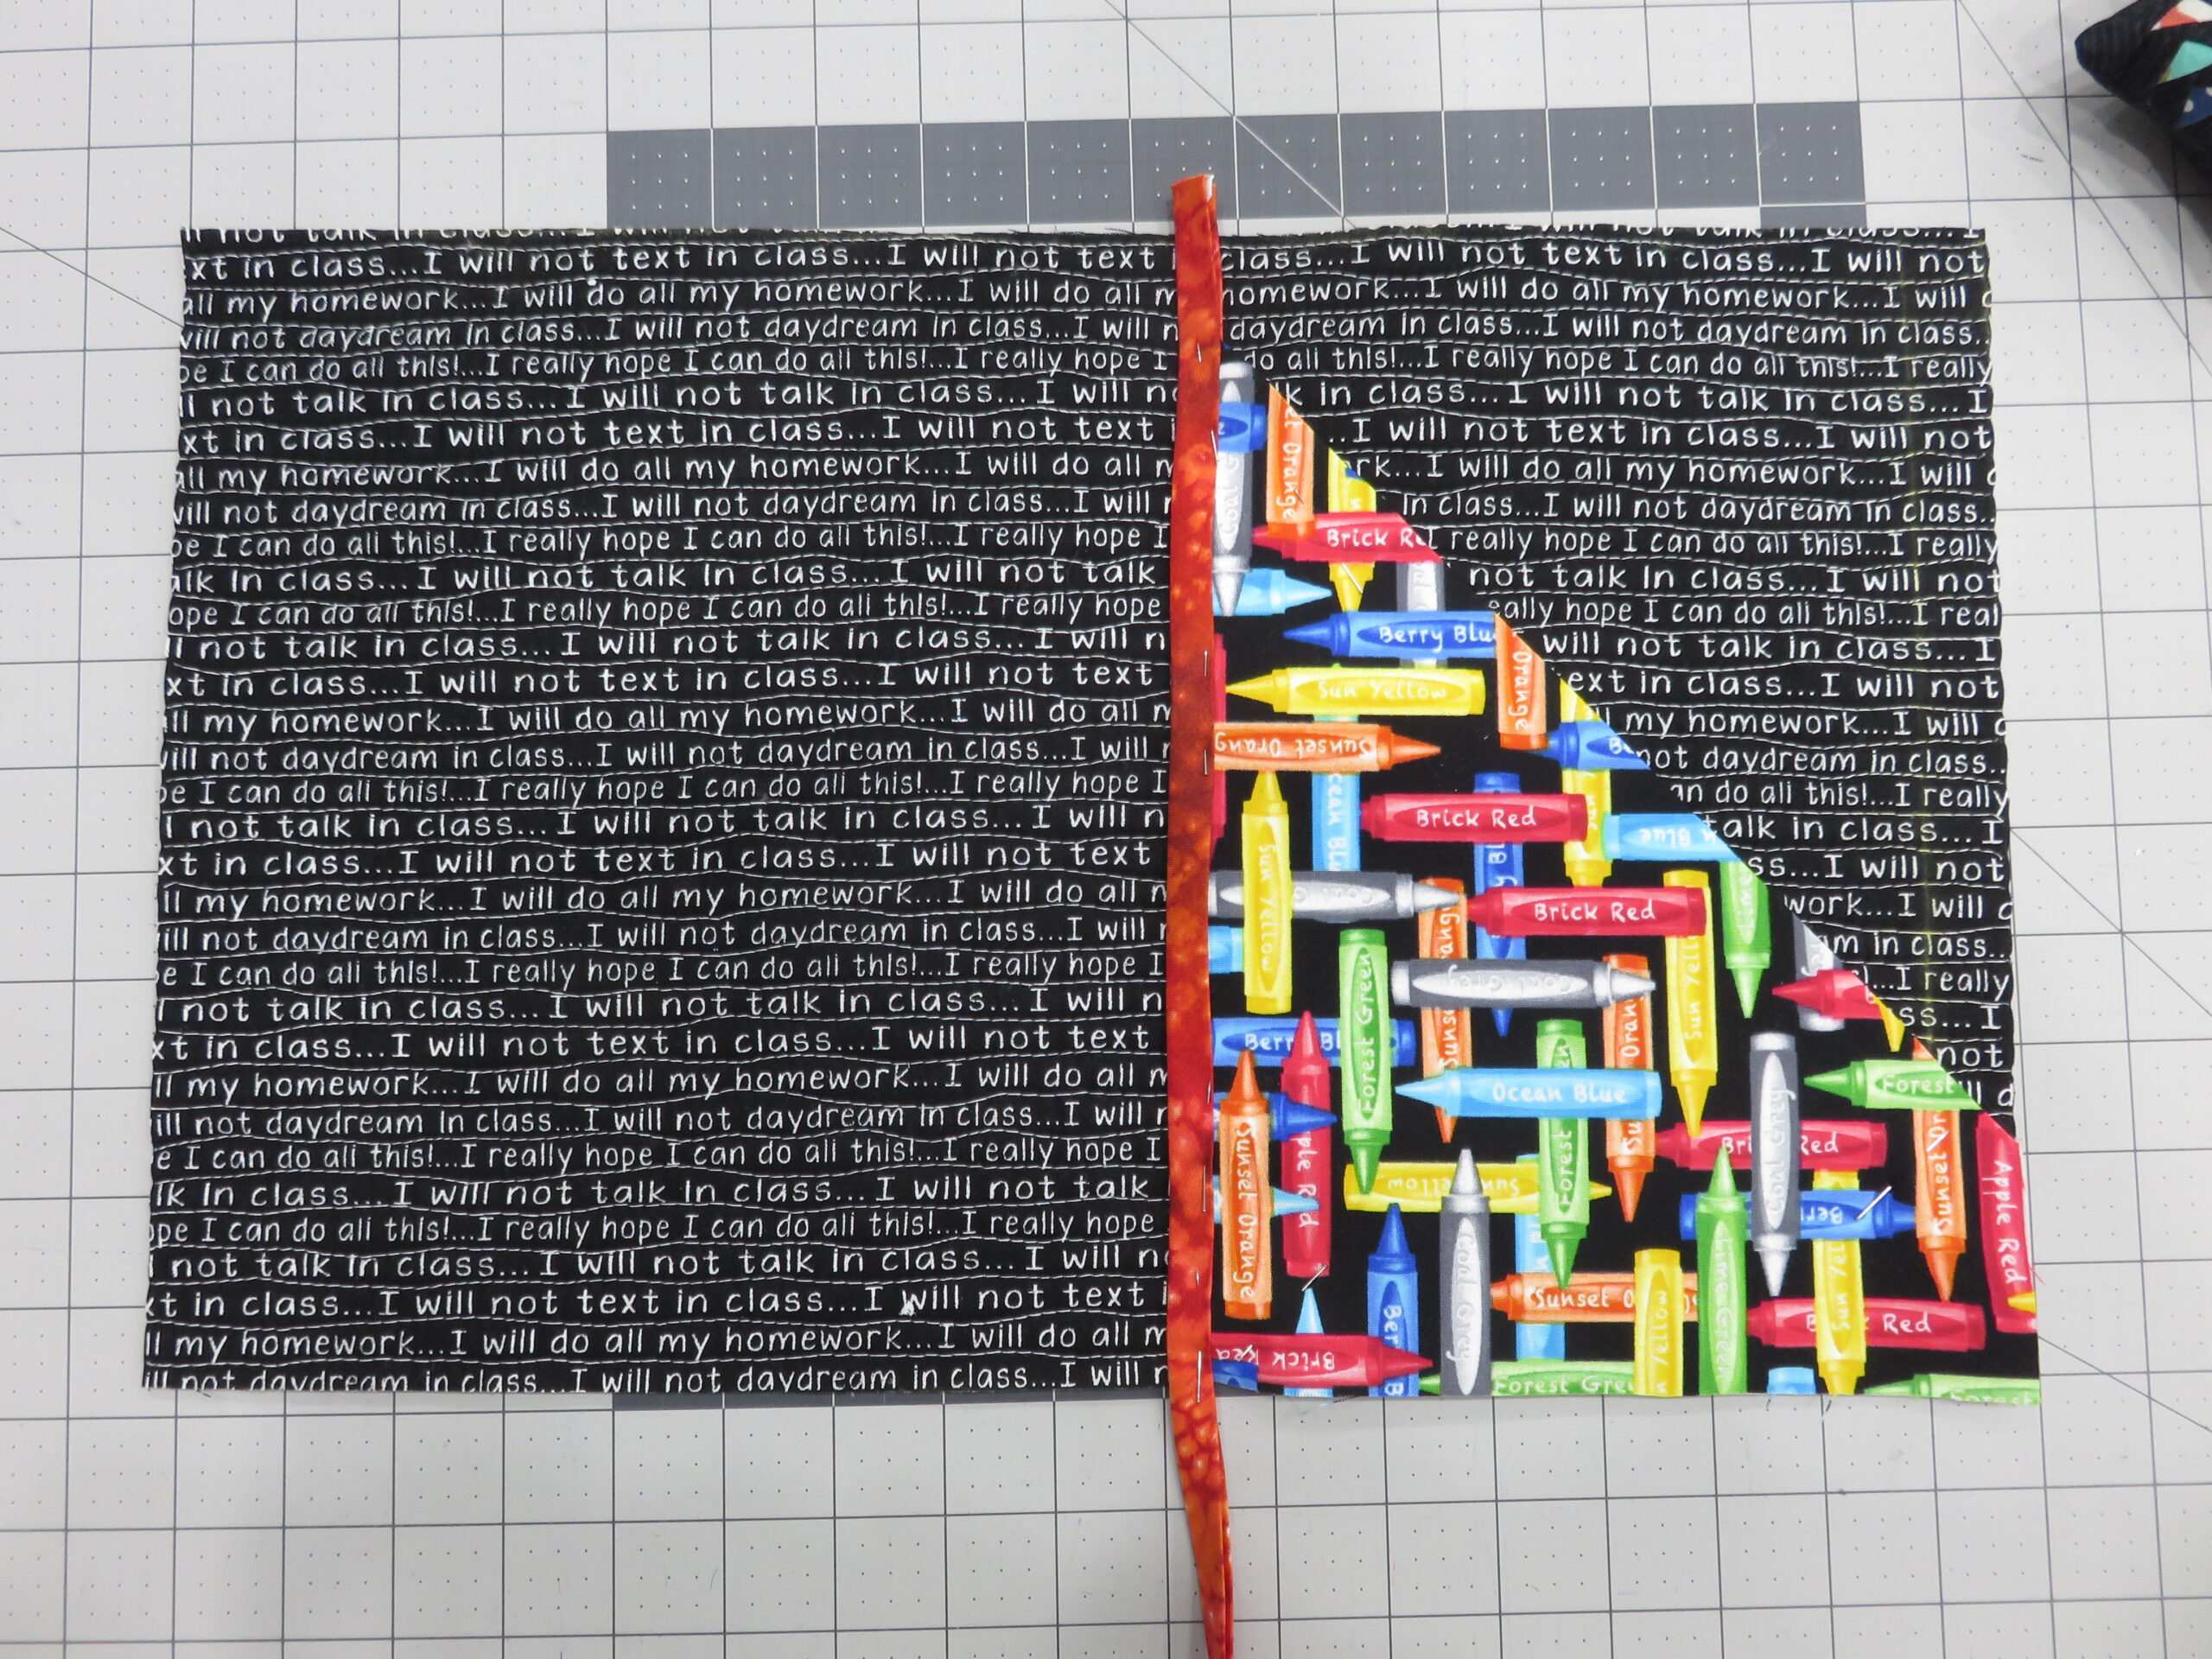
- Topstitch the double fold bias tape down. Stitch down both sides, then trim excess bias tape away.
Tip: You can also use ribbon or anything else with a finished edge, instead of double fold bias tape, and you can even make your own bias tape!

- Mark the following vertical lines on the pen pocket for top stitching to make the pockets, measuring from the right raw edge: 2.5”, 5” (this will make 3 pockets).
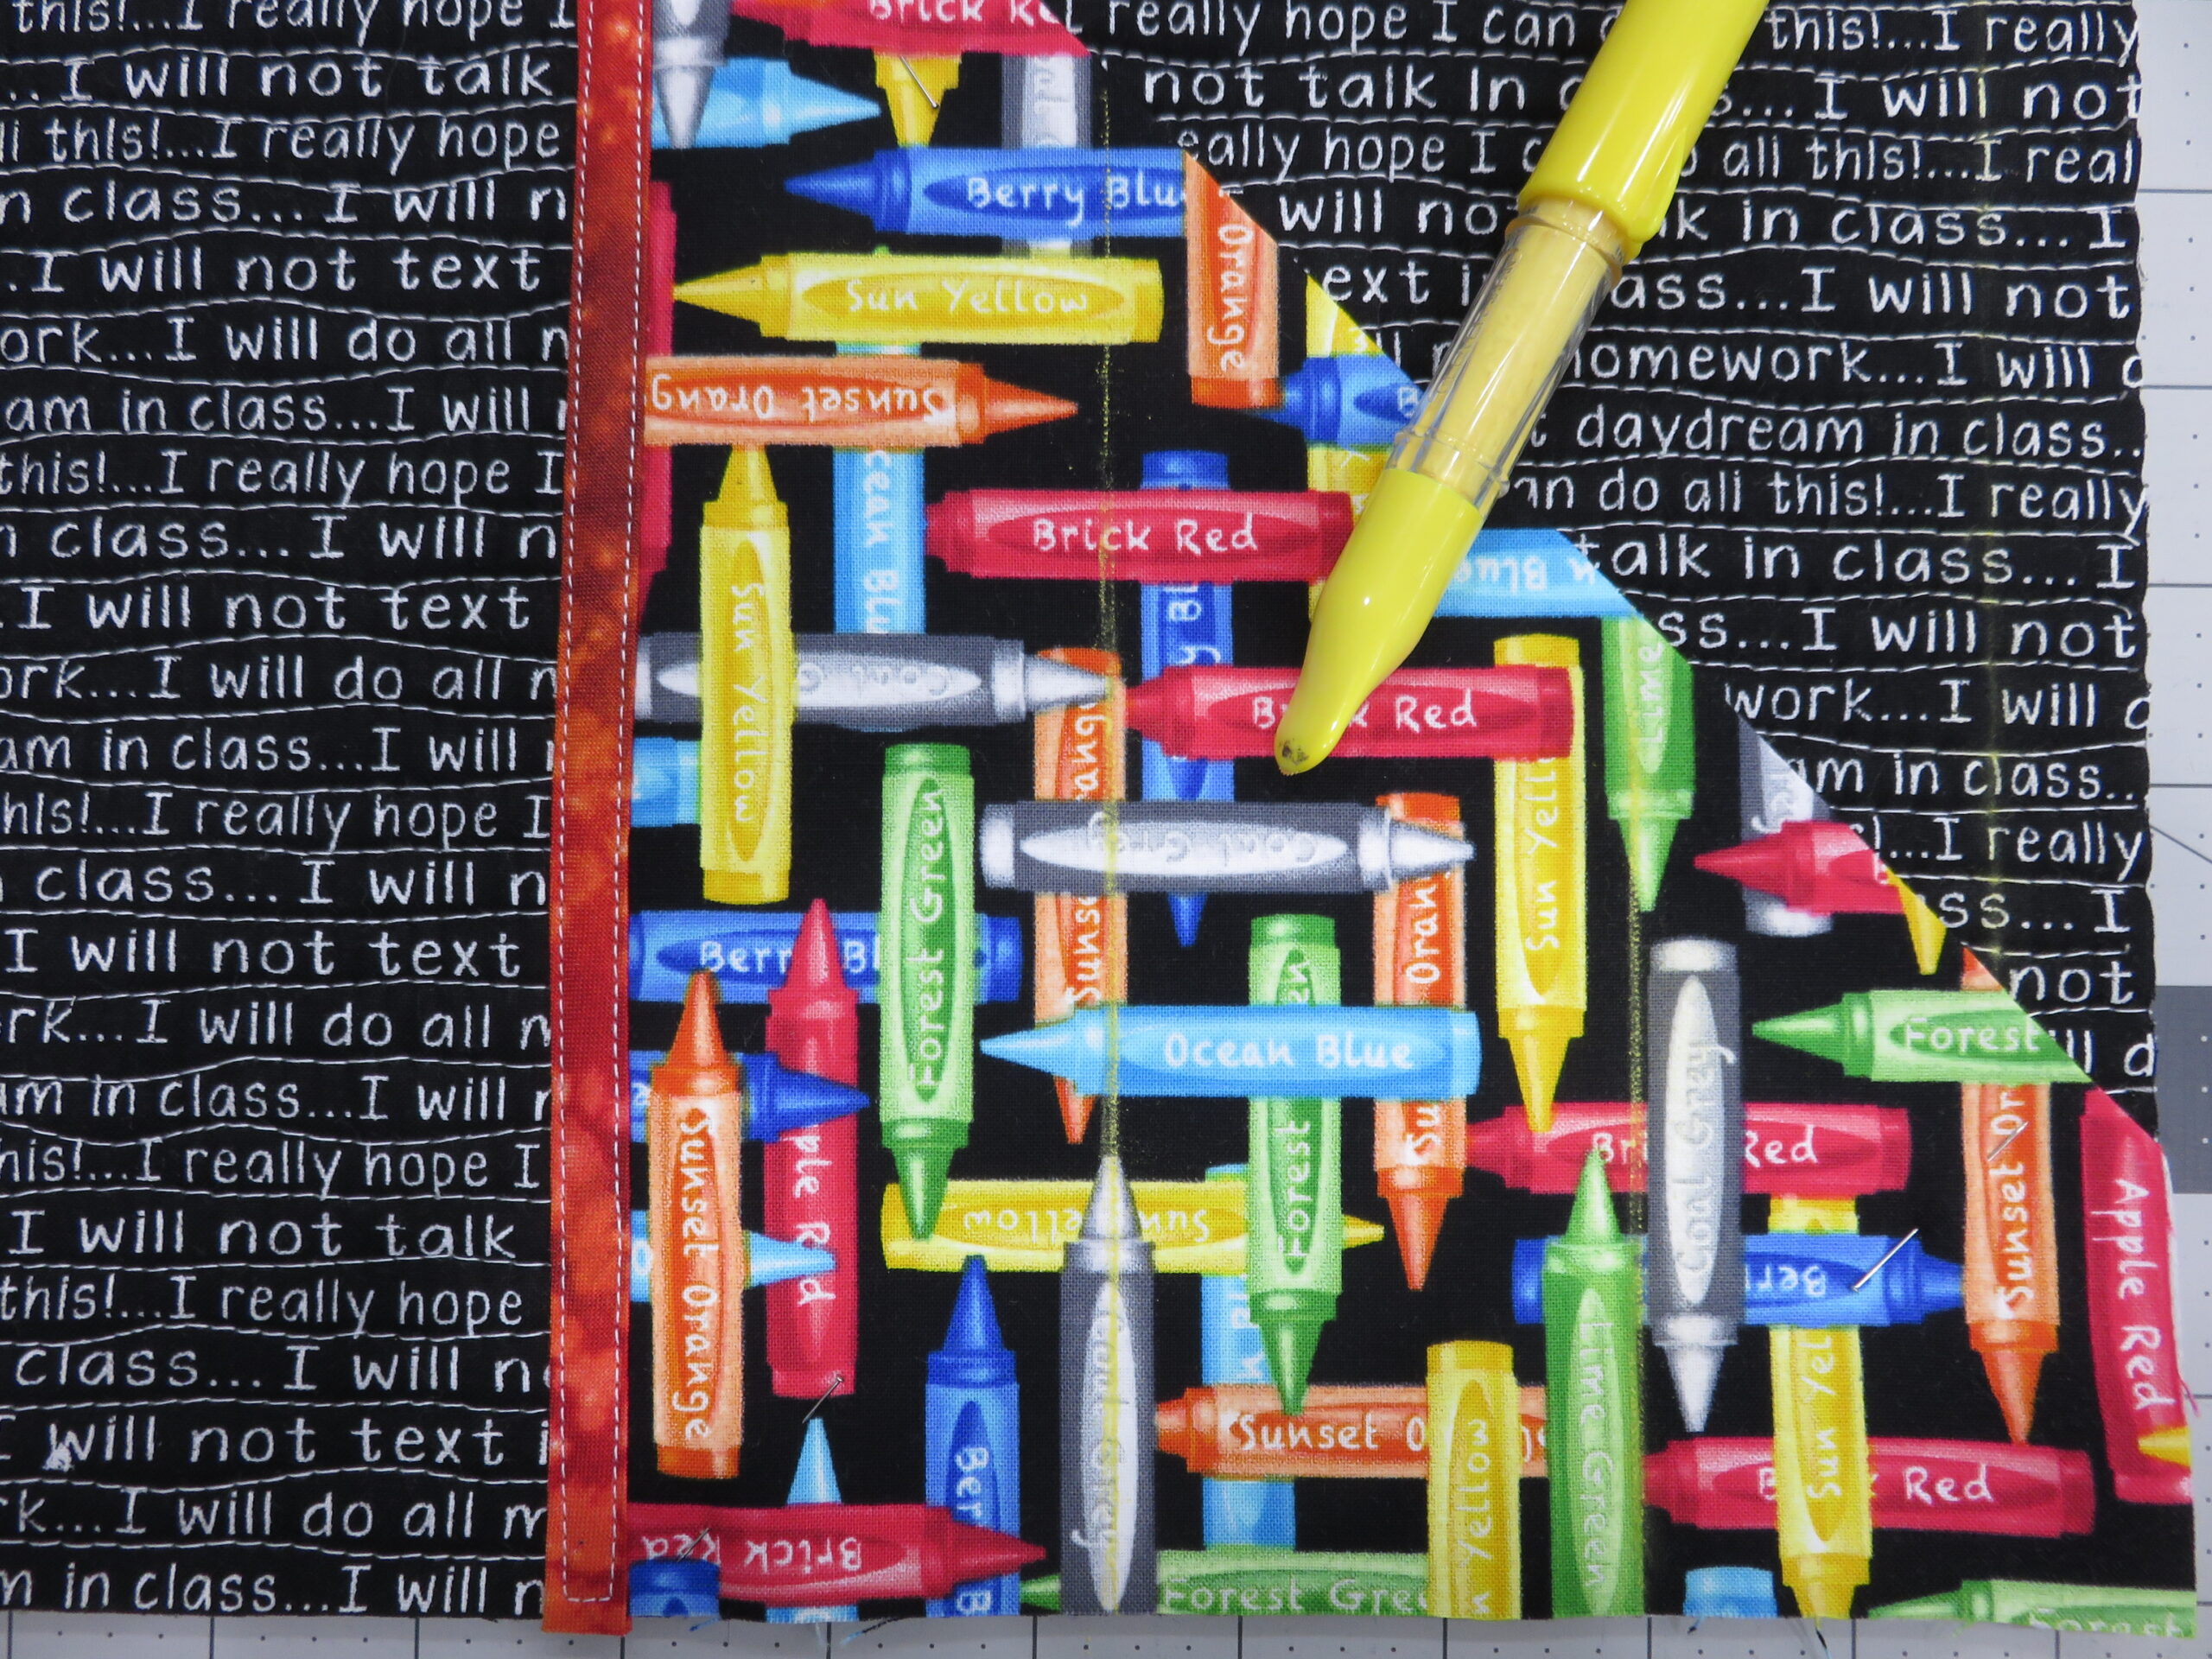
- Stitch on the lines you just drew, backstitching at the start and stop to secure your beginning and ending stitches.
- Flip the quilted panel over so the pen pocket is right side down and on the left. Take one of the two flaps and match the raw edges of the folded flap with the raw edges of one of the sides. The folded edge of the cover flap should face the center of the journal cover. Pin in place and do the same for the opposite side.
- Lengthen your stitch length to 5.0 and baste around the outer edges, about 1/8” from the raw edges.
Tip: Be mindful of the direction of your print that your fabrics are all right side up, if using directional prints!

- With the remaining fabric (B) cut 2 ½” strips across the grain or cut bias strips, cutting enough to create the needed length.
- When the length is complete, press the strips in half lengthwise, wrong sides together.
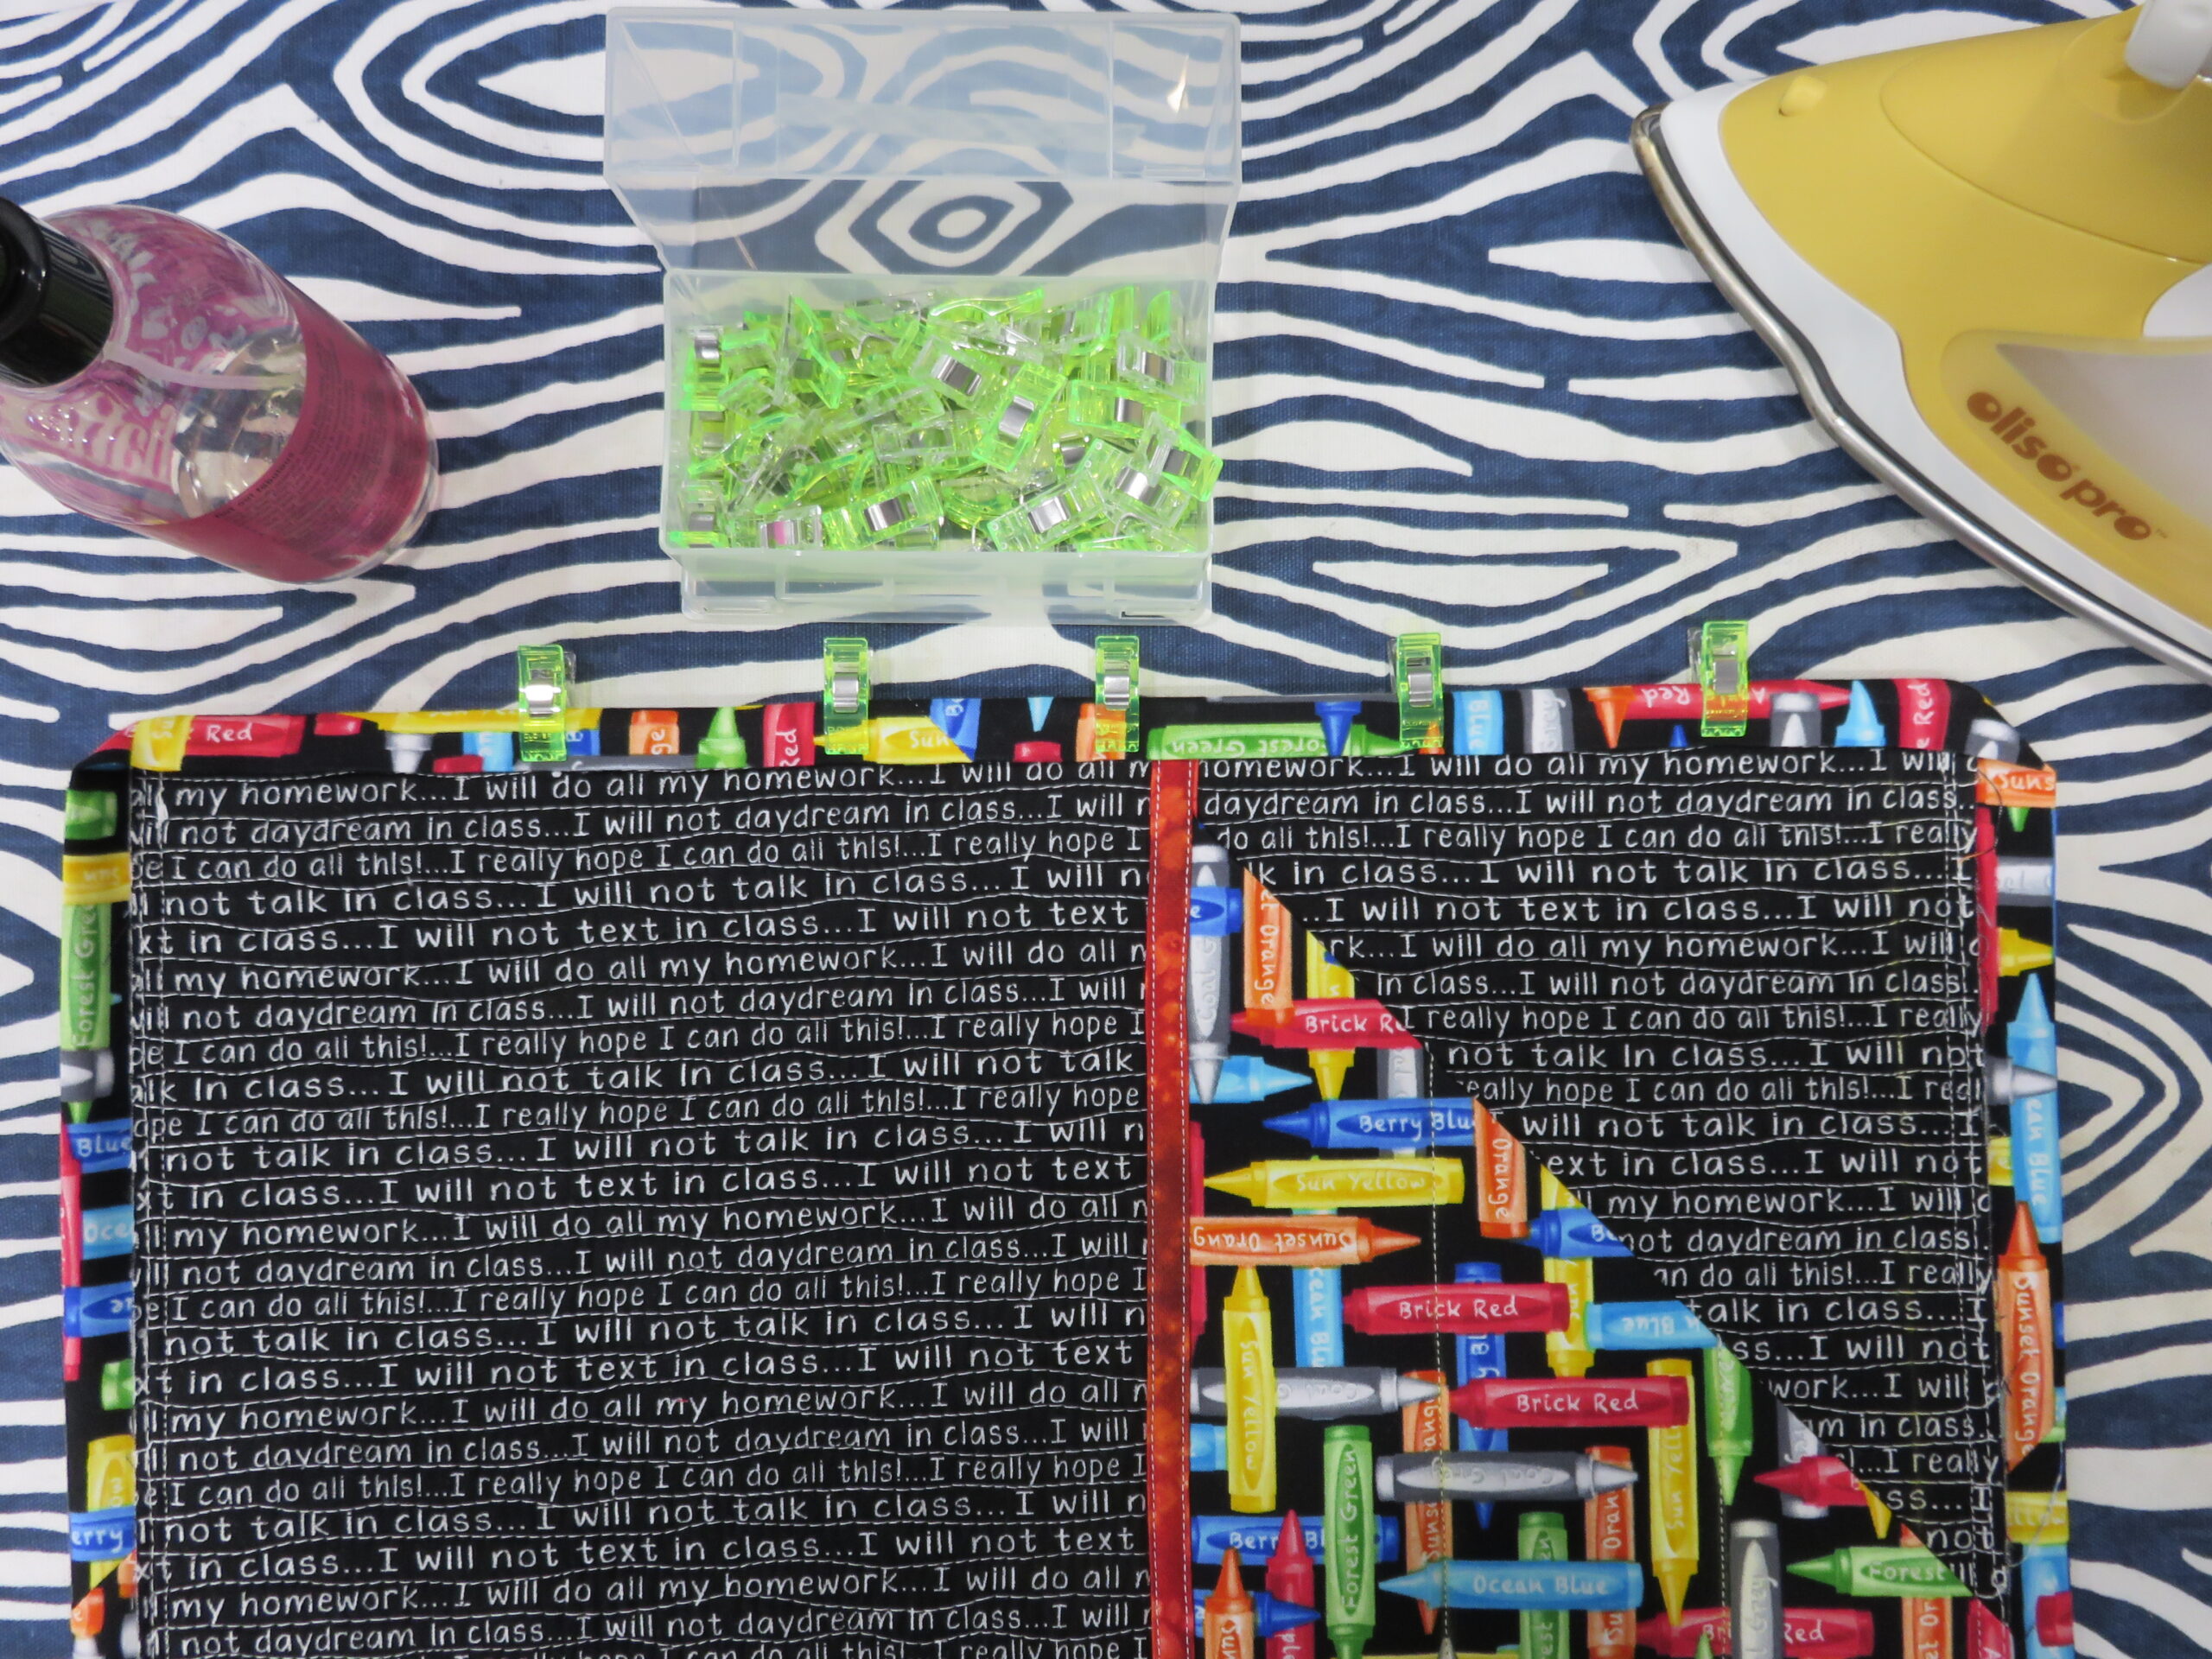
- With the pen pocket side still right side down, take your prepared binding and apply to the interior of the journal cover (apply to the cover flap side). Stitch in place, 1/4” from the raw edge. Using the iron, press the binding out, so you can fold the folded edge to the opposite side of the journal cover.
- Flip the cover over so the cover flaps are right side down and fold the folded edge of the binding over to the pen pocket side. Use binding clips to clip in place after pressing.
- If not adding the elastic closure, finish securing the binding down, and your cover is finished! Insert your journal or planner into the cover flaps, and you’re ready to send your little student out the door in style!
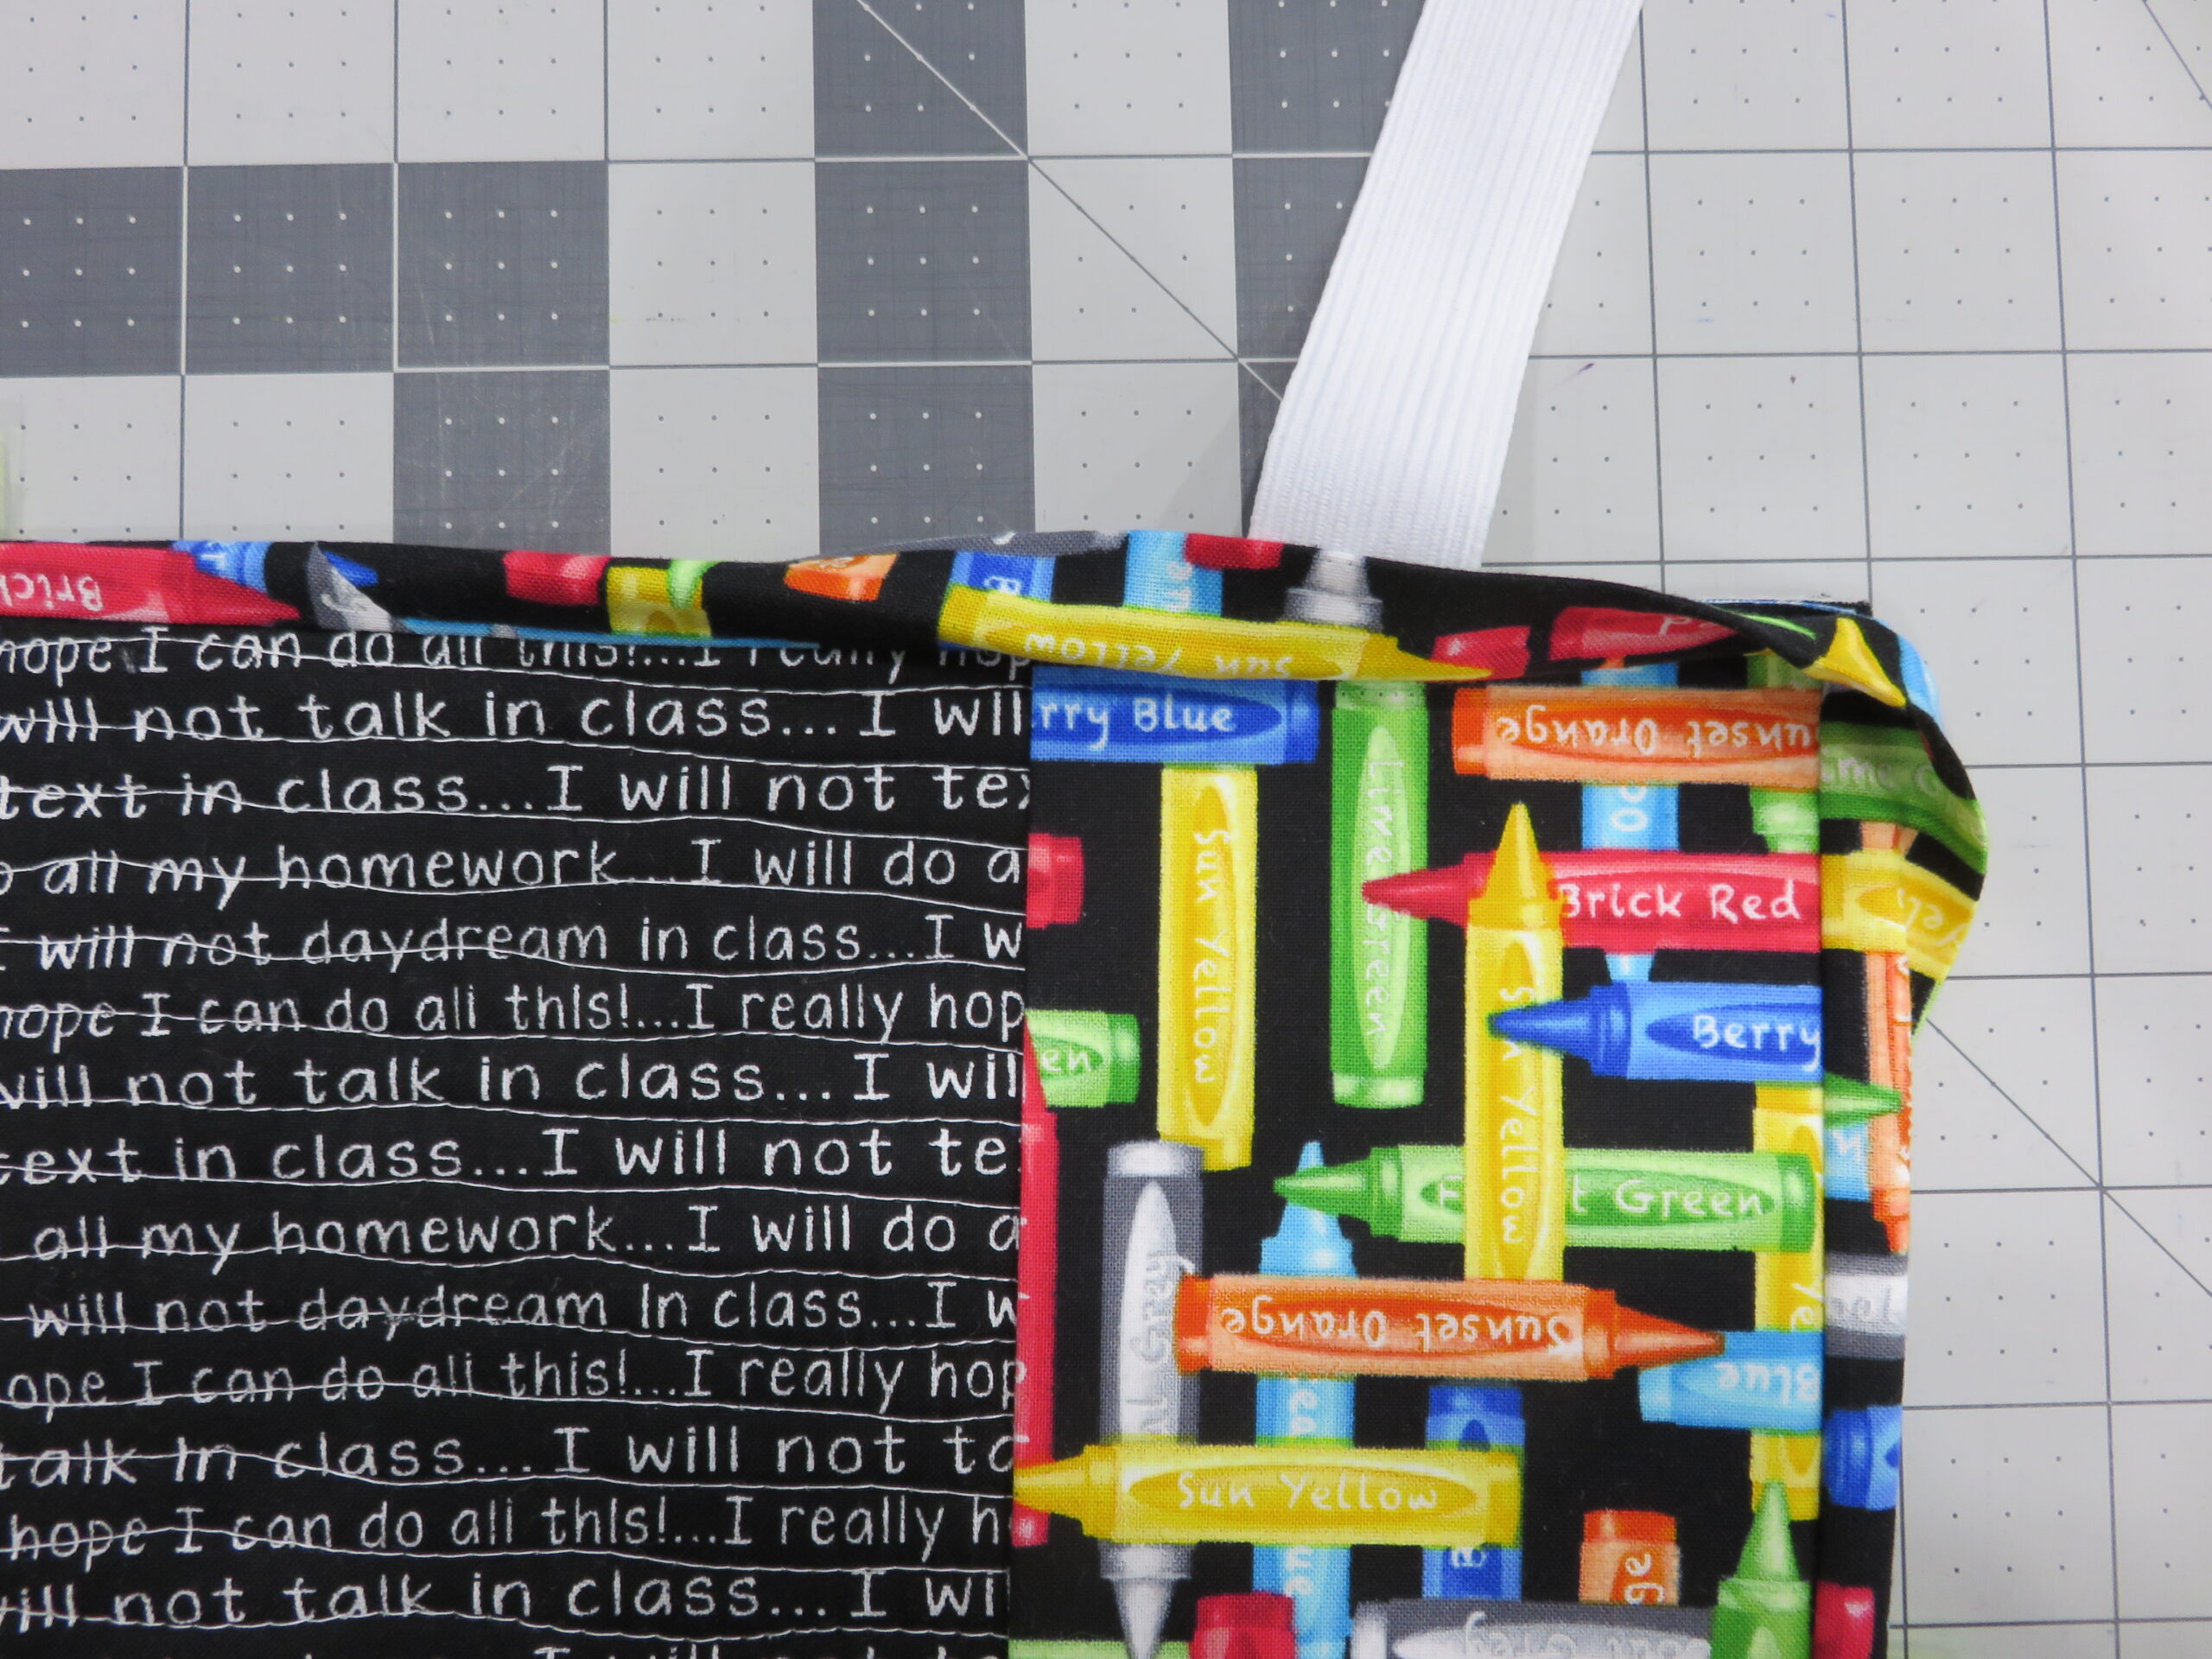
Optional: Add elastic closure. This is especially helpful if you have loose items in the journal or planner that might fall out, if not secured.
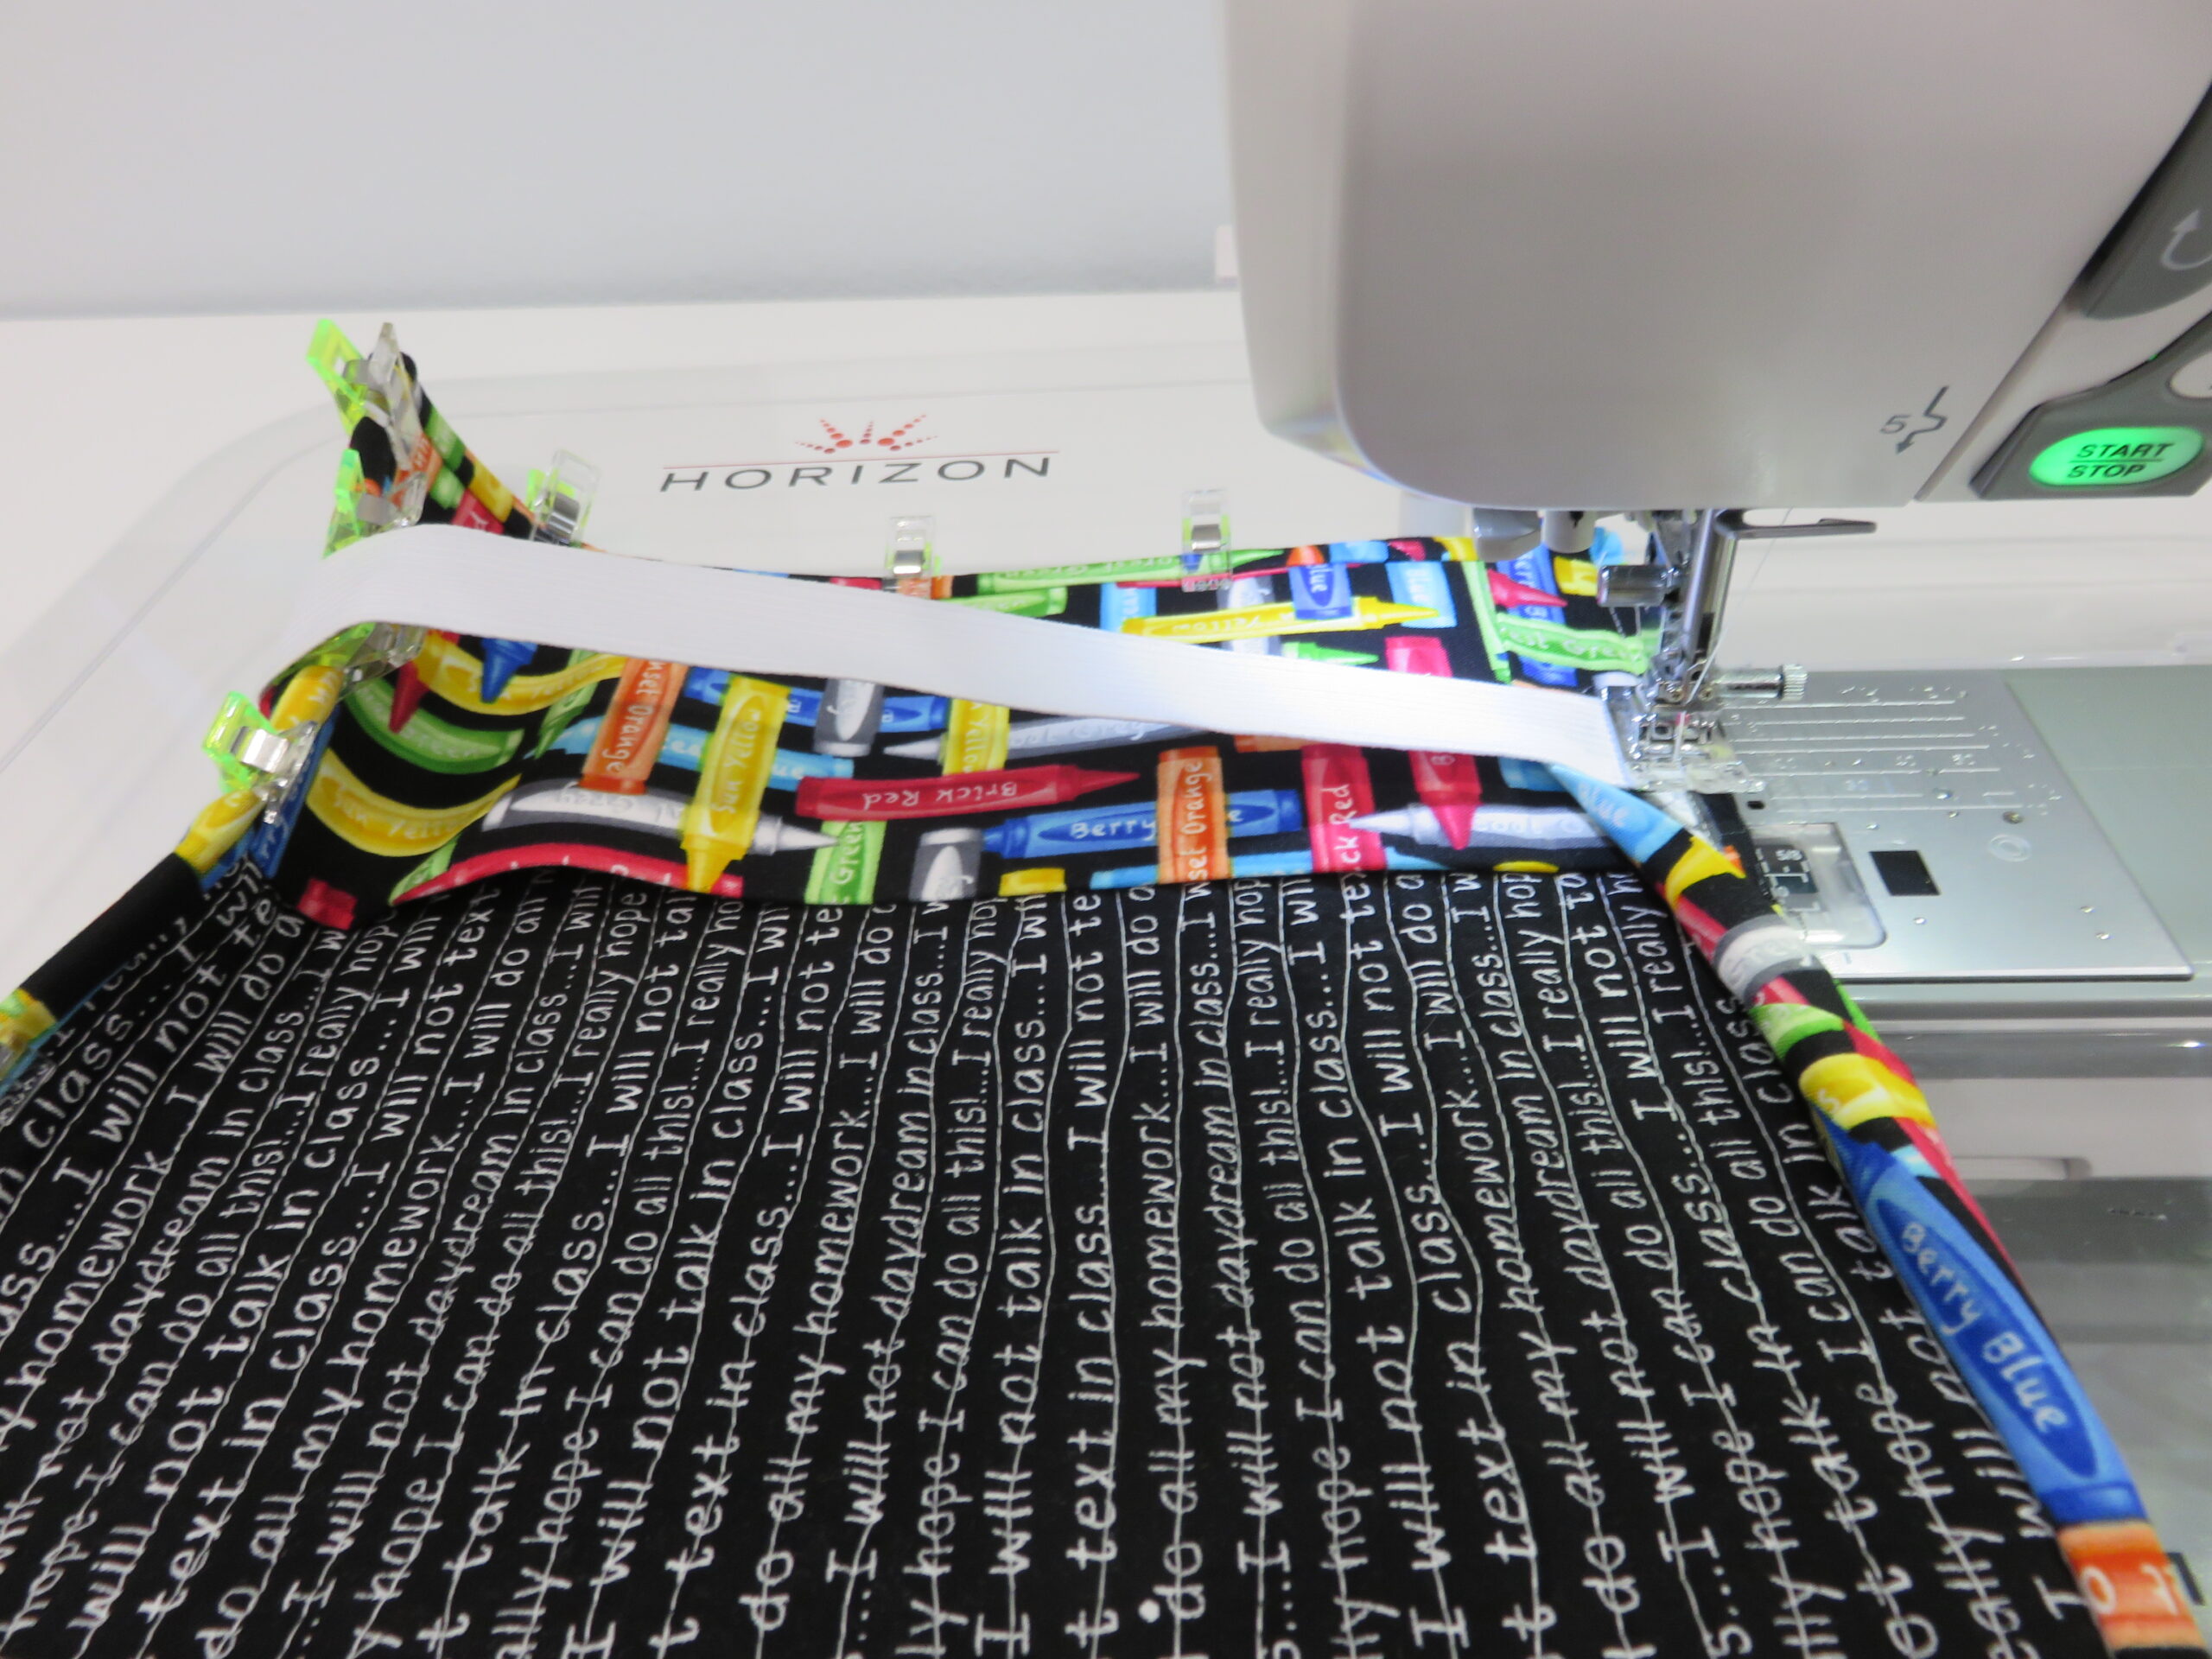
- Fold the binding back (to before adding the binding clips) to add the elastic.
- With the journal cover flap-side up, measure 2” from the right side edge. Take off a few of the binding clips here. Use a basting stitch to secure in place 1/4” from the raw edge. The folded edge of the binding should be lying flat against the cover flap and not folded up.

- Fold the binding back with the elastic and re-clip in place.
- Pull the remaining raw edge of the elastic so it is flat against the exterior of the cover, and bring the raw edge up to the edge of the unfolded binding at the bottom of the cover flap. Unfold the clipped binding and place the raw edge of the elastic 2” in from the right raw edge. Fold the raw edge of the elastic under and clip in place. Secure with a few basting stitches to keep the elastic in place.
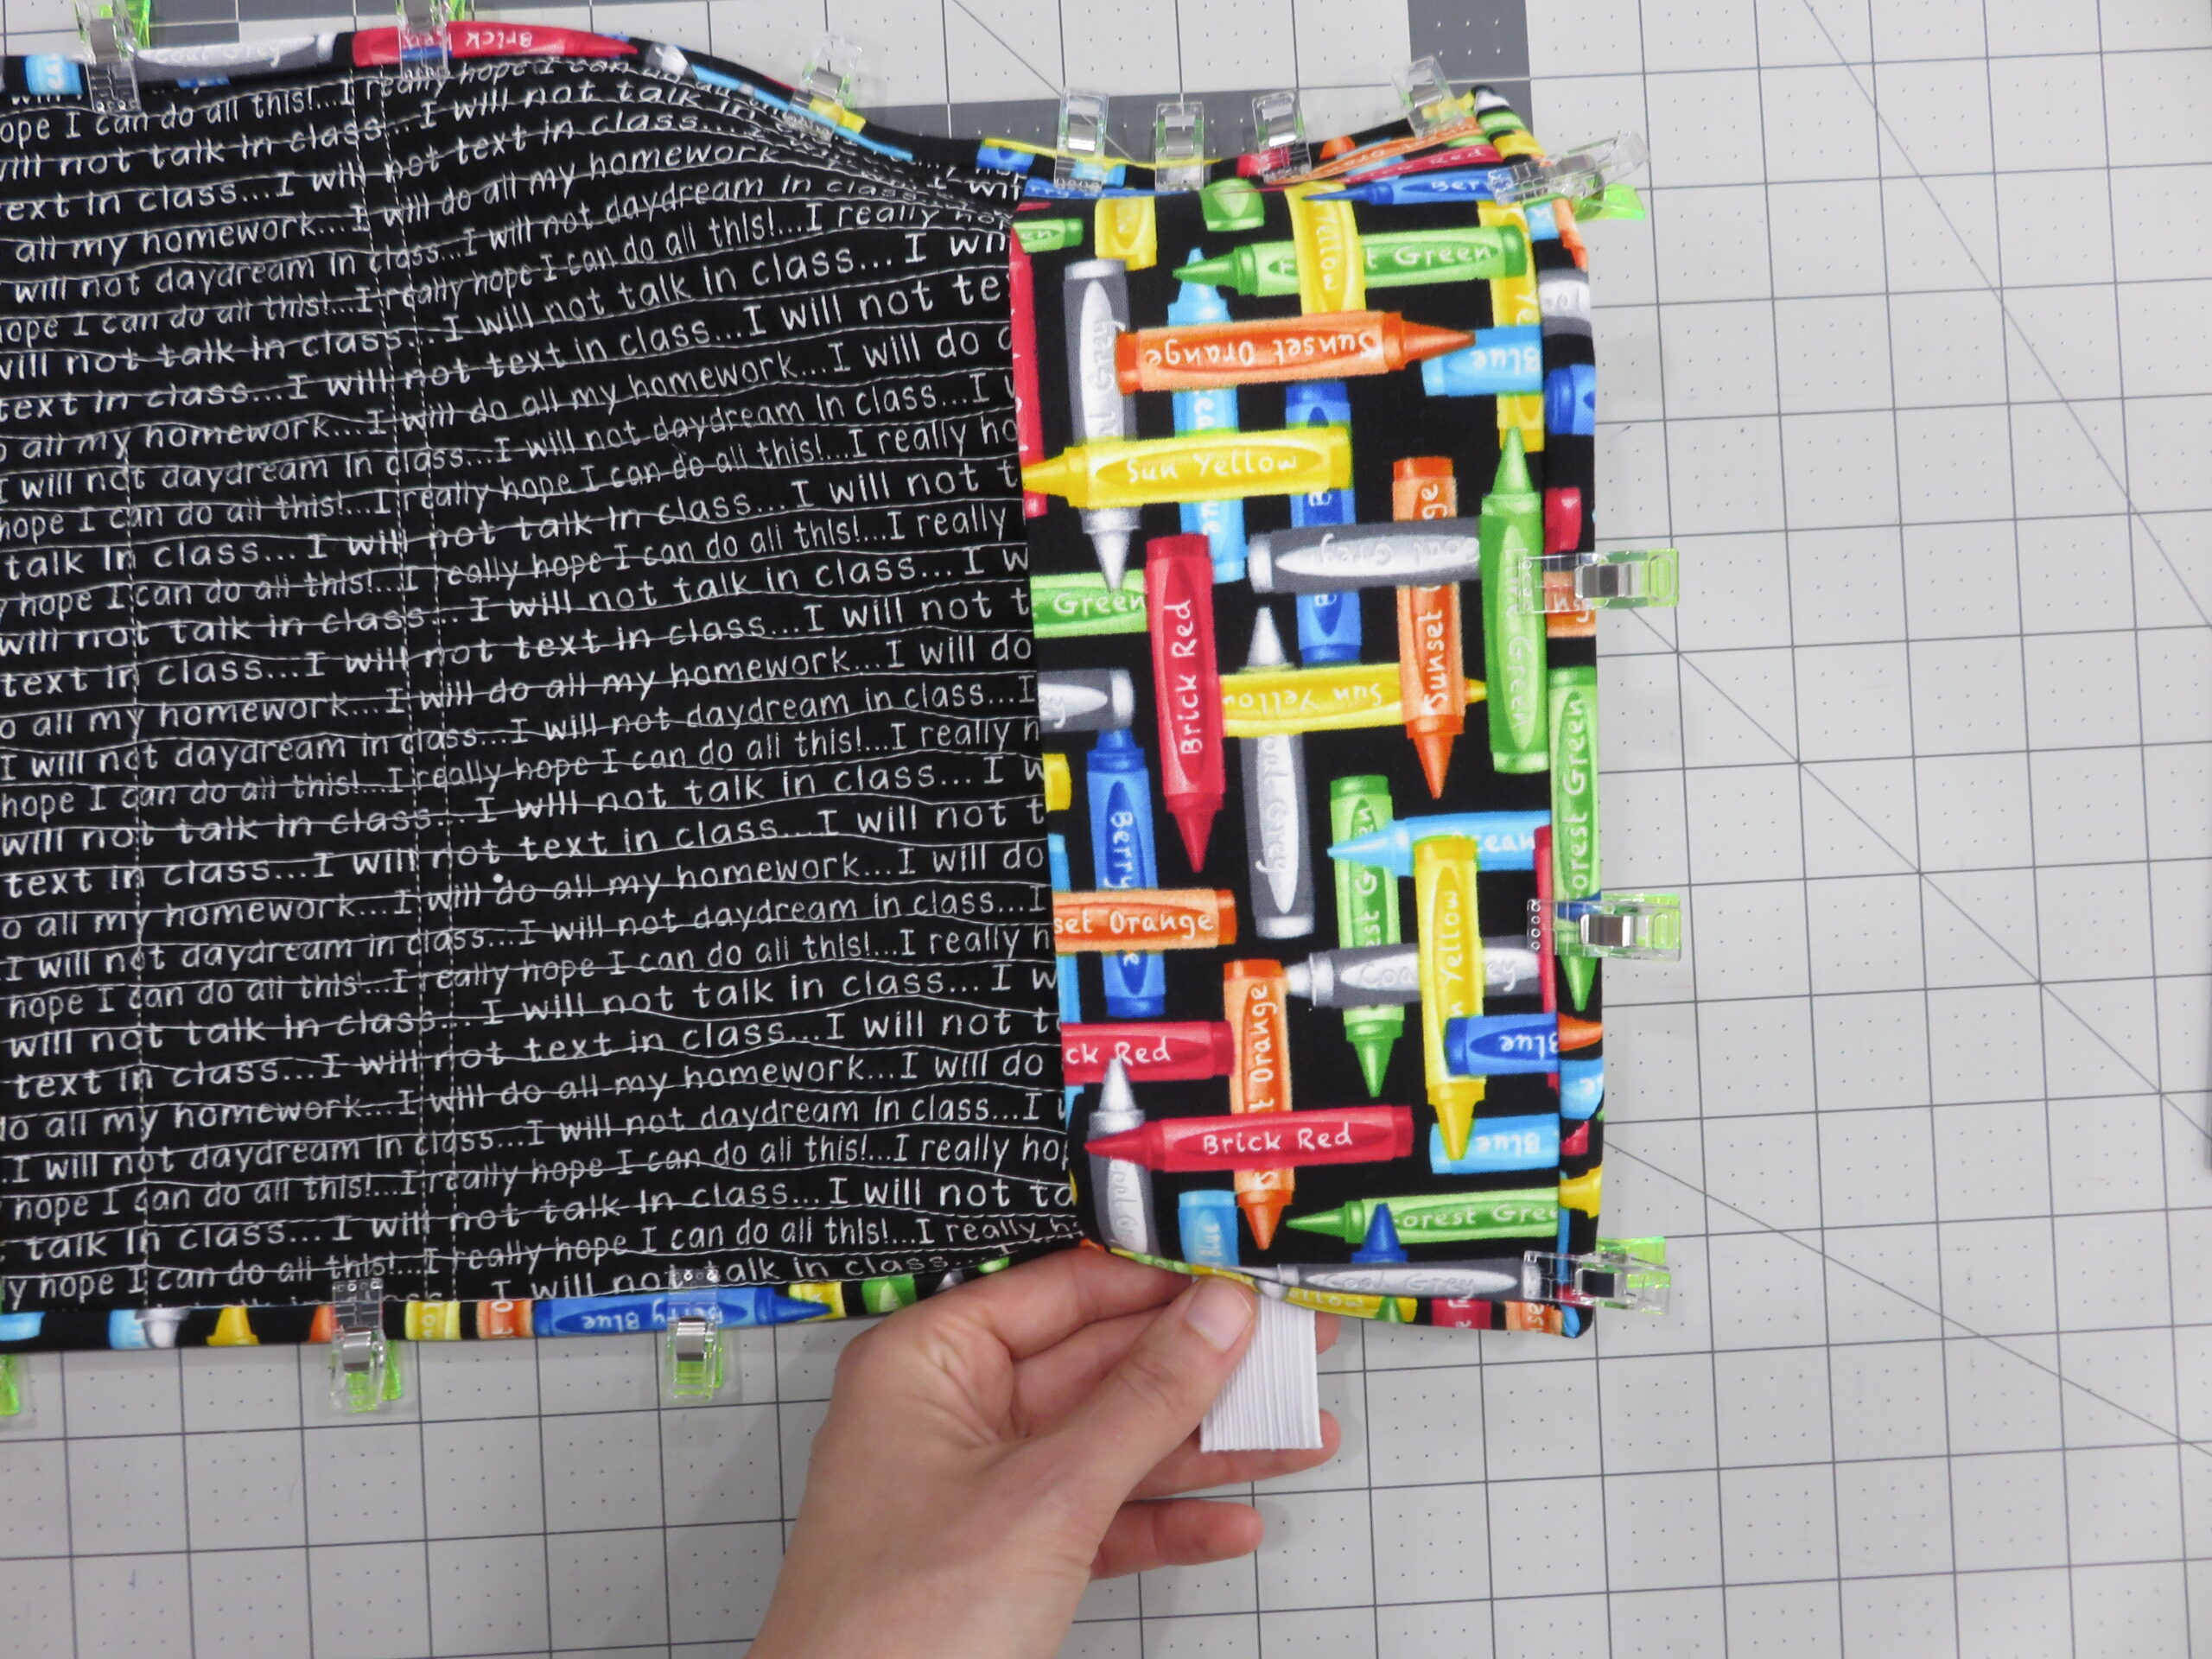
- Flip the journal cover over so the pen pocket is right side up and bring the basted elastic over so that it is showing as well. The elastic should be a little taut.

- Fold the folded edge of the binding back to the pen pocket side and secure with basting clips. Sew the binding down using your preferred method.
