[vc_row][vc_column][vc_column_text]
Any traditional piecing methods could be used to make the Patchwork Square block. However, this block contains 100 pieces with a lot of seams to match up. Using the fusible interfacing method will speed up the piecing and create a more accurately finished block. This technique can be used on any block in which the rows and columns of sewing line up in both directions.
[/vc_column_text][/vc_column][/vc_row][vc_row][vc_column width=”1/2″][vc_column_text]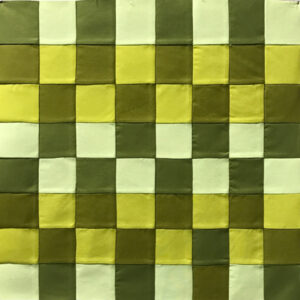
The diagram below shows the values of the Patchwork Square block in black and white.

This Patchwork Square block will use some or all of these techniques:
- Cutting fabric accurately
- Sewing with a precise ¼” seam allowance
- Pressing seams
- Pressing seam allowances
- Making sure the seam allowance feeds through the machine in the direction it was pressed
- Sewing intersecting seams by nesting seam allowances
You will build upon them with the following new technique:
- Using interfacing to place pieces of a block
Cutting Instructions
Background Fabric #2 – Cut (4) 2½” WOF strips. Cut the strips into (50) 2½” squares.
Background Fabric #3 – Cut (4) 2½” WOF strips. Cut the strips into (50) 2½” squares.
Fusible Feather Weight Interfacing – Cut (2) 20″ x 25″ rectangles.
Assembling the Blocks
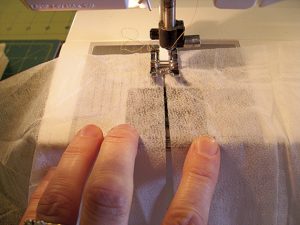 1. One 25″ square of fusible interfacing is needed for this block. Most interfacing comes in a width smaller than 25″ so two 20″ x 25″ rectangles will need to be joined to create the 25″ width. Butt the two 25″ sides together. Ensure the pieces are facing the same direction. Sew them together using a zigzag stitch. Trim interfacing to a 25″ square.
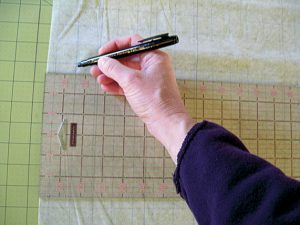 2. With a fine line permanent marking pen, draw a 2½” spaced grid on the non-fusible side of the 25″ square of interfacing. There should be (10) 2½” squares in both directions.
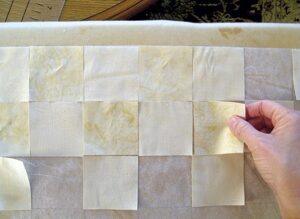 3. With the fusible side of the interfacing facing up, place the 2½” squares within the grid in the desired pattern, alternating background fabric #2 squares and background fabric #3 squares to form a checkerboard pattern.
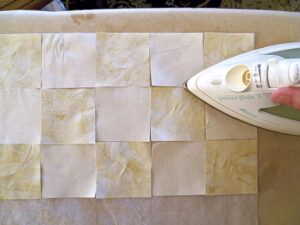 4. Iron all the pieces into place.
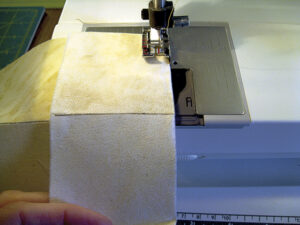 5. Fold the unit right sides together along one of the marked grid lines. Sew using a ¼” seam allowance.
[/vc_column_text][/vc_column][vc_column width=”1/2″][vc_column_text]
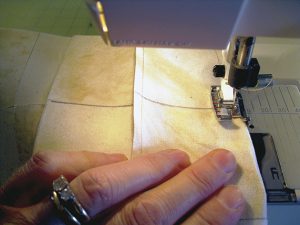 6. Continue to fold and sew all the grid lines going in this same direction.
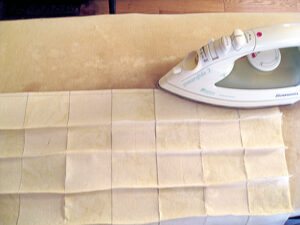 7. Press the seams just sewn.
 8. Snip the seam allowance of the seams just sewn at each marked line that is perpendicular to the seams. Be careful not to snip the stitching.
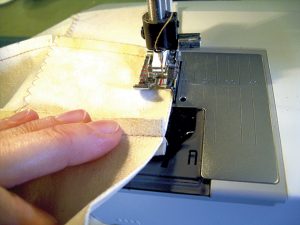 9. Fold the unit along the first seam just snipped, i.e., going in the opposite direction of the first set of seams already stitched. Sew, nesting the seams as they are sewn. For the first seam in this direction, sew with the top seam allowance facing up and the bottom seam allowance facing down.
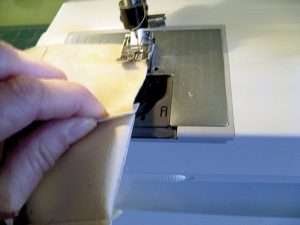 10. For the next seam, sew with the top seam allowance facing down and the bottom seam allowance facing up. Continue sewing the seams, alternating the seam allowances until all seams are sewn.
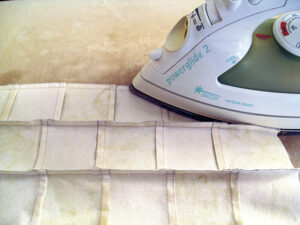 11. Press each seam.
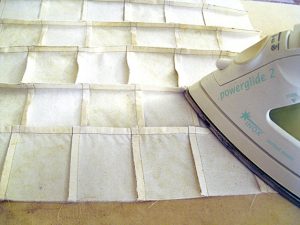 12. Press all the seams in one direction from the back side.
13. Give the block a final press. The block should measure 20½” square.
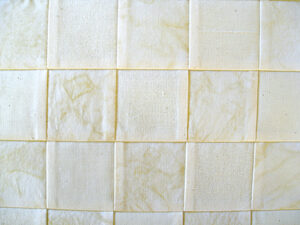 Note how perfectly the seams line up.