
Don’t let block assembly trip you up! Here are some guidelines for decoding a block.
Blocks can generally be broken down into units. Units are smaller sections of a block that can be assembled first.
To identify the units of a block, look for straight lines bisecting the block from one side to the other, or from top to bottom.
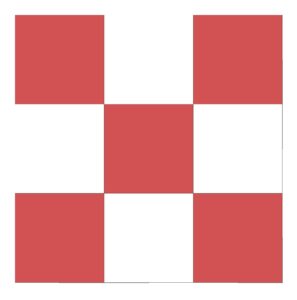
Here is an example:
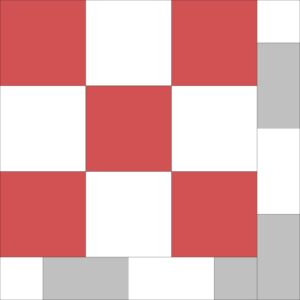
Notice that there is one line traveling in a straight line from the top of the block to the bottom.
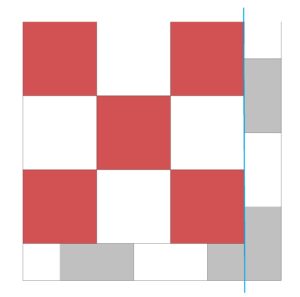
This seam divides the unit from the rest of the block. Let’s see what happens when we remove this unit.
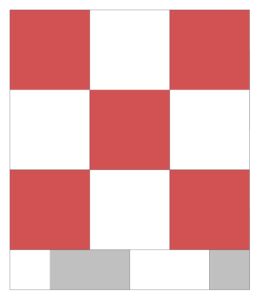
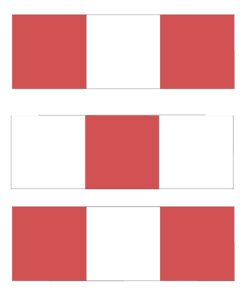
Can you find any dividing lines to give us a clue to other units?
There aren’t any seams that go from the top to bottom, but there are several that go from one side to the other in a straight line.
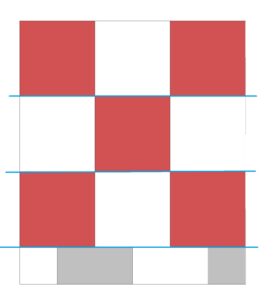
Let’s remove the bottom unit and see what we have left.
A Nine Patch! The Nine Patch can be divided into three rows.
Now we’ve broken the block down into units. Each unit is easy to assemble.
This same technique can be used on most quilt blocks.
Remember:
- Look for straight lines that bisect the block.
- Identify and remove units to find more units.
- Keep going until you’ve broken the entire block down into manageable units.
Once all the units are made, it’s important to keep them oriented right so the block goes together correctly.
Try using a design wall or display board to lay the block out so you can be sure everything is going in the right direction before you sew.
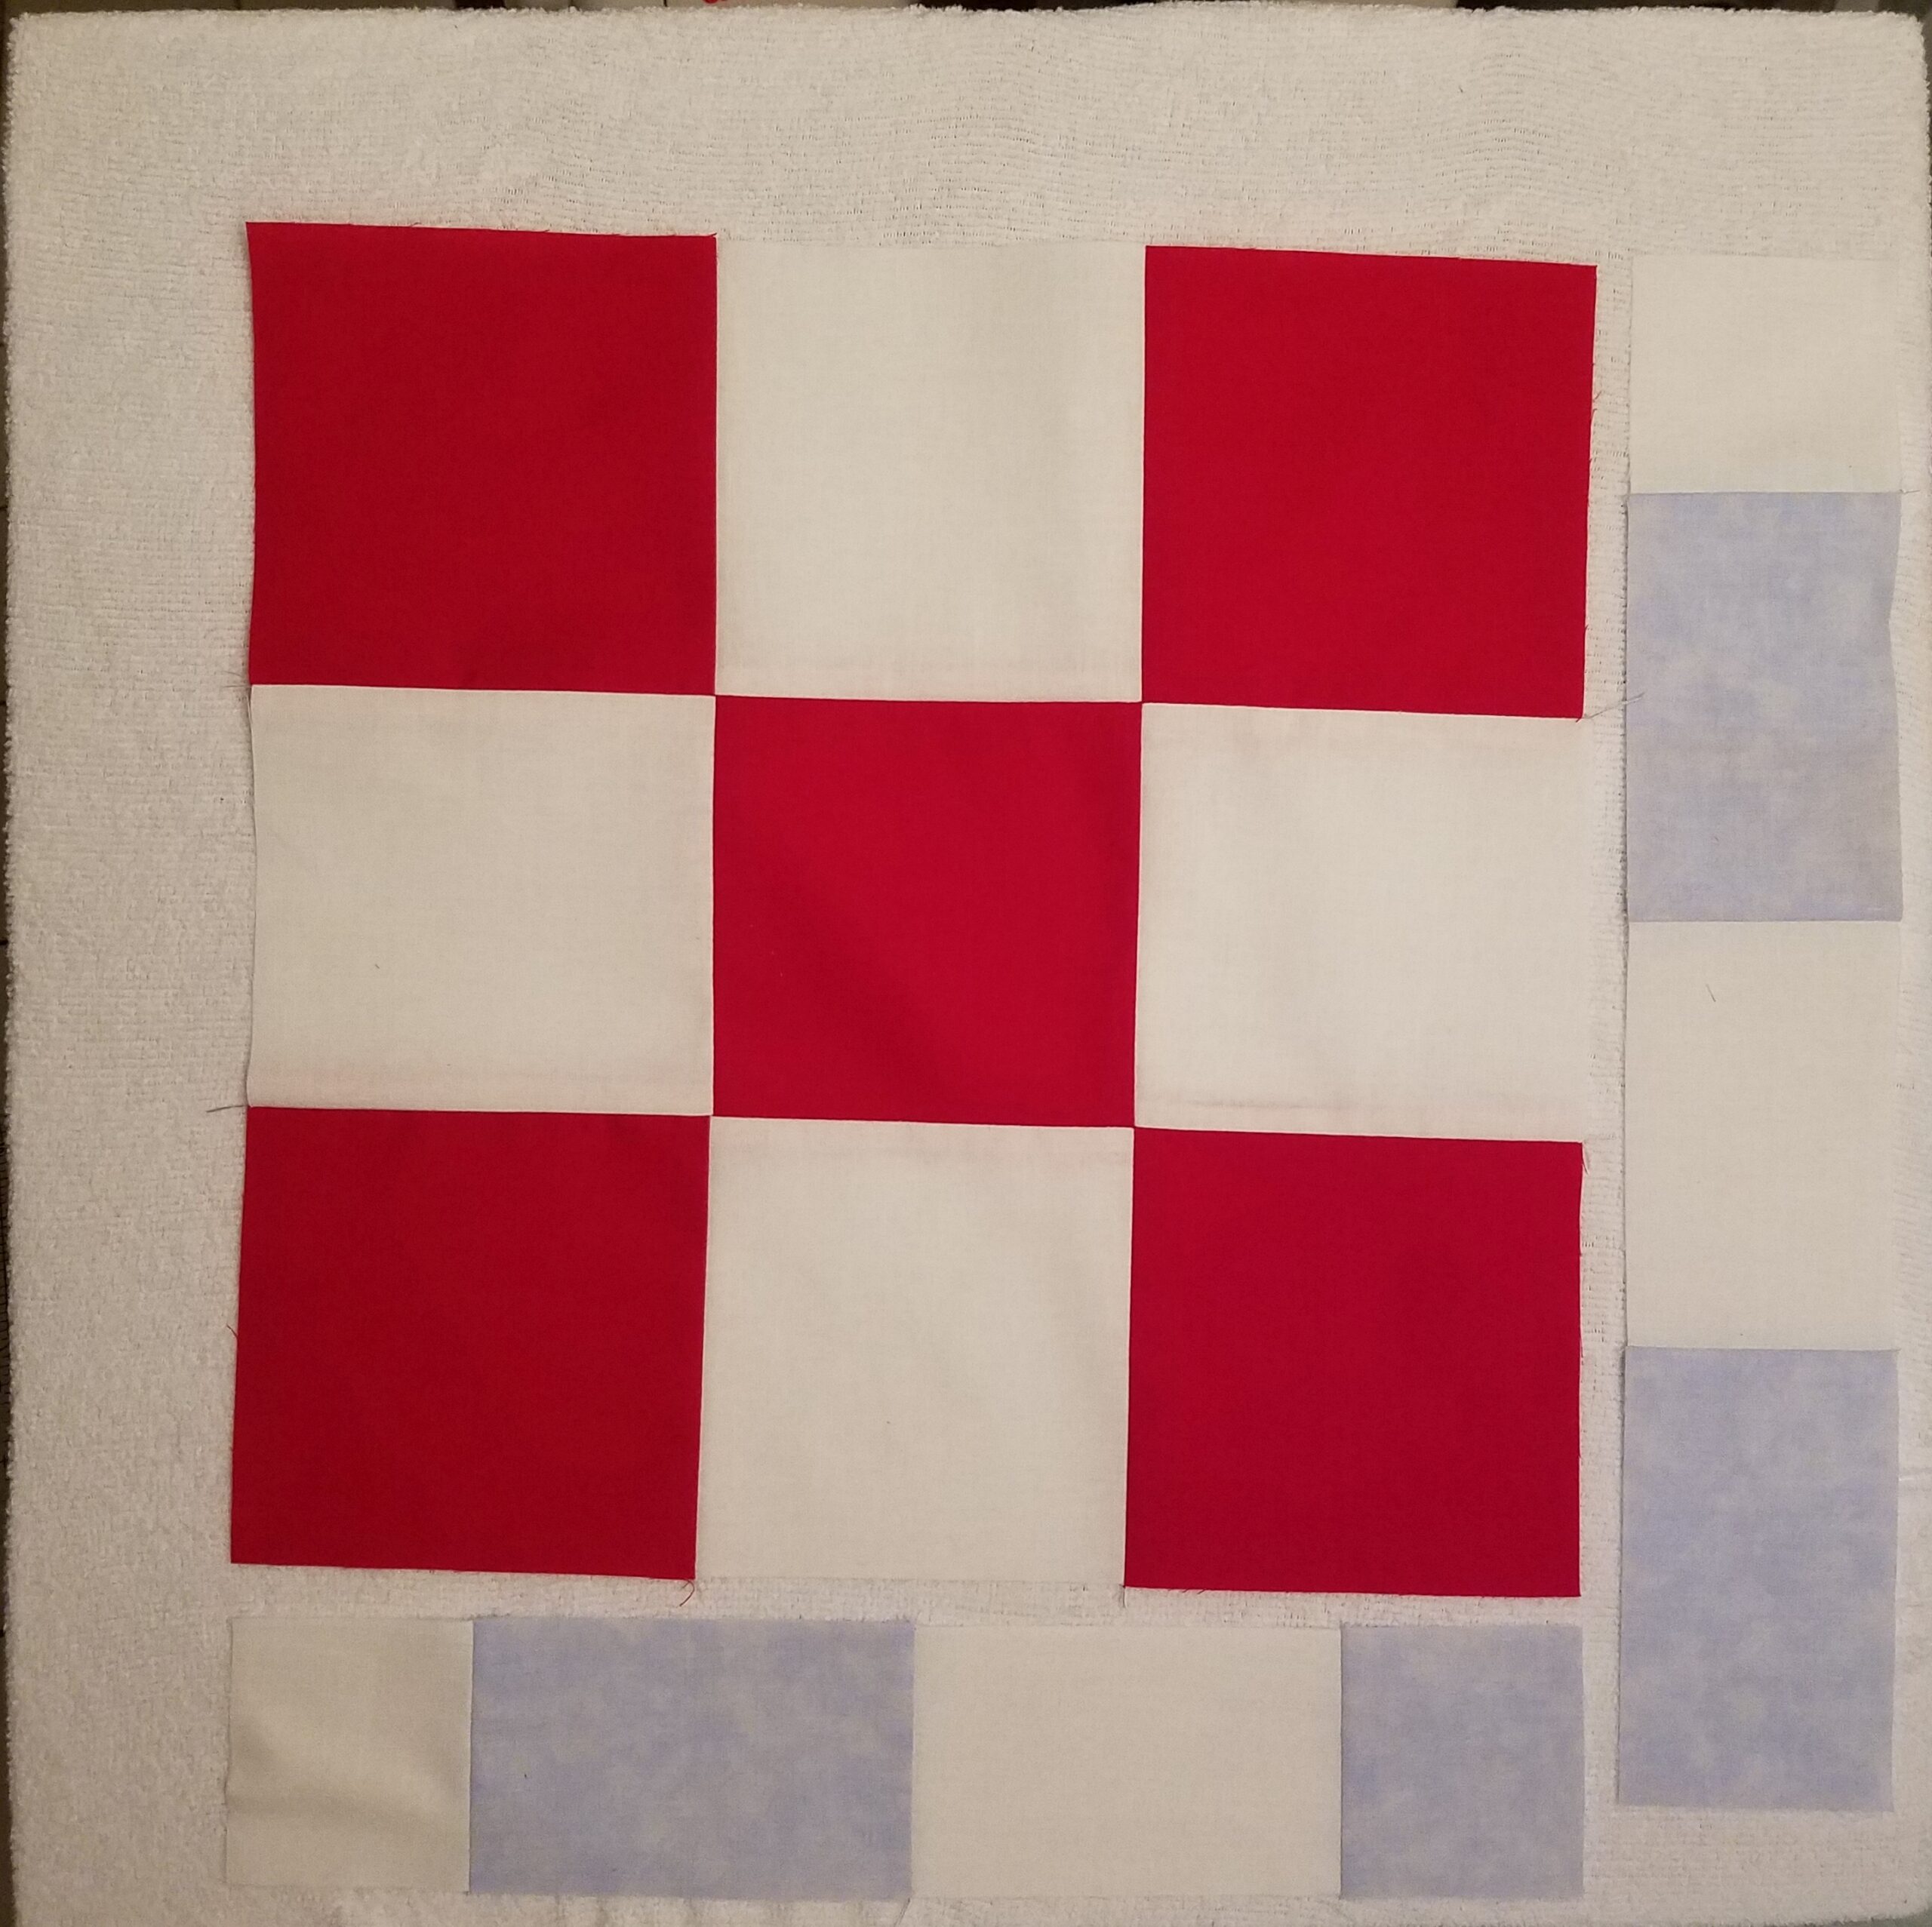
You can add notes to the board to help you be sure you are getting the units oriented right when you add a new block.

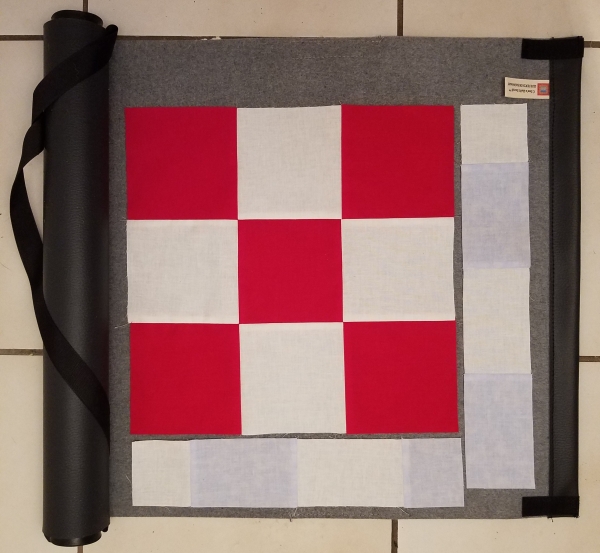
If you aren’t sewing on your machine, but still need to keep your block layout, try this scroll to carry your blocks in for hand piecing.
Want to try this fun block?
https://dev.americanquilter.com/free-pattern-punxsutawneys-nine-patch