
This fun and practical insulated drink bottle carrier is perfect to take your cool drink with you wherever you go. Made from only a few Jelly Roll strips and featuring a drawstring to close the top, this little bottle bag will fit either a small water bottle completely or a larger reusable drink bottle. Make it in school or team colors for a perfectly practical accessory!

Fabric Requirements
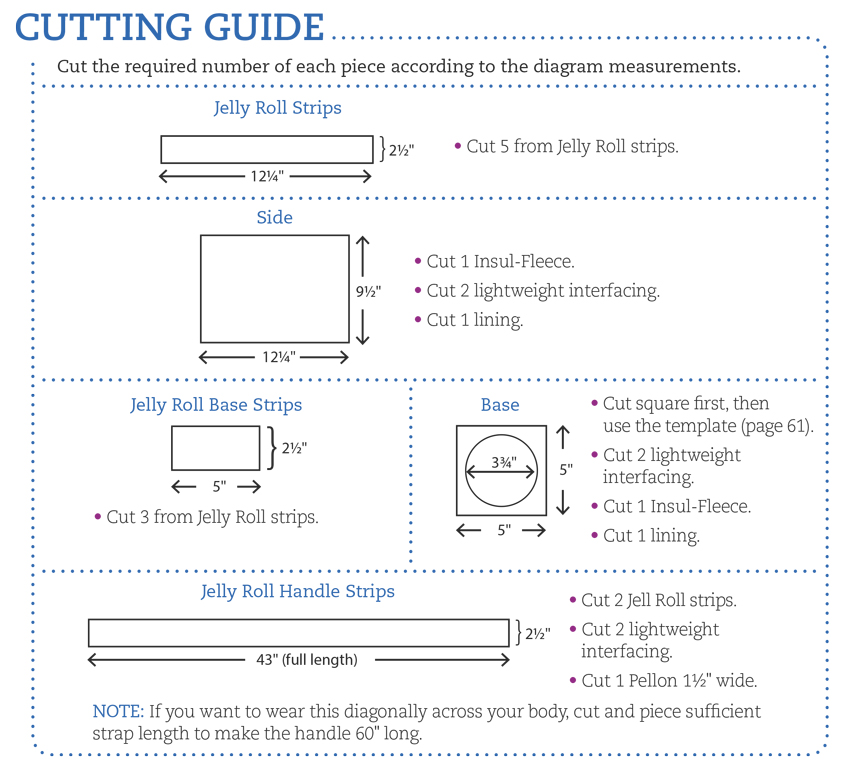
5–7 Jelly Roll strips (Use 7 strips for variety in the pieced sides)
10″ x 18″ white fabric for the lining
¼ yard lightweight fusible interfacing
10″ x 18″ Pellon Insul-Fleece or equivalent insulated batting for the lining
1 cord puller toggle for the drawstring
22″ length of ribbon or cord for the drawstring
(1) 1½” x 43″ strip of lightweight fusible Pellon
Base Template
Assembly Instructions

Piece the 2½” strips to make the outer bag. Cut 12¼” lengths from 5 Jelly Roll strips. Cut one of those pieces in half lengthwise, so each half is 1¼” wide.
Arrange the four 2½” strips with one 1¼” strip as you like and sew together along the long sides.
Iron the interfacing to the back of this bag piece, as well as to the wrong sides of the two handle strips (two full-length Jelly Roll strips.) Pin and sew the Insul-Fleece panel to the wrong side of this pieced panel with a scant seam to hold it in place.
Fold up and sew a small hem on each short end of the remaining 1¼” strip. Fold the strip in half lengthwise, wrong sides together. Matching raw edges with the top of the pieced bag side, sew the strip to the top on the right side, to make the drawstring casing. Topstitch on the right side to flatten the seam. Thread the drawstring through as shown.
Note: You may find it easier to sew the drawstring casing with the drawstring in place first. Fold the strip over the drawstring and carefully sew along the edge, taking care to avoid sewing over the drawstring.
Handle Instructions
The handle is very simply made from two full-length Jelly Roll strips. With right sides together and starting from a short end and using a ½” seam allowance, sew up that short end along the length of one side, and finish down along the remaining short end.
Trim the corners and turn right-side out. Tuck in the seam allowances on the other long side, pin well, and topstitch closed. Topstitch along the other three sides of the handle.
Position each end of the handle as shown above on the flat bag side. Each end is 2½” in from the outside edge and extends approximately 2¼” down onto the pieced panel. Sew a rectangular shape at both strap ends following along the topstitching seams to secure them firmly to the bag.
Base 
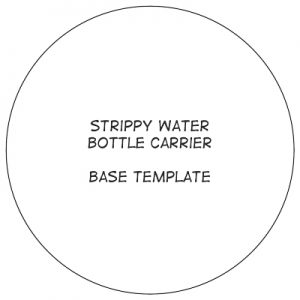
Sew together three 5″ jelly roll lengths and press well. using the template, cut out the circular base shape from this piece.
Iron the interfacing to the wrong side. As you did for the main bag panel, pin and sew the Insul-Fleece layer to the wrong side with a scant seam.
With
right sides together and being careful not to catch the drawstring ends, sew the pieced bag side together.
With right sides together, pint he base circle to the bottom of the bag and sew it in. Turn right-side out.
Lining
This carrier has a drop-in style lining. As you did for the outer bag, sew the sides of the lining side panel, right sides together. Pin and sew ion the base circle. Place the lining inside the outer carrier and fold under the top seam allowance so the fold sits just over the edge of the drawstring strip. Pin well and carefully topstitch on the right side, following the previous topstitching line to sew the line in place. Thread the cord ends through the drawstring toggle and knot the two chord ends together to finish.
